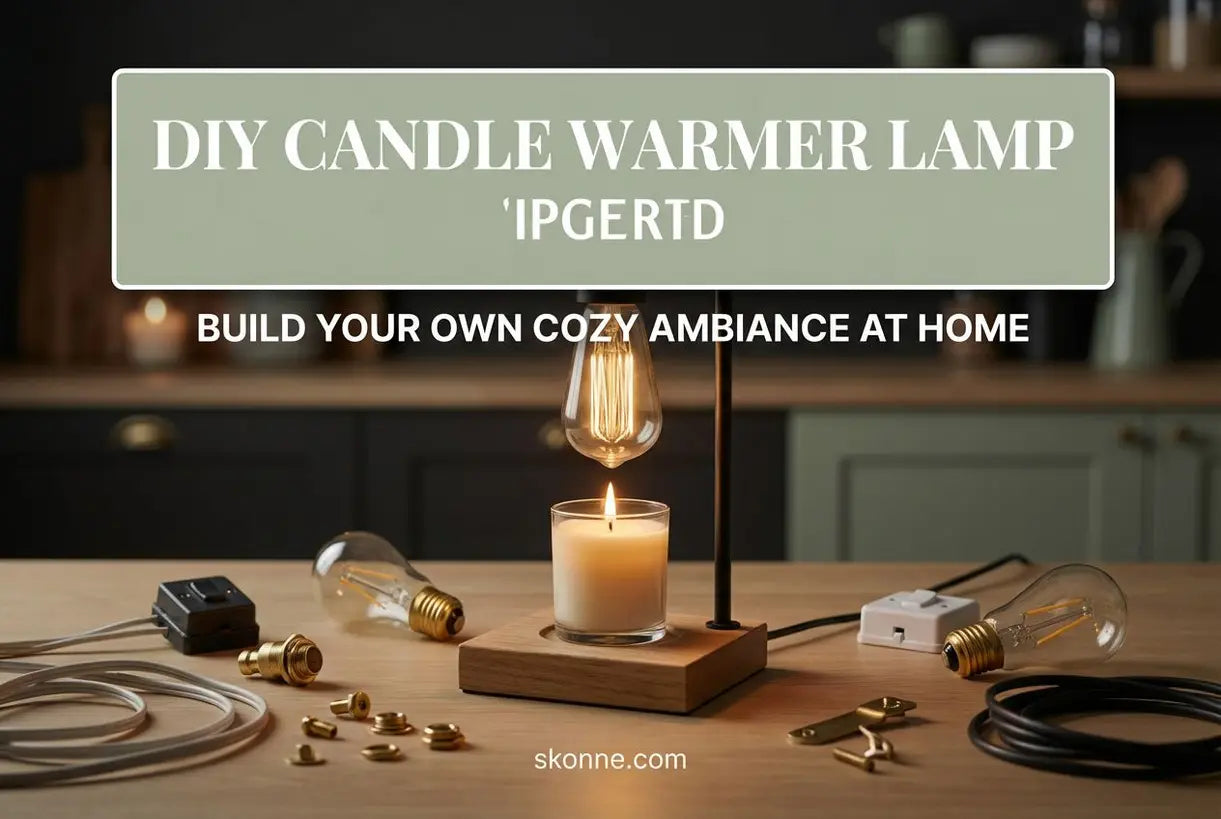
There's something undeniably captivating about the soft, flickering glow of candlelight that instantly transforms any space into a sanctuary of calm. But what if you could capture that same warm ambiance without the open flame, smoke, or safety concerns? Enter the DIY candle warmer lamp—a beautiful fusion of Scandinavian design sensibilities and hands-on craftsmanship that lets you create exactly the atmosphere you crave.
Whether you're a seasoned DIY enthusiast or simply someone who appreciates the meditative quality of building something with your own hands, learning how to build a candle warmer lamp at home offers both creative satisfaction and practical rewards. In this guide, you'll discover everything needed to craft a functional piece that looks like it belongs in a curated Nordic interior—without requiring advanced woodworking skills or expensive tools.
Understanding the Candle Warmer Lamp
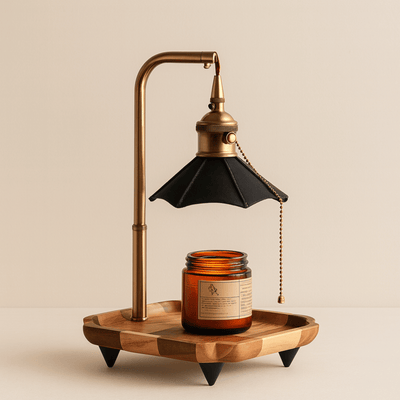
Before diving into construction, it helps to understand exactly what makes these devices so special. Unlike traditional candles that burn with a flame, a candle warmer lamp uses gentle heat from an overhead bulb to melt the wax from above. This creates a pool of liquefied fragrance that circulates throughout your room efficiently and safely.
The mechanism is elegantly simple: as the bulb warms the candle surface, essential oils release into the air without combustion, meaning no soot, no smoke, and no risk of forgetting to blow out a flame. The result is a pure, consistent scent throw that often lasts longer than traditional burning methods. For those exploring options beyond DIY, our Lamps collection offers curated designs that embody this same philosophy of warm, intentional lighting.
How Does a Candle Warmer Lamp Work?
The science behind these warmers relies on controlled heat application. A halogen or incandescent bulb—typically 25 to 40 watts—sits suspended above the candle inside a shade. When switched on, the bulb radiates downward, warming the top layer of wax to its melting point (usually between 125°F and 160°F depending on the wax composition).
As the wax pool forms, fragrance molecules vaporize into the surrounding air. Unlike traditional warmers that heat from below, the top-down approach mimics how a wick burns through wax naturally, ensuring even scent distribution and preventing that wasted ring of unmelted wax around the edges. The lamp shade serves dual purposes: directing heat downward while creating a beautiful ambient glow that mimics candlelight.
Materials Needed to Build Your DIY Candle Warmer Lamp
Creating your own homemade candle warmer requires gathering the right components. Quality materials ensure both safety and longevity, so resist the urge to cut corners on electrical components or heat-resistant surfaces.
| Component | Specification | Purpose |
|---|---|---|
| Wooden Base | 6-8 inch diameter, 1-inch thick hardwood | Stable foundation for the candle |
| Metal Shade or Bowl | Heat-resistant, 8-10 inch diameter | Directs heat and diffuses light |
| Socket & Cord Kit | E26 base with inline switch, 6-foot cord | Delivers power safely |
| Halogen Bulb | 25W-40W GU10 or R14 reflector | Generates focused heat |
| Metal Rods or Stand | 10-12 inches adjustable height | Suspends shade above candle |
Additional items include wood stain or paint (if desired), heat-resistant epoxy for securing components, felt pads for the base bottom, and basic tools like a drill, screwdriver, and wire strippers. For the metal shade, repurposed vintage bowls or industrial heat lamp shades work beautifully and add character to your finished piece.


Step-by-Step Candle Warmer Lamp Tutorial
With materials gathered, the construction process becomes a meditative journey in craftsmanship. Plan for approximately 2-3 hours of active work plus drying time for any finishes applied to the wood base.
Step 1: Prepare the Base
Sand your wooden base until smooth, rounding any sharp edges for a refined Scandinavian aesthetic. Apply your chosen finish—natural oils work beautifully to highlight wood grain while matte black or white paint creates a modern minimalist look. Allow complete drying according to product instructions.
Step 2: Install the Socket Assembly
Drill a hole through the center of your wooden base to accommodate the lamp cord. Thread the cord through and attach the socket assembly according to manufacturer instructions. Position the socket so the bulb will hang at a height adjustable between 4-6 inches above where the candle will sit.
Step 3: Create the Support Structure
Attach your metal rods to the base using heat-resistant epoxy or screws, creating an arch or tripod configuration that holds the shade above the bulb. The shade should sit slightly wider than your intended candle diameter to capture all the heat while allowing some light to escape for ambiance.
Test all electrical connections with a multimeter before plugging in. Safety is paramount when combining heat and home electrical systems.

Step 4: Finishing Touches
Attach felt pads to the bottom of your base to protect furniture surfaces. Insert your bulb and test the dimmer switch if included. The ability to adjust brightness means controlling both scent intensity and ambient light levels—a feature that elevates the basic DIY wax warmer lamp into something truly sophisticated.
When DIY Meets Design: Curated Alternatives
While building a homemade candle warming light offers undeniable satisfaction, not everyone has the time, tools, or confidence to tackle electrical projects. Perhaps you've attempted the build and want something more polished for your living room, or maybe you're seeking gift-worthy pieces that carry the same organic warmth.
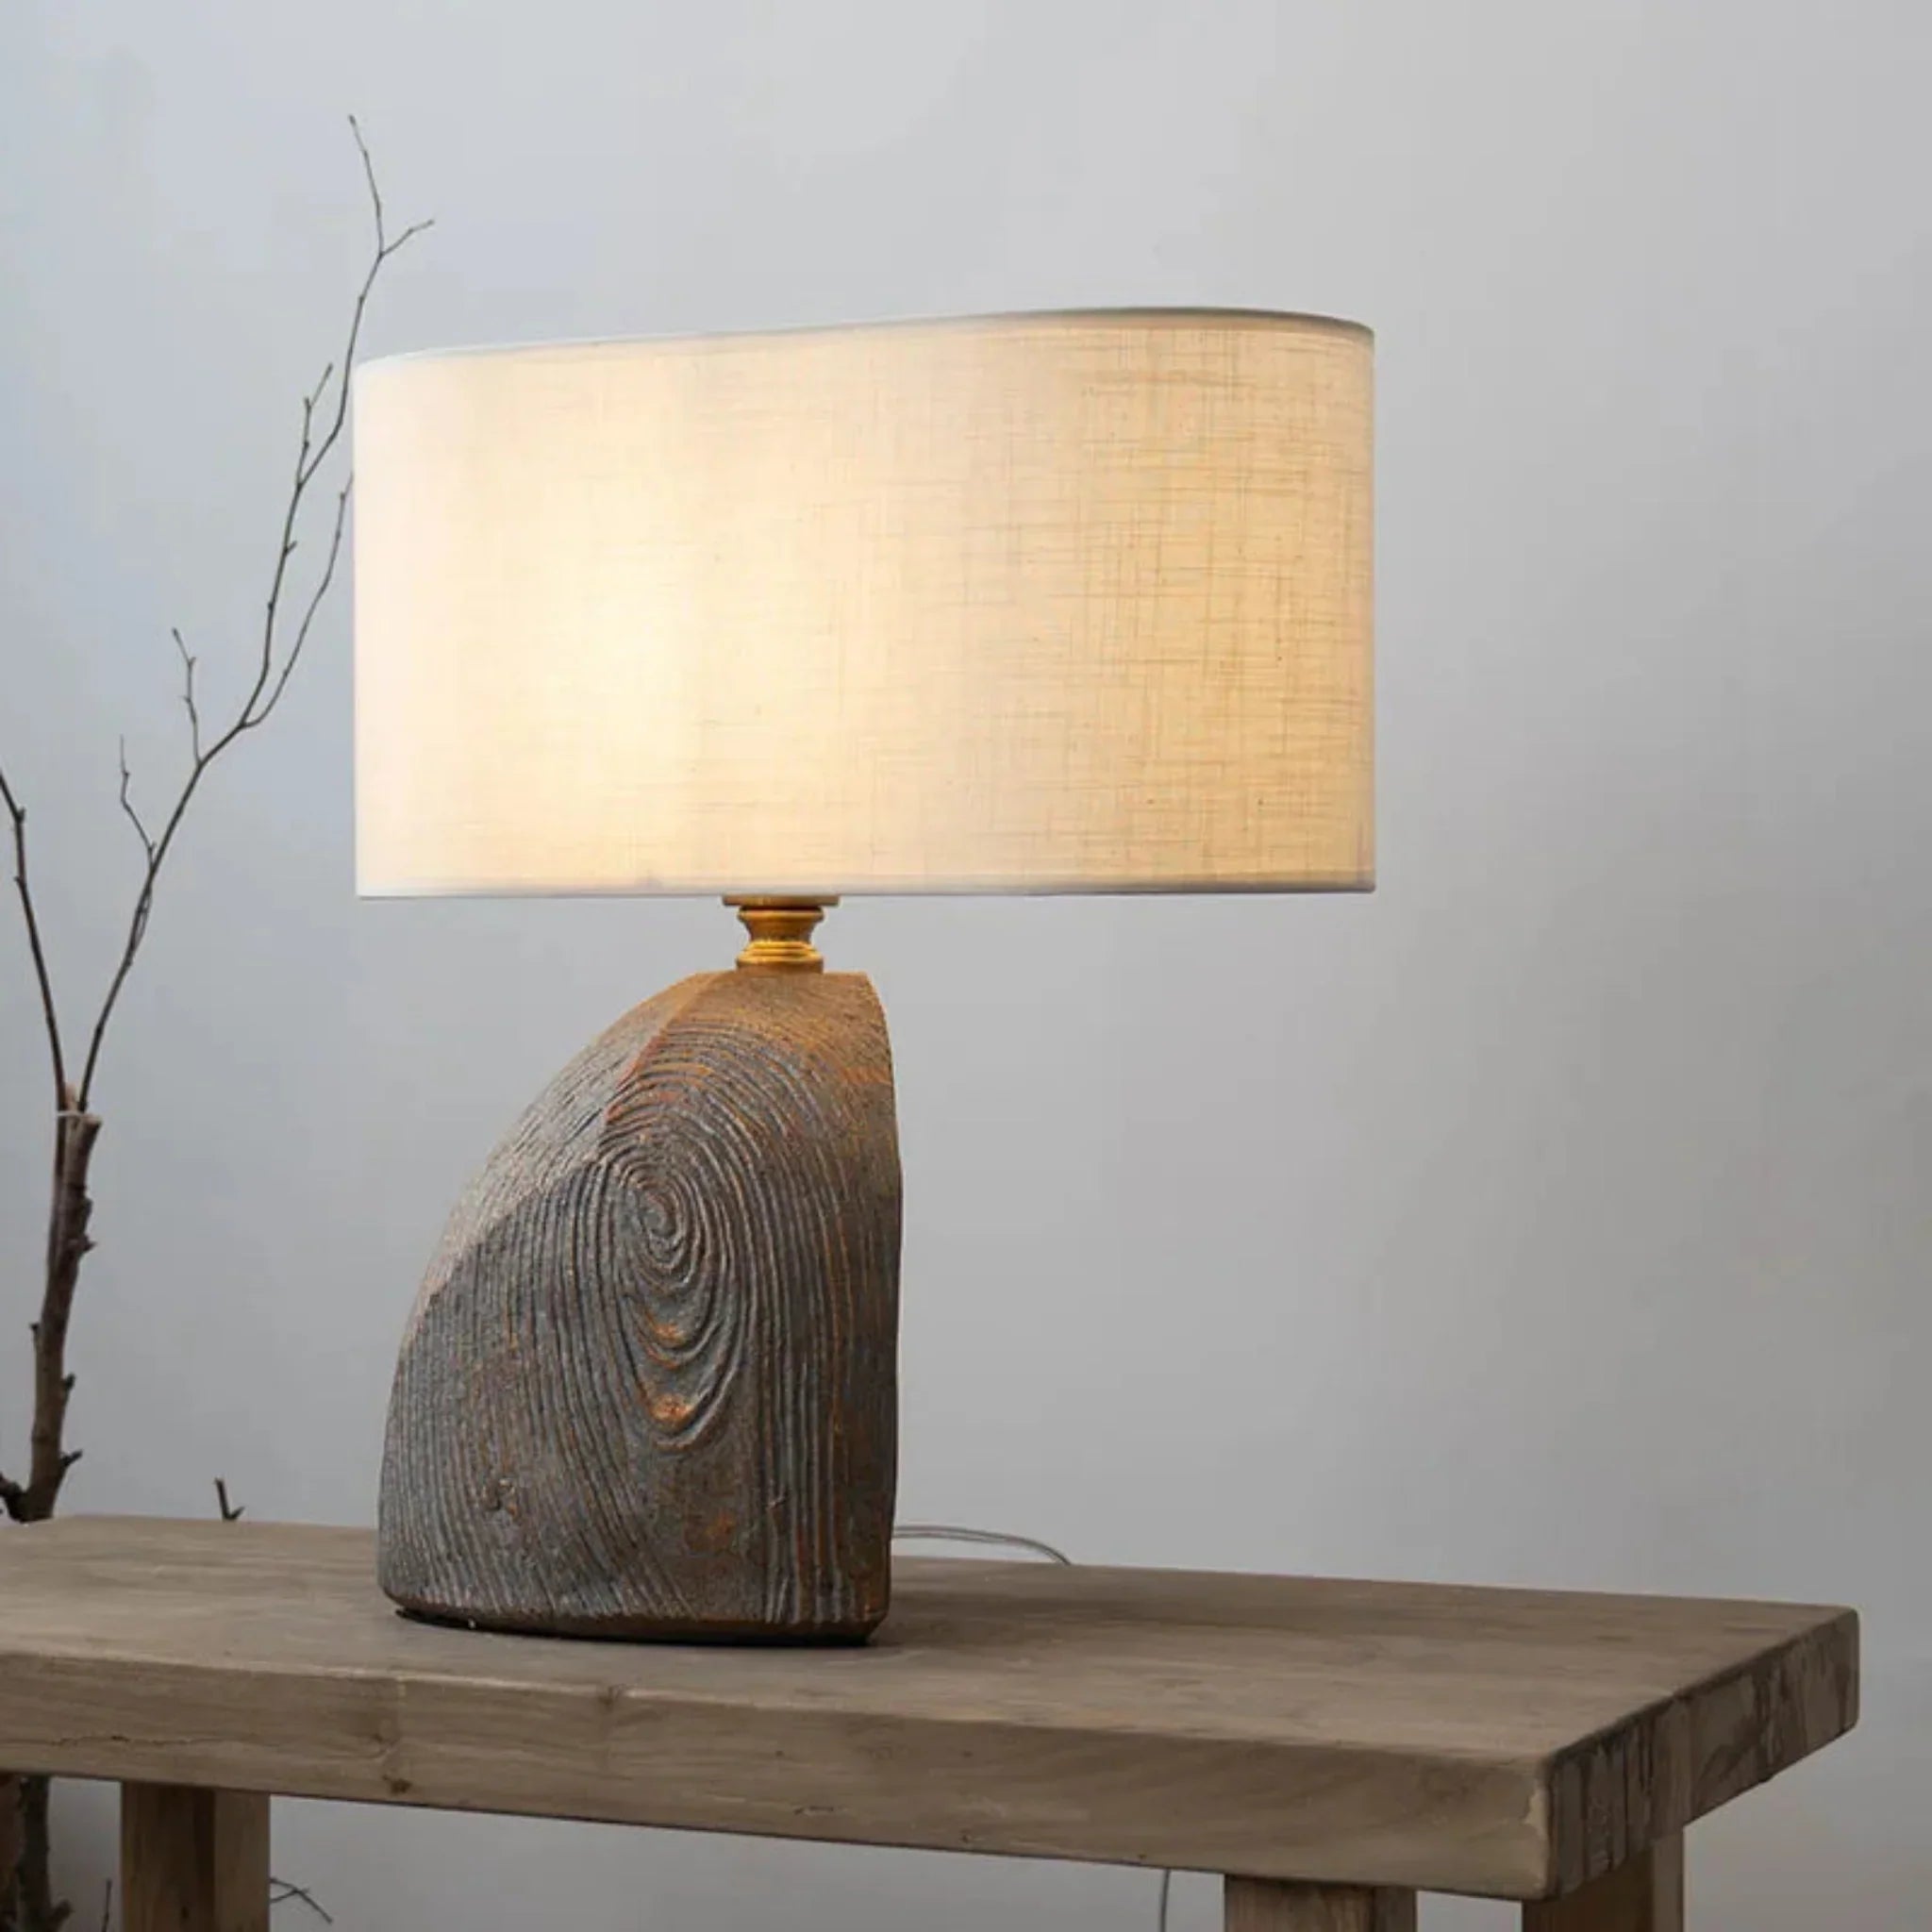
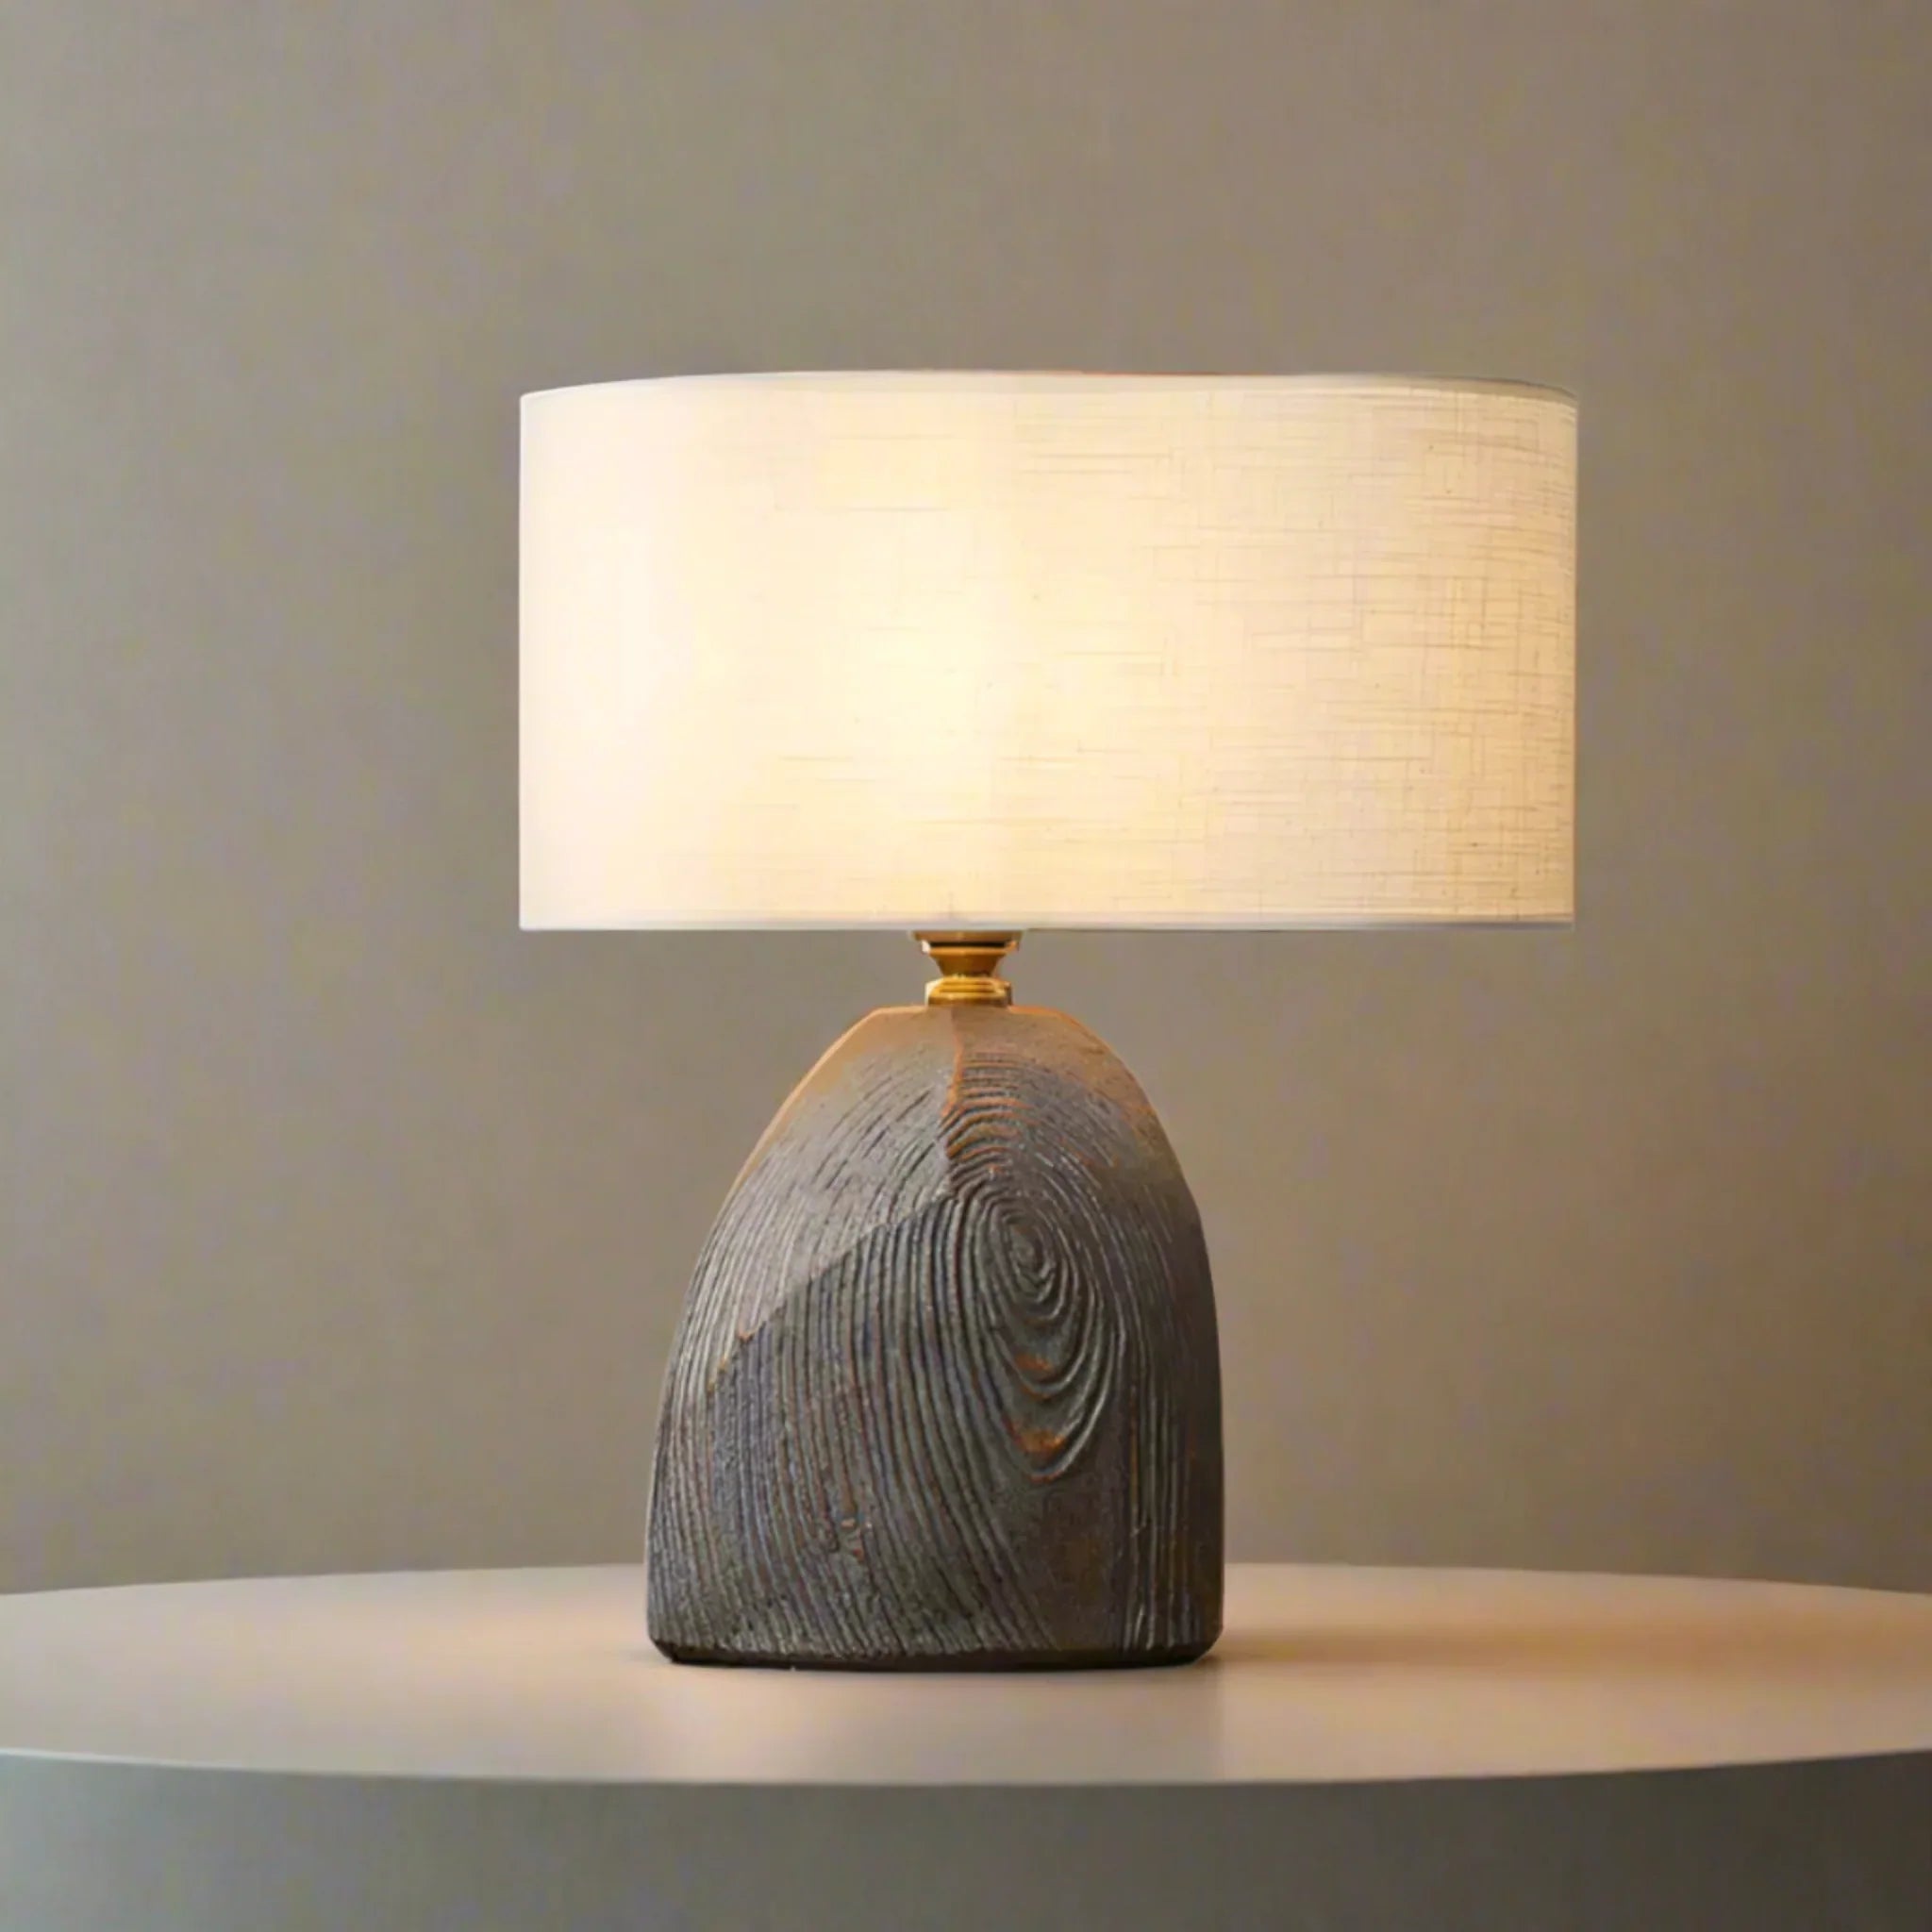
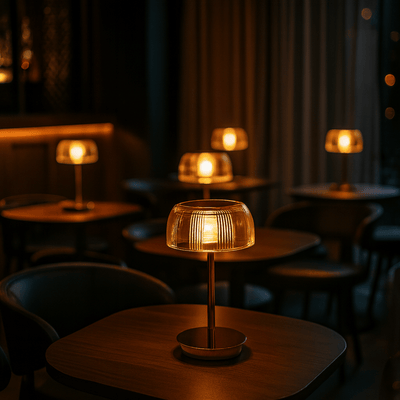
The Skogvar Vintage Resin Tree Stump LED Table Lamp captures that exact same cabin-inspired warmth you're seeking with a DIY candle warmer, minus the construction complexity. Its organic form and amber glow replicate the hygge atmosphere of candlelit evenings without the maintenance.

Skogvar Vintage Resin Tree Stump LED Table Lamp
$449.00 $649.00
Bring the warmth of a candlelit cabin into your home with this organic tree stump lamp that casts a soft, amber glow perfect for cozy evenings.
Explore ProductSafety Considerations for Your Build
Are candle warmer lamps safe to use? When constructed properly, absolutely—but attention to detail matters significantly. Always use bulbs within the recommended wattage range; excessive heat can crack glass candles or scorch wooden components. Never leave your warmer operating unattended, and ensure the base sits on a flat, stable surface away from flammable materials like curtains or papers.
Safety Check: Test your finished lamp without a candle first, running it for 30 minutes. Check that the shade and base remain cool enough to touch, and that no wires become hot. If components overheat, immediately unplug and adjust your bulb wattage or shade height.
Ensure your electrical cord displays no exposed wiring and that your socket assembly carries appropriate safety certifications (UL or ETL listed). Place your DIY creation on a heat-resistant surface like ceramic, stone, or metal—never directly on wood furniture without protection.
Candle Compatibility and Project Timeline
Can I use any candle with a warmer lamp? Not all candles perform equally under warming conditions. Container candles with diameters between 3-4 inches work best, as they fit comfortably under standard lamp shades while exposing sufficient surface area for scent release. Large jar candles may require taller support rods or higher bulb wattage.
Avoid candles with unusually thick glass containers that could crack under heat, and steer clear of candles with embedded decorations like shells or large botanicals that might burn or smoke when warmed. Pure soy and coconut waxes release fragrance beautifully at lower temperatures, while paraffin blends may require slightly higher heat settings.
How long does it take to make a DIY candle warmer lamp? Most builders complete their first lamp in a single weekend—typically 4-6 hours total including drying time for wood finishes. More elaborate designs with adjustable height mechanisms or custom metalwork might extend to a full weekend project. The satisfaction of lighting your creation for the first time, watching it cast that perfect golden pool of melted wax across your favorite candle, makes every moment worthwhile.

Expanding Your Ambient Lighting Collection
Once you've mastered your build candle warmer lamp at home, you may find yourself drawn to creating cohesive lighting moments throughout your space. Scandinavian design principles emphasize layers of warm light rather than harsh overhead illumination. Consider how additional pieces might complement your handmade warmer during evening hours when you want that enveloping sense of calm.
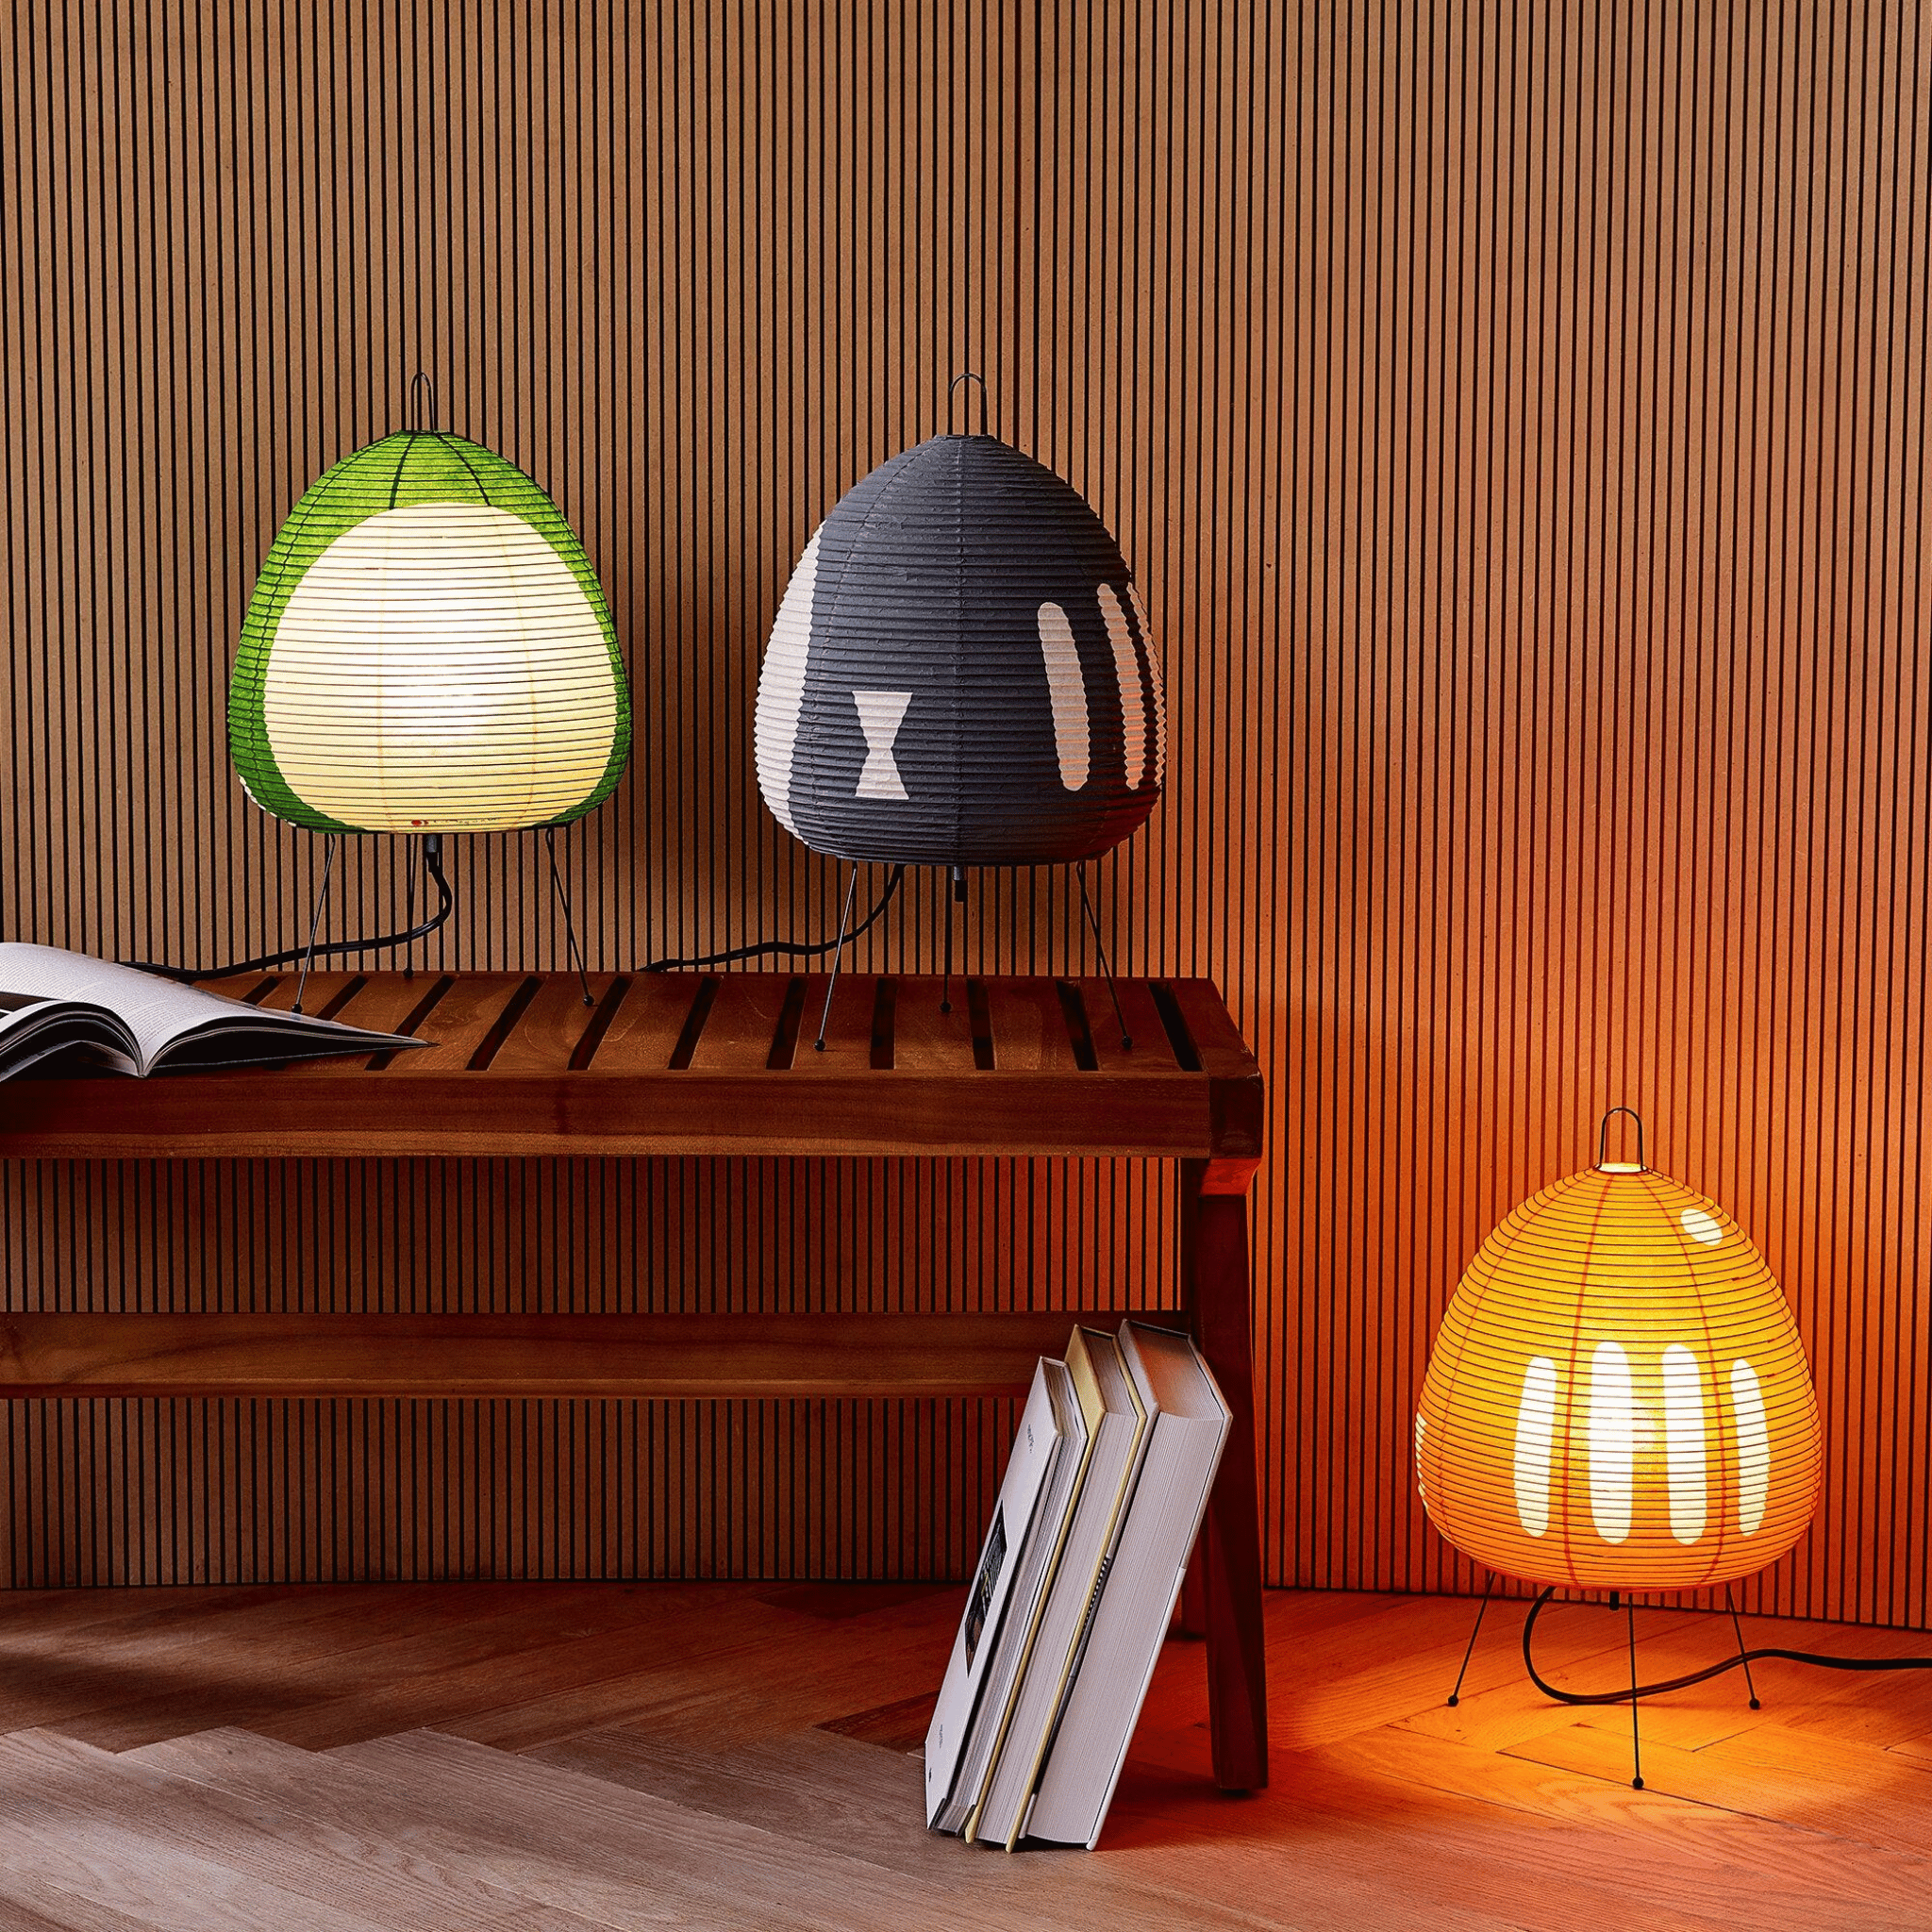
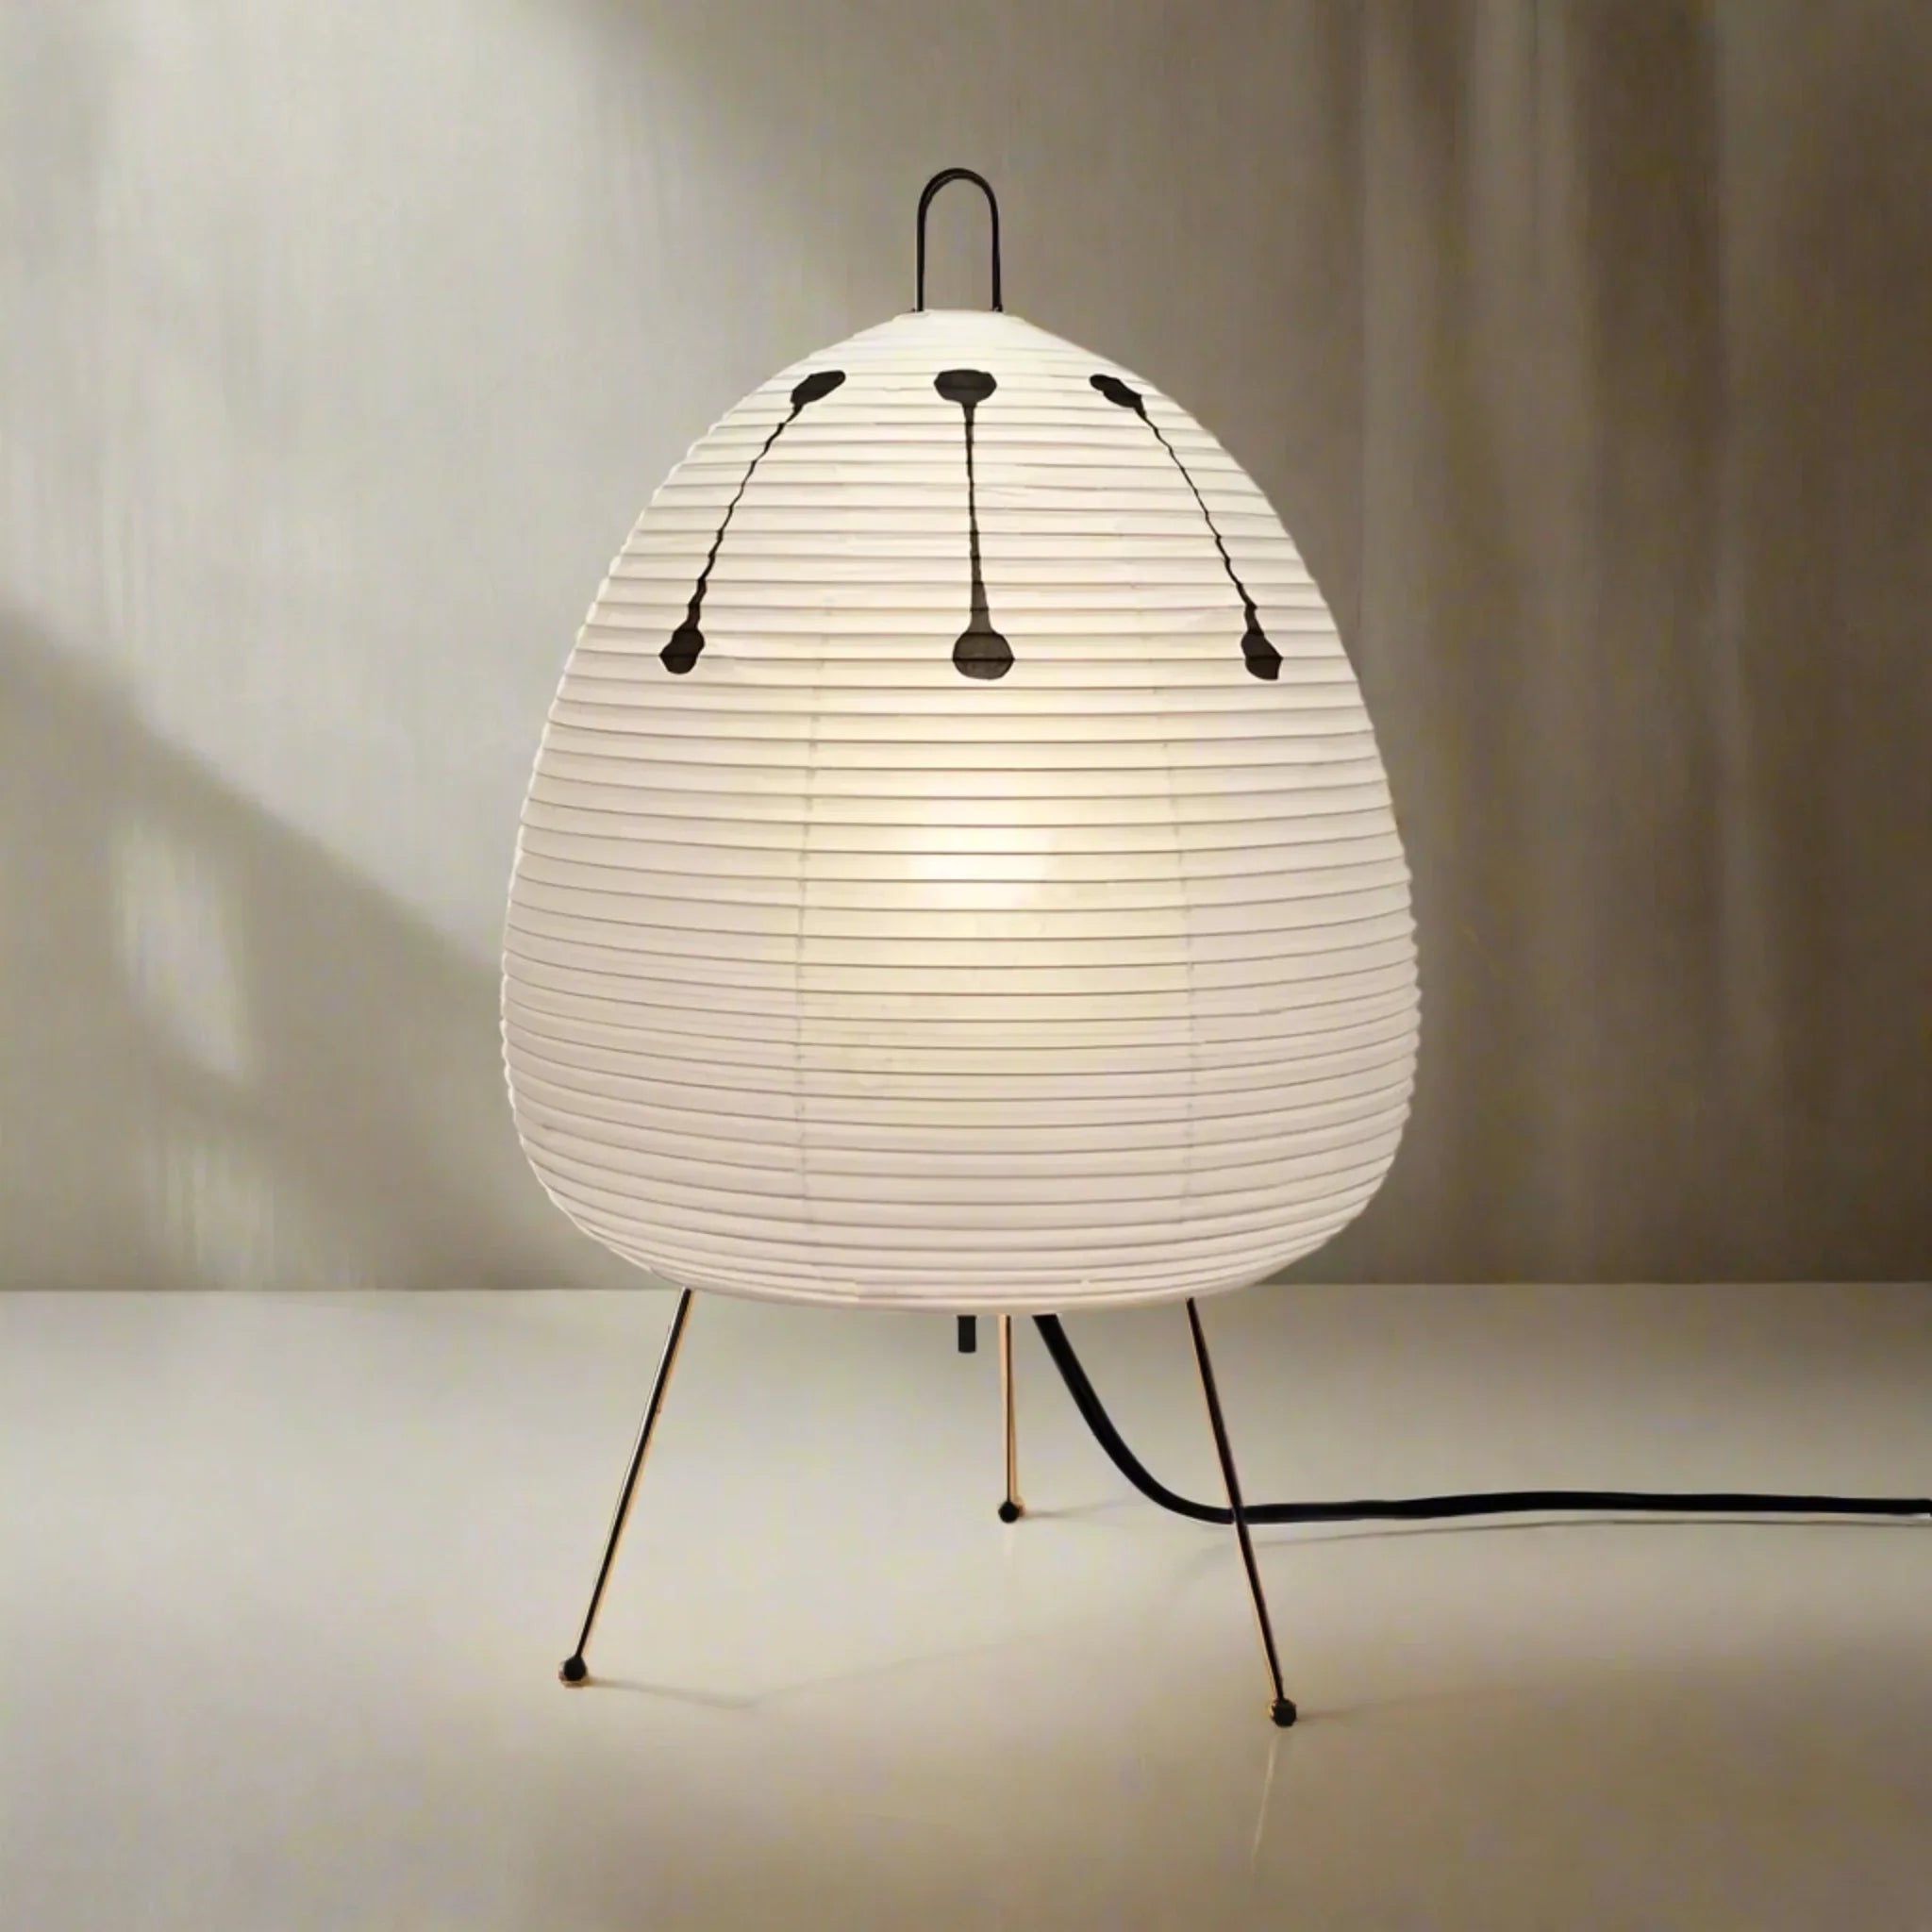
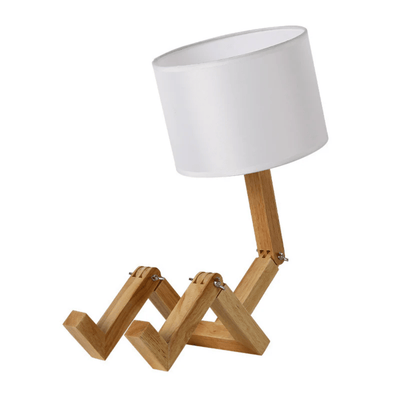
The Shiro Rice Paper Table Lamp Nordic Minimalist offers that same handcrafted warmth with beautifully diffused light, while the Stille Minimalist Nordic LED Wall Sconce Light provides elegant ambient glow that pairs perfectly with your DIY creation.
Complete Your Warm Lighting Scheme

Shiro Rice Paper Table Lamp Nordic Minimalist
$119.00
$199.00
Create a gentle, layered atmosphere with this handcrafted rice paper lamp that diffuses light into something beautifully warm and inviting. Learn more ➔

Stille Minimalist Nordic LED Wall Sconce Light
$89.00
$139.00
Add soft ambient lighting to any room with this sleek Nordic sconce that casts a warm, candlelit glow through its amber, white, or smoky grey finish. Learn more ➔
Conclusion: Crafting Your Sanctuary
Building a DIY candle warmer lamp represents more than a weekend project—it's an invitation to slow down, engage your hands, and create something functional that enhances your daily rituals. The gentle pool of melted wax, the diffusion of your favorite fragrance, the ambient glow that replaces harsh evening lighting—all of it contributes to that Scandinavian concept of hygge that transforms houses into homes.
Whether you've completed your build and are enjoying the fruits of your labor, or you've decided that the Skogvar Vintage Resin Tree Stump LED Table Lamp better suits your current lifestyle, the goal remains identical: creating intentional spaces that feel warm, welcoming, and distinctly yours.
At Skonne, we believe deeply in the power of light to shape mood and memory. Whether through DIY tutorials or our curated collection of Nordic-inspired lighting, we're here to help you build that sanctuary—one warm glow at a time. Ready to explore more ways to illuminate your space?
Frequently Asked Questions about DIY Candle Warmer Lamps
Essential materials include a wooden base (6-8 inch hardwood), a heat-resistant metal shade, an E26 socket with inline switch and 6-foot cord, a 25W-40W halogen bulb, and metal rods or a stand to suspend the shade. You'll also need basic tools like a drill, screwdriver, wire strippers, and optionally wood stain or paint for finishing. All electrical components should carry UL or ETL safety certifications.
Candle warmer lamps use a top-down heating method where a halogen or incandescent bulb suspended above the candle radiates heat downward onto the wax surface. This melts the top layer of wax to its melting point (125°F-160°F), releasing fragrance oils into the air without combustion. Unlike traditional burning, this method produces no soot or smoke while creating an even wax pool that maximizes scent throw and candle longevity.
When properly constructed with certified electrical components and appropriate bulb wattages (25W-40W), candle warmer lamps are generally safer than open-flame candles. However, safety precautions are essential: never leave operating warmers unattended, use only recommended bulb wattages to prevent overheating, ensure the base sits on a heat-resistant surface, and verify all wiring is properly insulated. Always test your DIY lamp without a candle first to check that no components overheat during operation.
Not all candles are equally suited for warming. Container candles with 3-4 inch diameters work best, fitting comfortably under standard lamp shades while exposing sufficient surface area for scent release. Avoid candles with thick glass containers that may crack under heat, and candles containing embedded decorations like shells or botanicals that could smoke or burn. Soy and coconut waxes perform excellently at lower temperatures, while paraffin blends may require slightly higher heat settings.
Most DIY candle warmer lamps can be completed in a single weekend, requiring approximately 4-6 hours of total work including drying time for wood finishes. Simple designs with basic materials take 2-3 hours of active construction, while more elaborate versions with adjustable height mechanisms or custom metalwork may extend to a full weekend. First-time builders should plan for additional time to carefully follow electrical safety protocols and test all components.