What Is a DIY Floor Lamp?
A DIY floor lamp is a self-made lighting fixture that stands independently on the floor, typically ranging from 58 to 65 inches in height. Unlike store-bought alternatives, homemade floor lamps reflect your personal aesthetic while often costing significantly less than designer pieces.The beauty of building your own floor lamp lies in complete creative control. You choose the materials—from reclaimed wood to polished metal, from fabric shades to LED strips. You determine the proportions, the finish, and the atmosphere it creates. For those drawn to wabi-sabi principles or minimalism, a DIY floor lamp becomes an expression of intentional living.Before starting your project, consider the goal: Are you creating a statement piece for your living room? A reading nook companion? Or perhaps you're exploring IKEA hacks and simple DIY floor lamp wood projects? Understanding your purpose will guide every decision that follows.Essential Materials and Tools
Every successful DIY floor lamp project begins with proper preparation. Here's what you'll need:Basic Materials
- Lamp socket and harp assembly (E26 standard)
- Lamp cord with plug (8+ feet recommended)
- Wire connectors and electrical tape
- Base or weighted stand (wood, metal, or concrete)
- Lamp shade or diffuser
- Structural pole (wood, PVC, copper pipe, or steel tubing)
- Light bulb (LED recommended for safety and efficiency)
Tools Required
- Wire strippers and wire cutters
- Screwdrivers (flathead and Phillips)
- Drill with appropriate bits
- Measuring tape and level
- Sandpaper or hand sander
Optional for LED Strip Integration
- LED strip lights with power supply
- Wireless dimmer switch
- Aluminum channel for housing strips
Pro Tip: When selecting your lamp cord, choose UL-listed 18-gauge wire rated for your bulb wattage. For LED integration, ensure your power supply matches the voltage requirements of your strips.
Step-by-Step Building Guide
Building a DIY floor lamp follows a logical progression from base to bulb. Here's the process that delivers consistent results:1. Prepare the Base
Your floor lamp needs a stable foundation. For a wooden base, cut a 12-inch diameter circle from 1.5-inch hardwood. Drill a centered hole matching your pole diameter. Add weight—steel washers, lead shot, or concrete mix—to prevent tipping.
2. Install the Vertical Pole
Secure your structural pole to the base using wood screws or epoxy, depending on your materials. Ensure the pole is perfectly vertical—a slight tilt will be noticeable once complete. For copper or steel pipes, threaded floor flanges provide secure attachment points.
3. Mount the Socket Assembly
Attach your lamp socket to the top of the pole using an appropriate mounting bracket. Leave 6 inches of extra cord length at the socket end for wiring connections later.

4. Route and Secure the Cord
Feed the lamp cord through your pole from base to socket. Use cord clips every 12 inches to secure exterior cords. If using a hollow wooden pole for DIY floor lamp wood projects, drill entry and exit holes and thread the cord internally for a cleaner look.
Understanding Floor Lamp Wiring
Wiring represents the most critical aspect of any DIY standing lamp project. Proper technique ensures both safety and longevity.The Anatomy of Lamp Wiring
Every lamp cord contains two conductors: a neutral wire (ribbed or white insulation) and a hot wire (smooth or black insulation). The socket has two terminals—a brass screw for the hot wire and a silver screw for the neutral. Correct connection matters: reversing these can create a shock hazard.

Wiring Process Overview
- Strip 3/4 inch of insulation from cord ends
- Connect neutral wire to silver socket terminal
- Connect hot wire to brass socket terminal
- Wrap connections with electrical tape
- Secure cord with underwriter's knot inside socket housing
- Install socket shell and bulb

Wiring Safety Fundamentals
When approaching floor lamp wiring, safety must be your first consideration. Never work on wiring while plugged in. Double-check connections with a multimeter before first use. If you're uncomfortable with electrical work, consult a qualified electrician—the cost of professional help is far less than the risk of improper wiring.
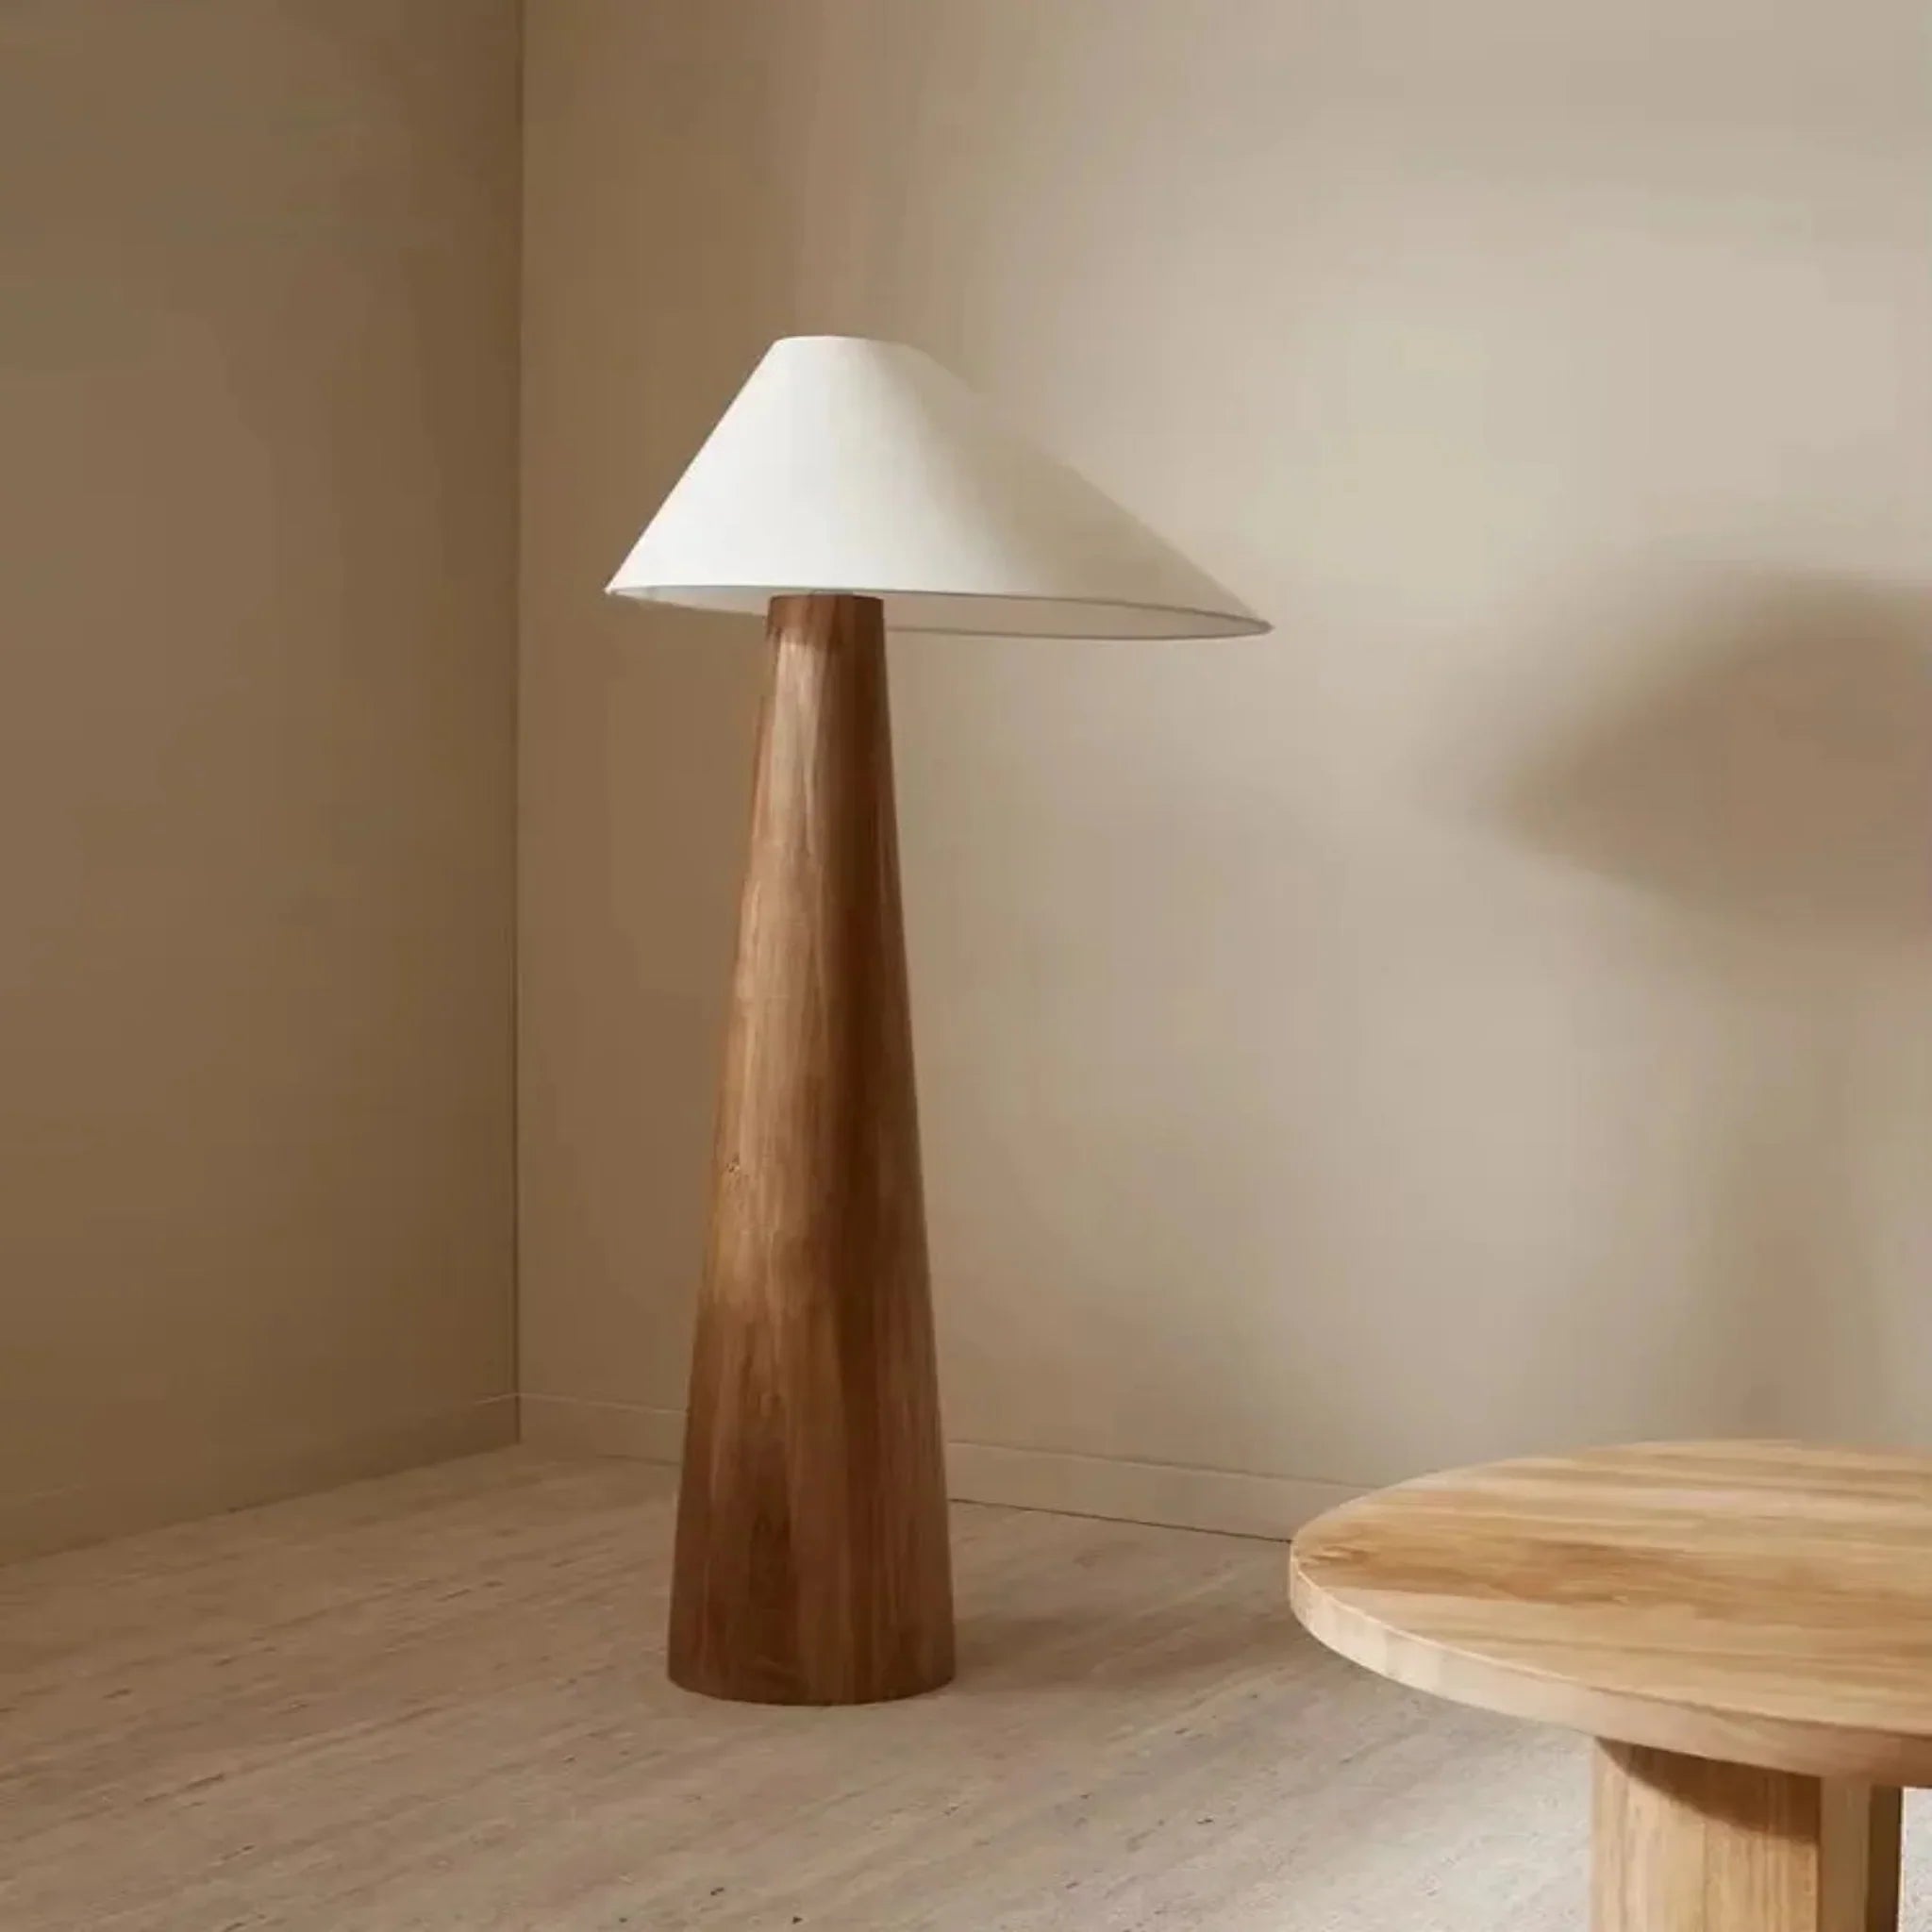
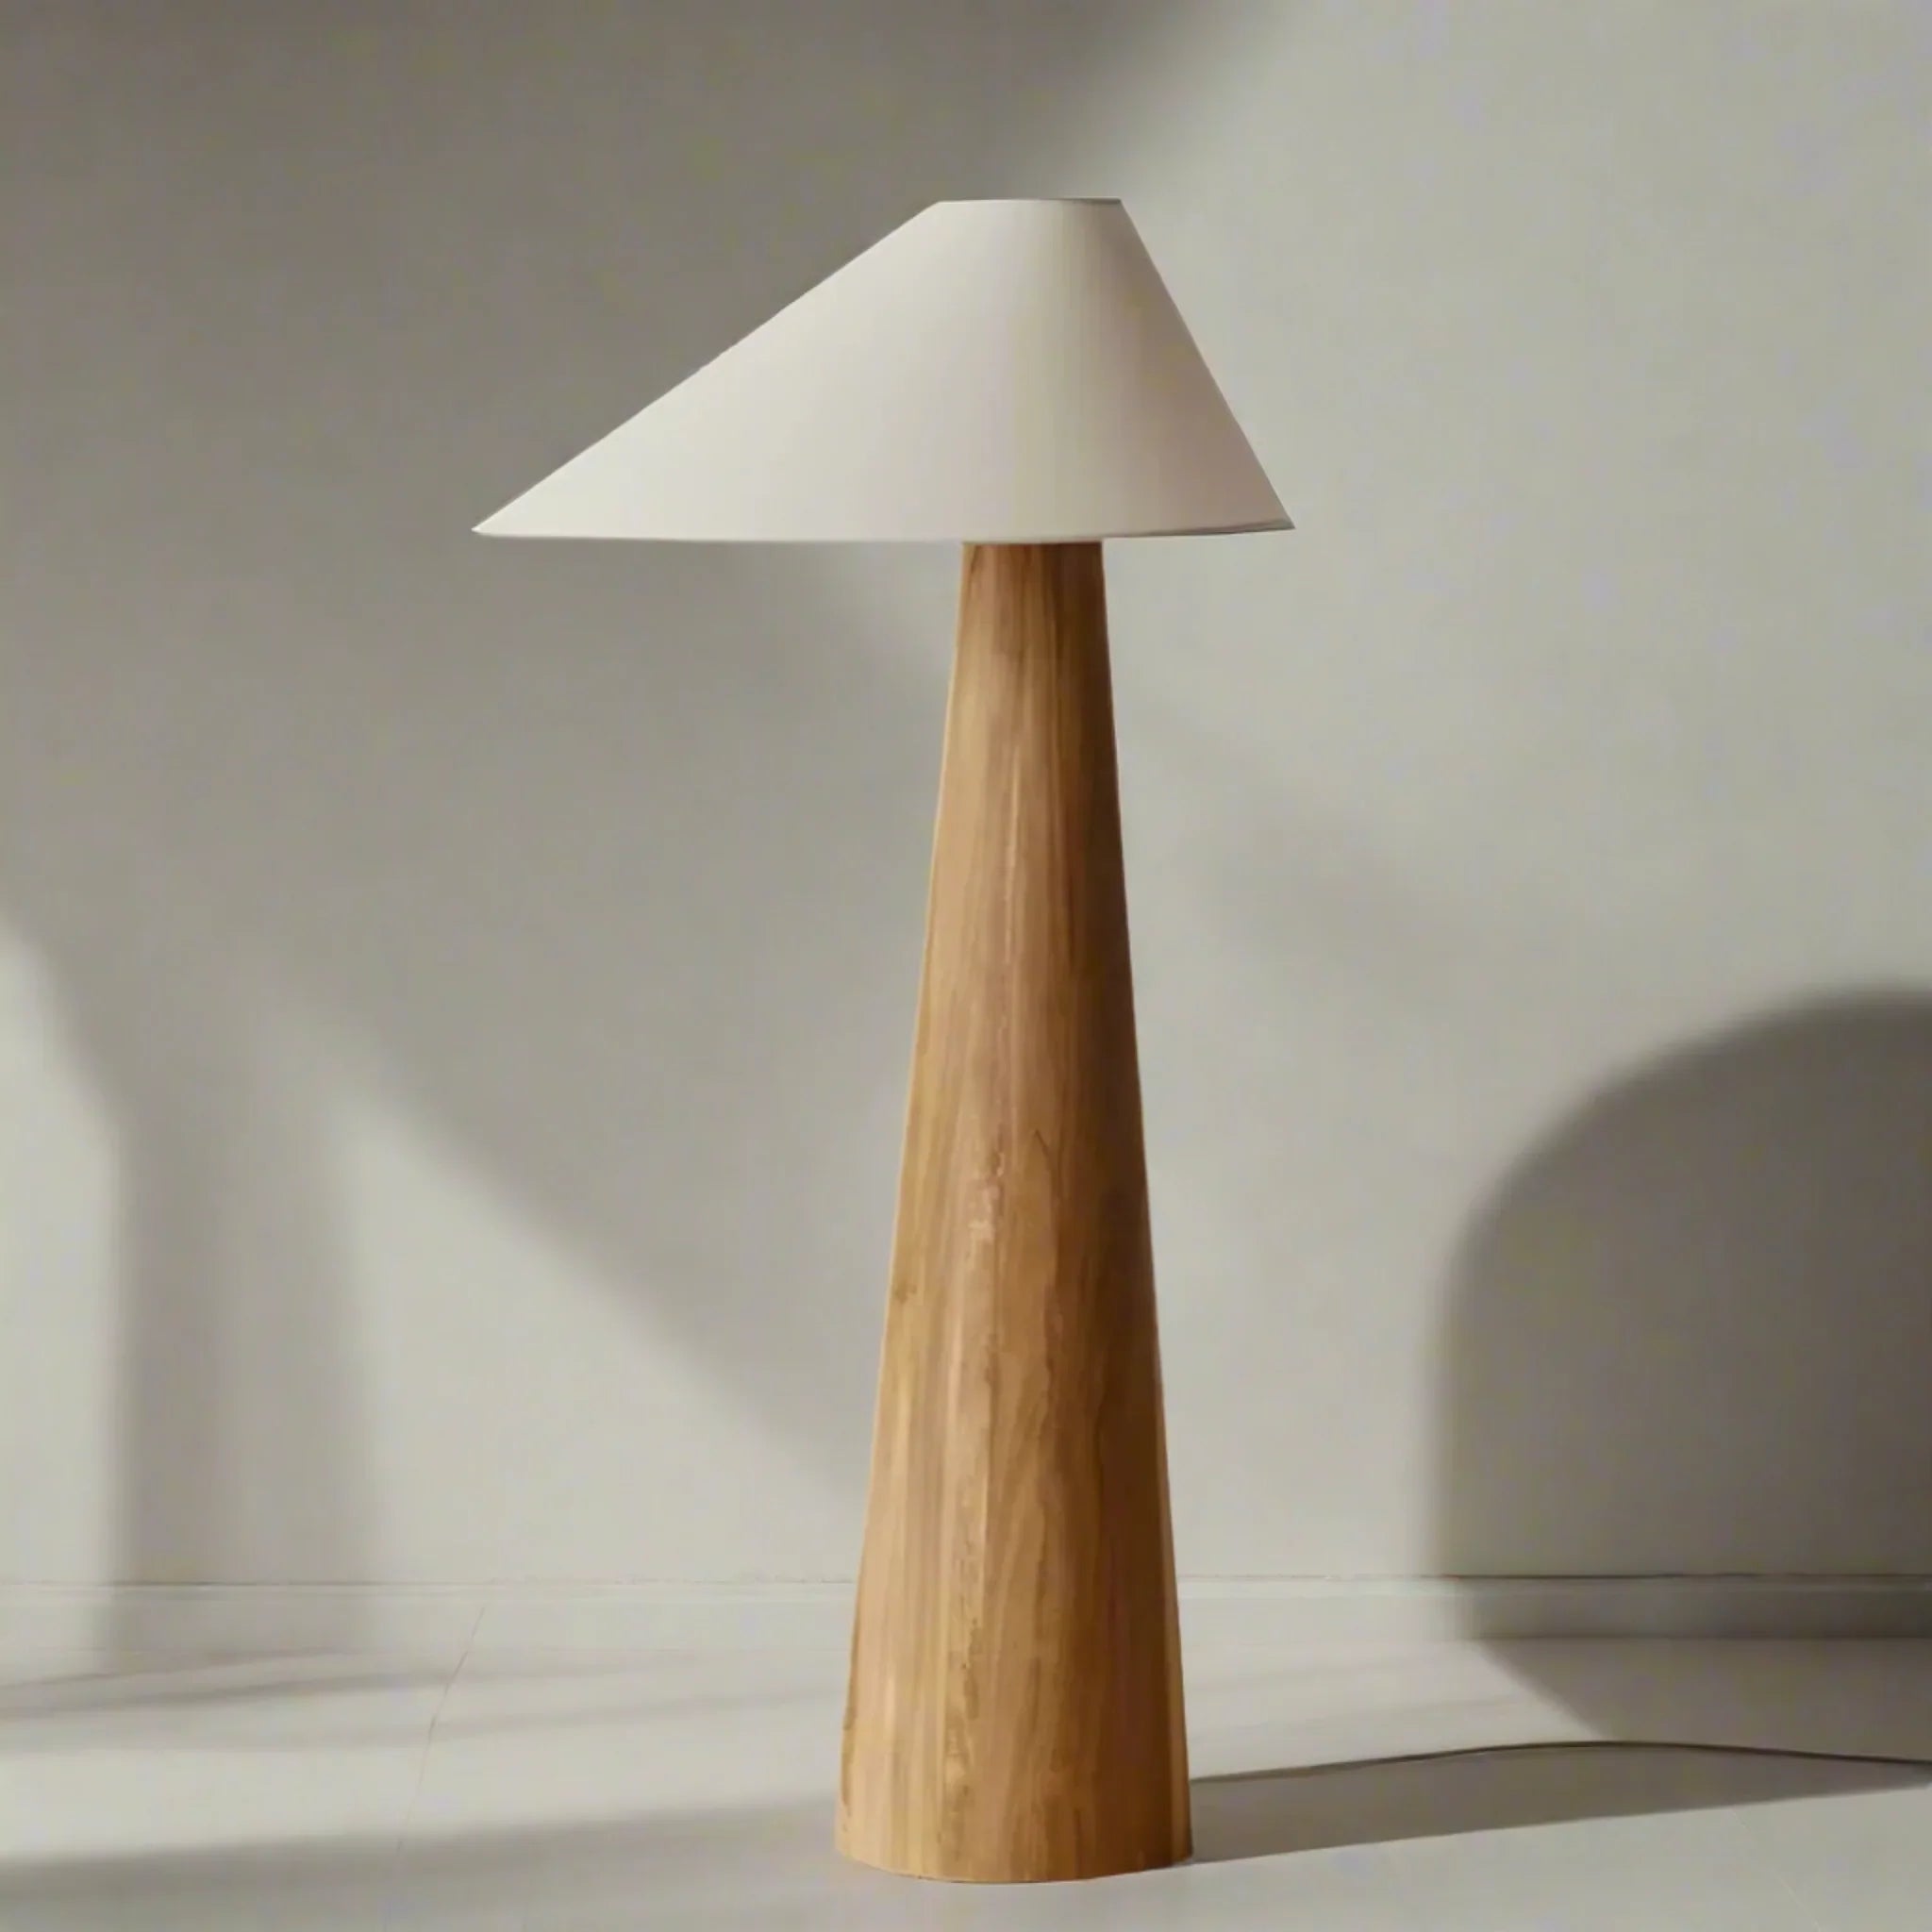
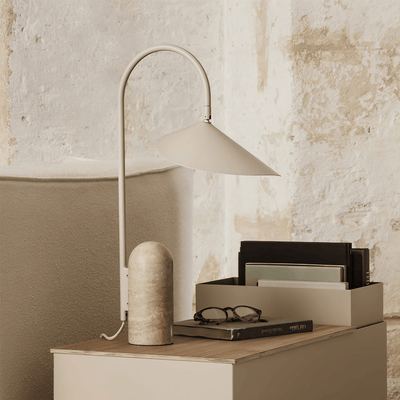
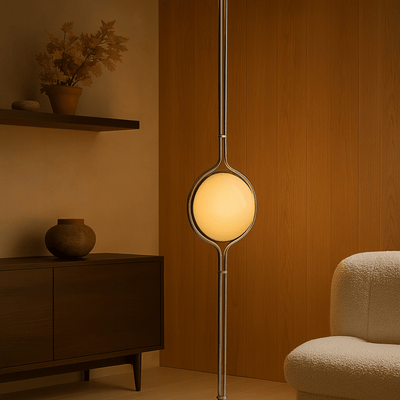
For those seeking the satisfaction of completed woodworking without electrical complexity, consider that some challenges are better left to artisans. The Stille Japanese Wabi-Sabi Solid Wood Floor Lamp offers that handcrafted, organic aesthetic many DIYers seek—without the wiring puzzle. Each piece is shaped from solid wood with natural grain patterns preserved, delivering zen ambient glow through intentional design.

Stille Japanese Wabi-Sabi Solid Wood Floor Lamp
$399.00 $699.00
Handcrafted from solid wood with natural grain, this timeless wabi-sabi floor lamp brings organic warmth and zen ambient glow to any corner of your home.
Explore ProductCustomization Ideas for Your DIY Floor Lamp
The difference between a functional lamp and a stunning one lies in customization. Here are approaches that elevate your build:Wood-Forward Designs
For fans of Scandinavian and Japanese aesthetics, DIY floor lamp wood projects offer warmth and organic character. Consider using live-edge hardwood, bamboo, or driftwood for the pole. Apply natural oils rather than stains to highlight grain patterns. Pair with rice paper or linen shades for that authentic wabi-sabi feeling.
LED Strip Integration
Modern DIY floor lamp LED strip designs create dramatic ambient lighting. Mount warm-white LED strips inside a diffusing channel along your pole, or create an uplight effect by positioning strips to wash the ceiling. This approach works beautifully for living rooms and home theaters, offering dimmable atmosphere without harsh direct light.
DIY Floor Lamp Shade Solutions
Your shade transforms the lamp's character completely. Fabric, paper, woven rattan, or even repurposed materials like cheesecloth can create unique effects. For a minimalist approach, leave the bulb exposed with an Edison filament for industrial charm.
What Makes Floor Lamps Look Expensive
Understanding the markers of quality helps inform your build or informs a smarter purchase decision. What makes a floor lamp look expensive comes down to several principles:- Proportion and scale: Expensive-looking lamps feel balanced, neither cramped nor overwhelming
- Material quality: Solid wood, brushed metals, and natural textiles convey value
- Finish and detail: Visible craftsmanship, clean joints, and thoughtful hardware
- Light quality: Warm color temperature (2700K-3000K) with proper diffusion
- Weight and stability: Quality lamps feel substantial and grounded
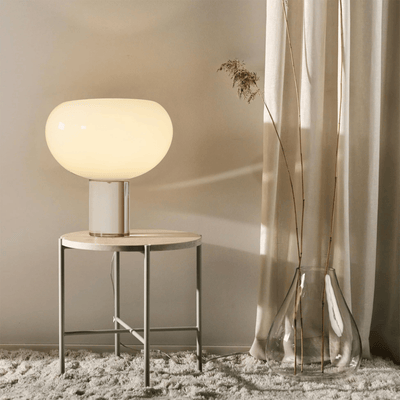
For those who want luxurious results without the workshop investment, Japandi Lighting offers a curated collection where artisans have solved these design challenges. Pieces like the Mysa Minimalist Velvet Fabric Shade Floor Lamp demonstrate how brushed alloy frames and textured fabric create that intimate, cocooning atmosphere that reads as sophisticated and intentional.

That said, achieving expensive-looking results in your DIY floor lamp is absolutely possible with attention to the factors above. Choose materials thoughtfully, execute your build with precision, and let the natural beauty of quality components speak for themselves.
Professional Alternatives for Every Aesthetic

Mysa Minimalist Velvet Fabric Shade Table Lamp
$659.00
$1,019.00
A commanding 61-inch floor lamp with brushed alloy frame and textured fabric shade that creates an intimate, cocooning atmosphere perfect for living spaces. Learn more ➔

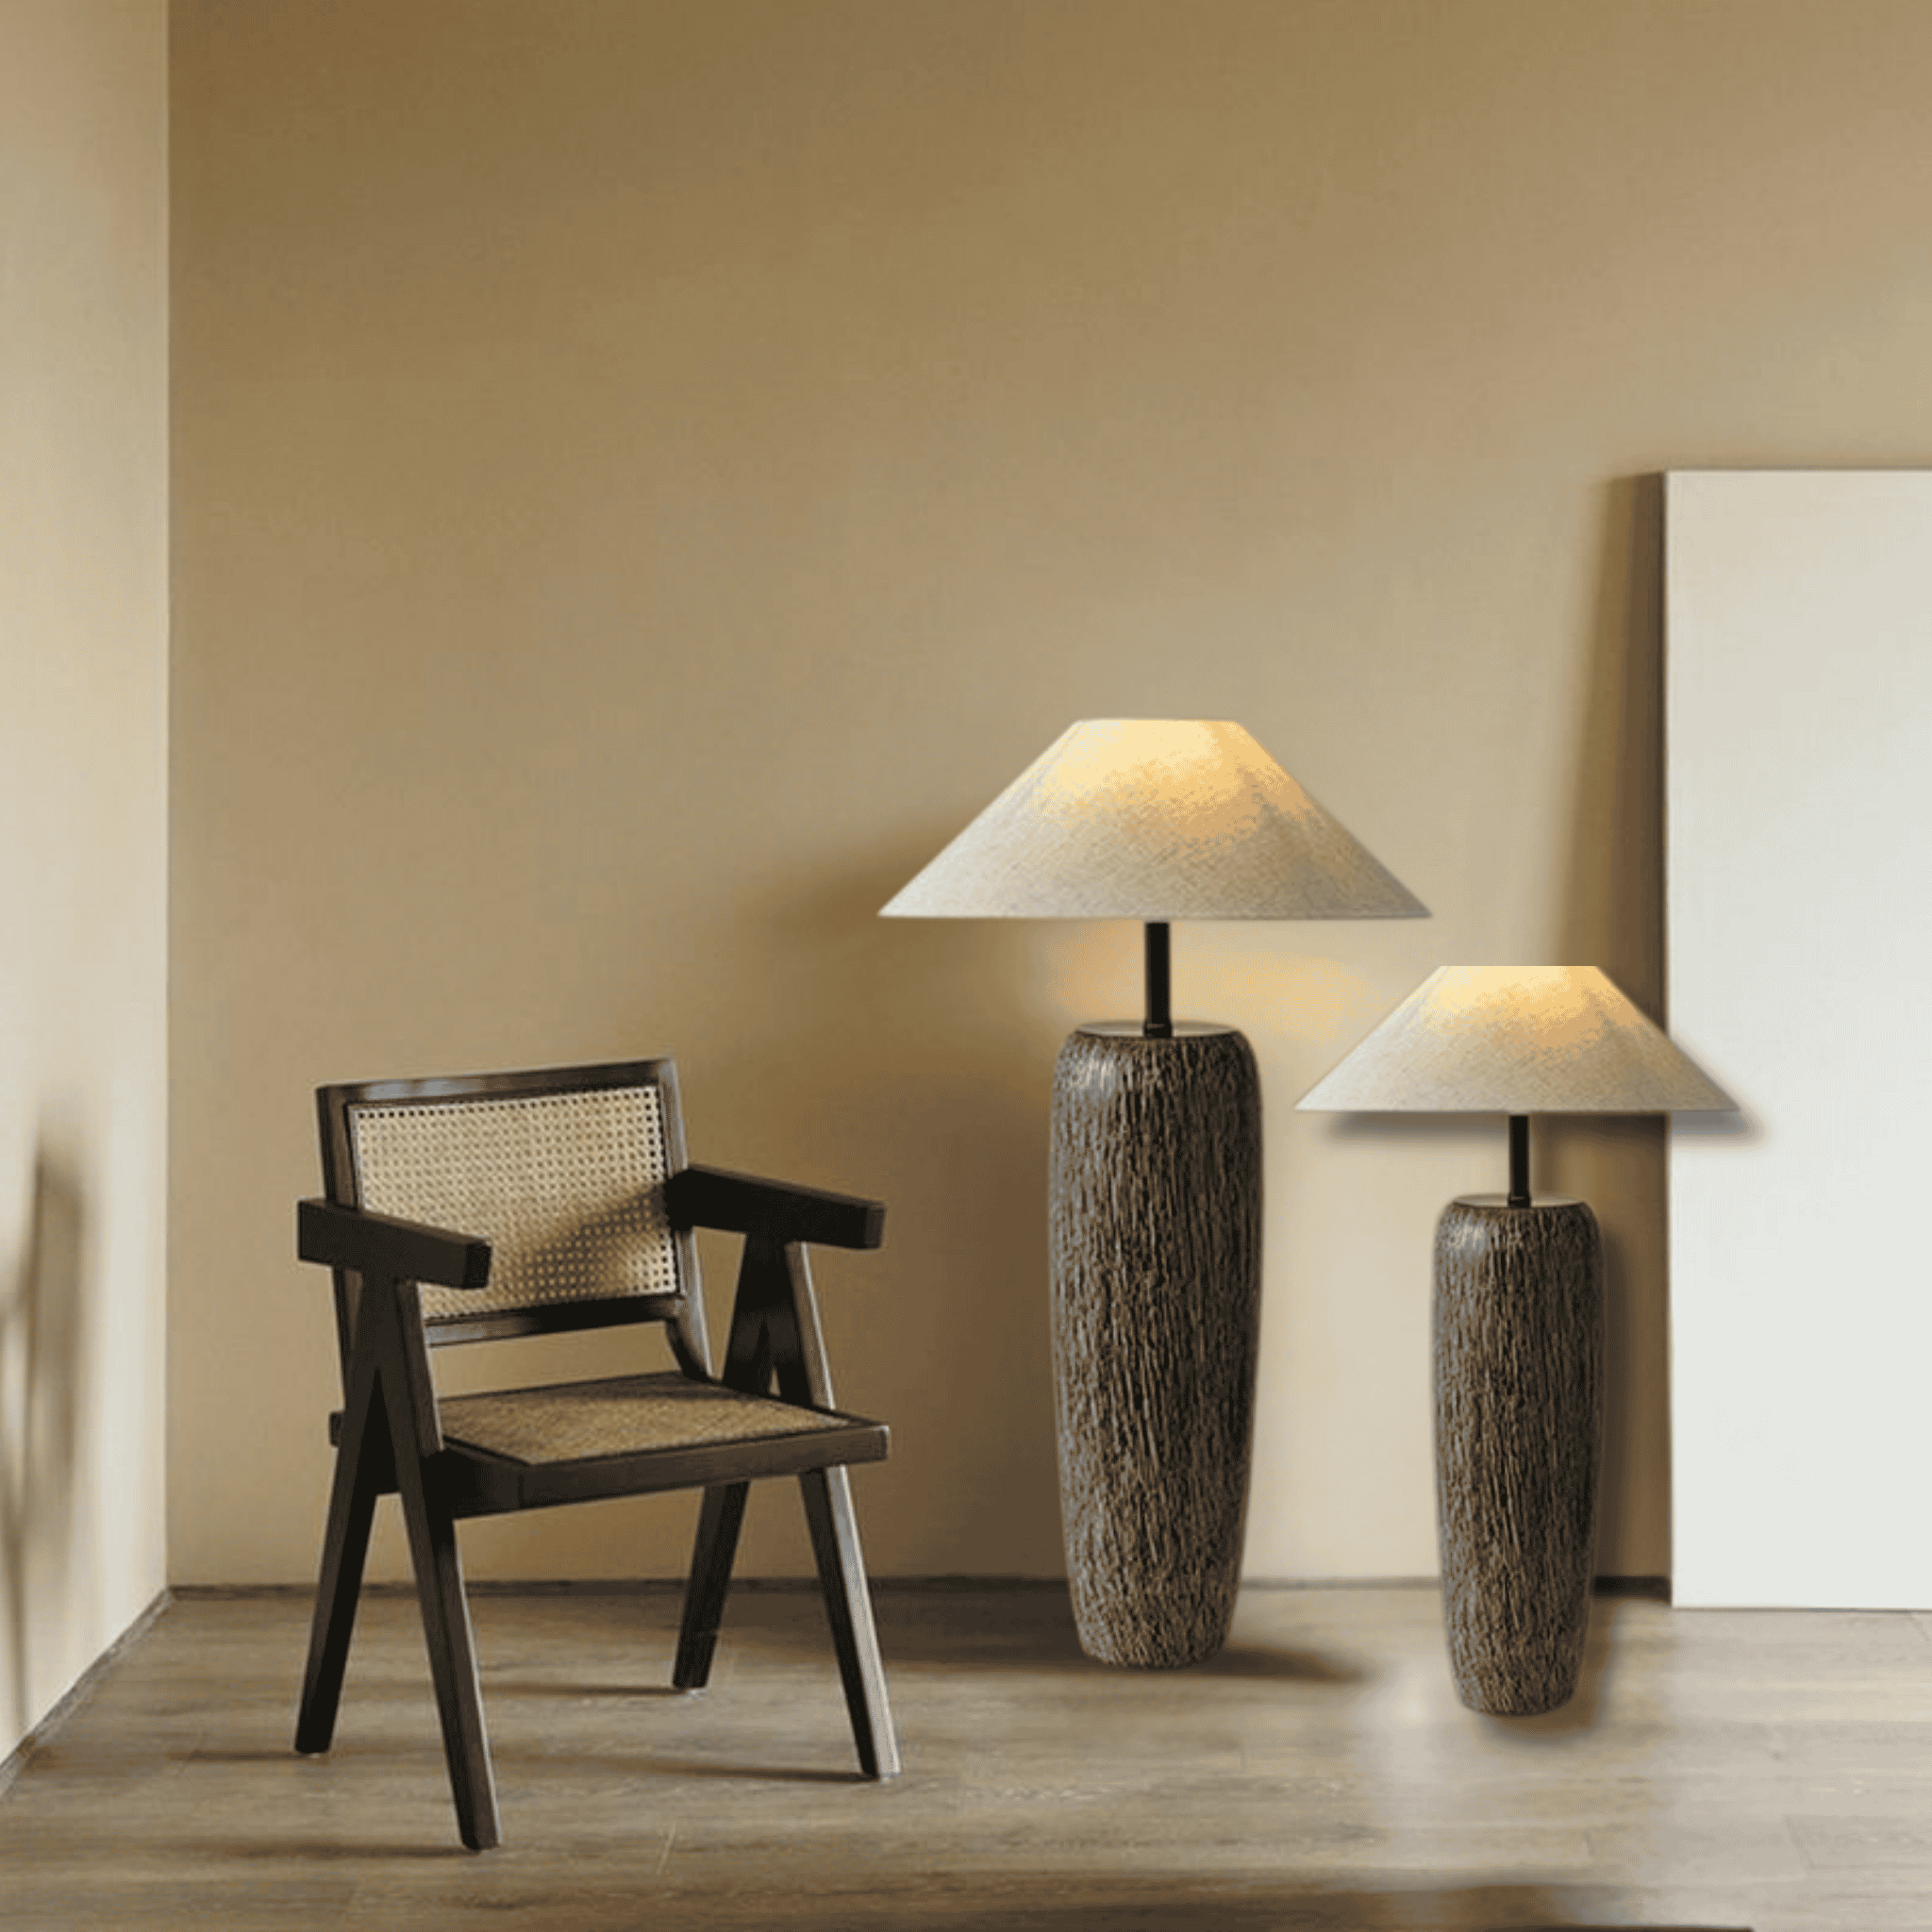
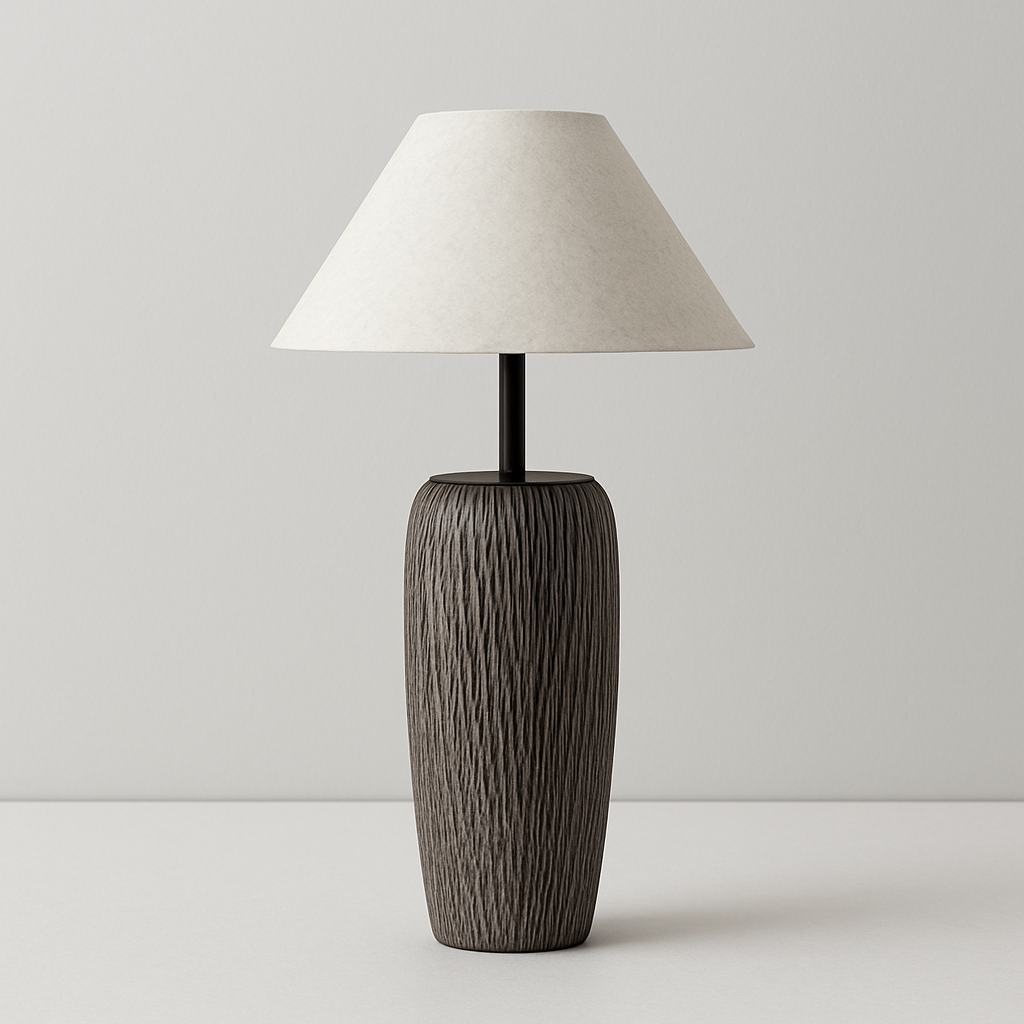
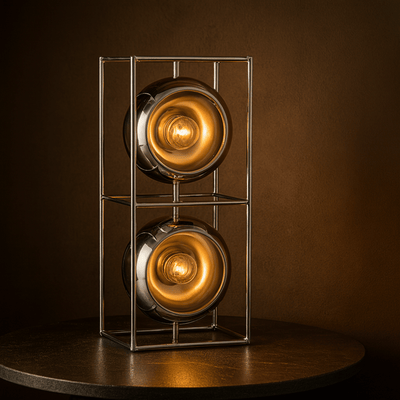
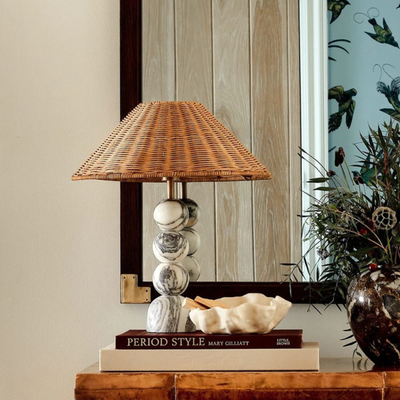
Vasten Artisan Japanese Ceramic Floor Lamp
$394.00
$569.00
Hand-finished sculptural ceramic lamp inspired by wabi-sabi philosophy, casting warm ambient glow through its artful organic form. Learn more ➔
Floor Lamp Rules: Placement and Design Principles
What are the rules for floor lamps? While interior design allows creative expression, certain principles ensure your lamp performs beautifully:
Height and Scale
The bottom of your shade should sit at eye level when seated—that's typically 58-64 inches for an average adult. This reduces glare while maximizing useful light. For reading lamps, position close enough that light falls on your page without shadows.
Traffic Flow
Place floor lamps where they won't obstruct walkways. Maintain 18-24 inches clearance from seating areas. In corners, angle the shade toward the room rather than the walls for better light distribution.
Layering Light
A single floor lamp rarely suffices for room lighting. Combine with ceiling fixtures, wall sconces, and table lamps. Your DIY floor lamp for living room use should complement existing sources rather than compete.
Visual Weight
Balance heavy furniture with substantial lamps, and delicate pieces with slender profiles. A minimalist Scandinavian space might call for the slender elegance of a tall wood pole, while a plush reading nook welcomes a more solid presence.
Alternatives to Traditional Floor Lamps
If building your own feels overwhelming, or if you're looking for what you can use instead of a floor lamp, consider these alternatives:
- Wall sconces: Excellent for small spaces where floor real estate is precious
- Pendant lights: Create ambient glow while freeing floor space entirely
- Table lamps on plant stands: Achieve floor lamp height with equipment you already own
- Architectural lighting: Integrated LED coves or track systems for modern spaces
- Candle clusters with reflectors: For purely atmospheric, non-task lighting
Each alternative offers distinct advantages. Wall sconces and pendants require installation but eliminate cords. Table lamp hacks offer flexibility. Ultimately, the right choice depends on your space constraints, lighting needs, and design preferences.
For those drawn to sculptural ceramic artistry, the Vasten Artisan Japanese Ceramic Floor Lamp presents a hand-finished piece where art meets function. Its organic wabi-sabi form casts warm ambient glow that no DIY project could easily replicate.

Conclusion: Your Path to Perfect Illumination
Creating a DIY floor lamp is a deeply rewarding endeavor. It connects you to your space in ways that store-bought items rarely achieve. From selecting materials to threading that final wire, each step brings you closer to lighting that's uniquely yours.
But not every journey requires starting from scratch. At Skonne, we believe in intentional living—whether that means building your own standing lamp or selecting pieces crafted by artisans who share your values. Our collection of floor lamps embodies the same principles that make DIY projects meaningful: natural materials, thoughtful design, and the warmth of Scandinavian hygge.
Whether you build, wire, and customize, or choose from our curated floor lamp collection, the goal remains the same: creating spaces that feel like home.
Frequently Asked Questions about DIY Floor Lamps
To make your own floor lamp, you'll need a stable base, a vertical pole, a lamp socket assembly, wiring, and a shade. Start by securing the pole to a weighted base, then route the cord through the pole. Wire the socket following safety standards (neutral to silver terminal, hot to brass), attach a shade, and install a bulb. Always test connections with a multimeter before plugging in.
Alternatives to floor lamps include wall sconces (space-saving), pendant lights (ambient overhead glow), table lamps on elevated stands (achieving floor lamp height), architectural LED coves, and even candle arrangements with reflectors for atmospheric lighting. Each offers distinct advantages depending on your space constraints and lighting needs.
Expensive-looking floor lamps feature balanced proportions, quality materials (solid wood, brushed metals, natural textiles), refined finishes with clean joints, warm light color temperature (2700K-3000K), and substantial weight for stability. Attention to visible craftsmanship and thoughtful hardware details also signals quality and intentionality.
Key rules for floor lamp placement include positioning the shade bottom at eye level when seated (58-64 inches), maintaining 18-24 inches clearance from seating for traffic flow, angling light toward the room rather than walls for better distribution, balancing visual weight with surrounding furniture, and layering with other light sources rather than relying on a single lamp.
To wire a standing lamp safely, always work unplugged. Strip 3/4 inch of insulation from cord ends to expose wires. Connect the neutral wire (ribbed/white) to the silver socket terminal and the hot wire (smooth/black) to the brass terminal. Wrap all connections with electrical tape, secure the cord with an underwriter's knot inside the socket housing, and test with a multimeter before use. If uncertain, consult a licensed electrician.