
How to Replace an LED Ceiling Light: A Step-by-Step DIY Guide
Summary›
- Safety First: Powering Down Before You Begin
- Gathering Your Tools for Success
- Step-by-Step: Removing Your Old Fixture
- Understanding Your Wiring Connections
- Installing Your New LED Ceiling Light
- Can I Replace a Regular Ceiling Light with LED?
- Integrated LED vs. Bulb-Ready Fixtures: Making the Right Choice
- Visual Guidance: Watch the Installation Process
- Troubleshooting Common Installation Challenges
- When to Call a Professional Electrician
- The Reward: Enjoying Your Transformed Space
- Conclusion
Standing beneath a dim, outdated ceiling fixture, you dream of the warm, Scandinavian glow that transforms a house into a home. Whether you're a first-time homeowner eager to personalize your space or a renter ready to make your mark, learning how to replace an LED ceiling light opens the door to a brighter, more energy-efficient living environment.
This comprehensive led ceiling light replacement guide walks you through every step of the DIY process—from safely disconnecting power to admiring your handiwork when the switch flips. Along the way, we'll explore beautiful fixture options that bring Nordic intentionality to your ceiling, because the right light isn't just functional; it's the heart of a space that feels authentically yours.
Safety First: Powering Down Before You Begin
Before reaching for your screwdriver, understanding electrical safety is paramount. The most critical step in any ceiling light installation is ensuring the power is completely disconnected from the circuit you'll be working on.
Start at your main electrical panel and switch off the breaker that controls the room where you're working. Don't simply rely on the wall switch—while it cuts power to the light, the wires in the ceiling box remain live and dangerous. Use a non-contact voltage tester on the wires before touching them to confirm zero electricity is flowing. Place a piece of tape over the breaker switch to alert others not to restore power while you're working.
If your home has an older fuse box instead of circuit breakers, remove the fuse entirely for the circuit you're working on. Taking these precautions only takes a few minutes but provides the peace of mind essential for confident DIY work.
Gathering Your Tools for Success
A successful DIY lighting upgrade begins with having the right equipment within arm's reach. Here's what you'll need for most ceiling light replacements:
- Non-contact voltage tester
- Screwdriver set (flathead and Phillips)
- Wire strippers (if needed)
- Wire nuts or connectors
- Electrical tape
- Step ladder
- Safety glasses
- Work gloves
Having everything organized before you begin prevents mid-project disruptions and keeps your workflow smooth. Many modern flush mount LED replacement fixtures use push-in connectors, which can eliminate the need for traditional wire nuts and simplify installation significantly.
Step-by-Step: Removing Your Old Fixture
With power safely disconnected and tools ready, it's time to remove the existing fixture. Most ceiling lights attach via a mounting bracket secured to the electrical box with screws. Support the fixture with one hand while loosening these screws with the other—old fixtures can be heavier than they appear.
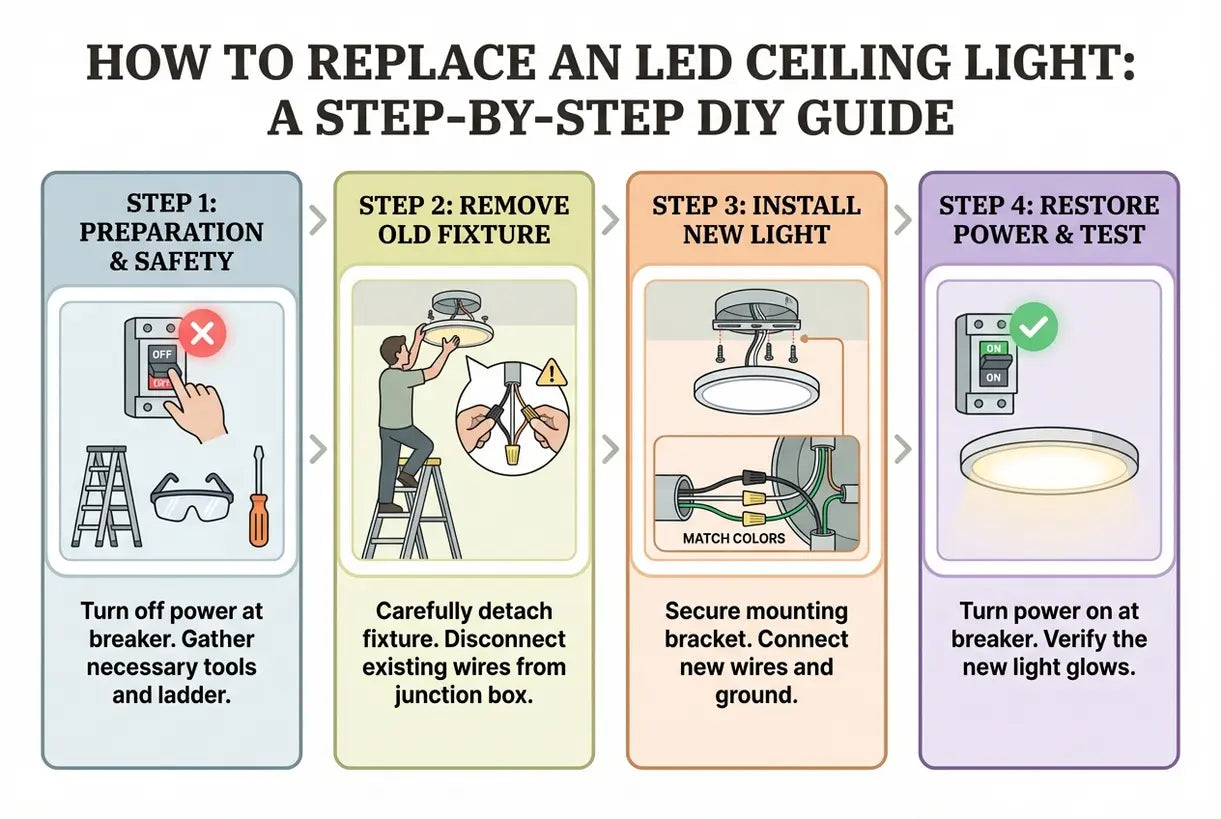
Once the fixture body is free, carefully lower it to expose the wiring connections. Take a photo of how the wires are connected before disconnecting anything—this serves as your reference if questions arise during installation. Most residential fixtures connect with three wires: black (hot), white (neutral), and bare copper or green (ground).
Untwist the wire nuts or release the connectors, separating the fixture wires from the house wiring. Remove the old mounting bracket if your new fixture includes its own, as different manufacturers use different mounting systems. Set aside all old hardware, keeping screws organized in case you need them later.
Understanding Your Wiring Connections
The junction box in your ceiling is the command center for your new installation. Modern LED ceiling light wiring configurations are typically straightforward, but understanding what you're looking at builds confidence and ensures safe connections.
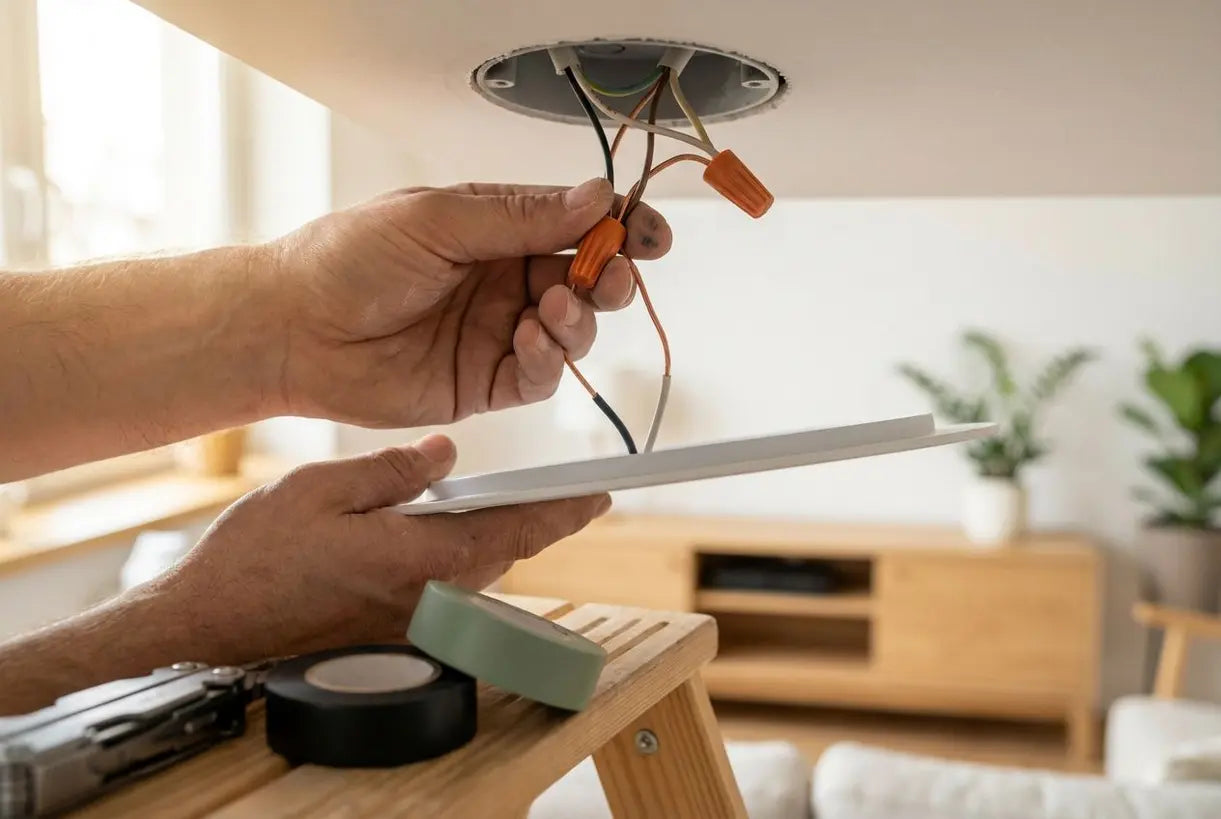
Your house wiring should present three distinct conductors: the black wire carries electrical current to the fixture, the white wire returns it to complete the circuit, and the bare copper or green wire provides grounding protection. LED fixtures follow the same color coding, making connections intuitive—match like colors together.
If your home predates the 1960s, you may encounter cloth-covered wiring or wiring without a ground conductor. In these cases, consult a licensed electrician before proceeding, as modern LED fixtures require proper grounding for safety and warranty compliance.
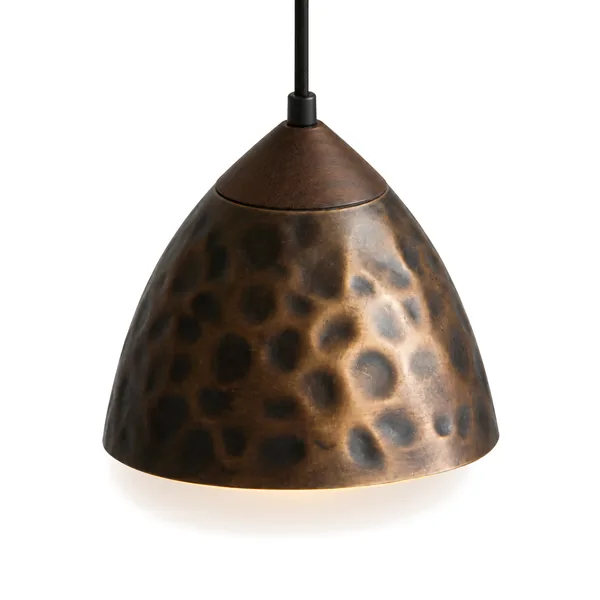
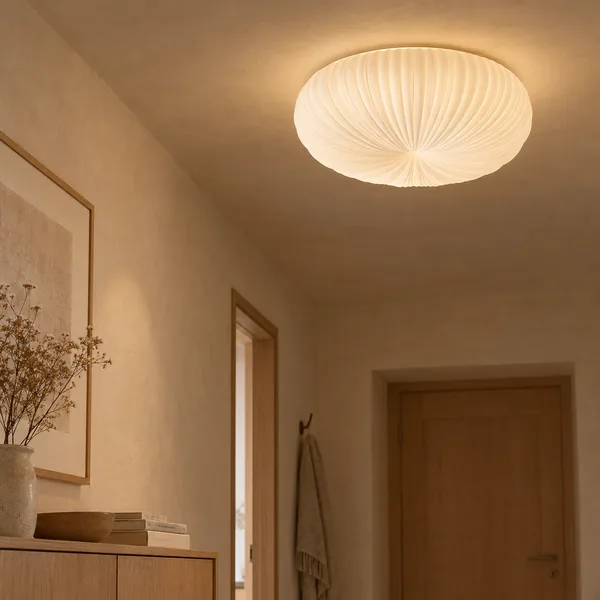 Kupa Cream Sculptural Flush Mount Ceiling Light$295.00$389.00
For those seeking a truly effortless installation experience, the Kupa Cream Sculptural Flush Mount Ceiling Light features an integrated tricolor LED system that eliminates separate bulb purchases and complex wiring. Its self-contained design embodies Scandinavian simplicity—beautiful, functional, and remarkably easy to install.
Mounted Ceiling Lights
Shop all Ceiling Lights



Installing Your New LED Ceiling Light
With the old fixture removed and wiring understood, installation proceeds smoothly. Begin by attaching the new mounting bracket to the electrical box using the provided screws. Ensure the bracket sits flush and secure—this foundation carries your fixture's weight.
Next, connect the wires using the appropriate method for your fixture type. For wire nuts, twist the exposed copper ends together clockwise before adding the nut, then twist the nut until snug. For push-in connectors, strip approximately half an inch of insulation from each wire end, then insert firmly until the connector grips.
Always connect ground wires first, followed by neutral (white), and finally hot (black). This sequence minimizes risk if power is accidentally restored during work. After connections are secure, carefully tuck all wires into the electrical box, ensuring no sharp edges contact the wire insulation.
Can I Replace a Regular Ceiling Light with LED?
Absolutely. One of the most appealing aspects of modern ceiling light installation is the flexibility to upgrade from incandescent or fluorescent fixtures to energy efficient lighting DIY solutions. LED technology has evolved to fit virtually every mounting scenario, from traditional threaded bases to integrated designs.
When replacing an older fixture, verify that your electrical box can support the weight of your new selection. While LEDs are typically lighter than their predecessors, some statement pieces—like glass fixtures or larger flush mounts—may require additional support. Most residential ceiling boxes rated for fixtures up to 50 pounds handle standard LED replacements with ease.
LED retrofits also offer remarkable flexibility in color temperature. Where old incandescent bulbs produced a fixed warm glow, modern LEDs allow you to select between warm white (2700K) for cozy bedrooms, cool white (4000K) for task-oriented kitchens, or daylight (5000K+) for detailed work spaces.
Integrated LED vs. Bulb-Ready Fixtures: Making the Right Choice
Understanding the difference between integrated and retrofit LED options helps you select the perfect fixture for your needs. Integrated LED ceiling lights embed the light source directly into the fixture housing, offering sleek profiles and optimized light distribution. These fixtures typically last 25,000 to 50,000 hours and provide consistent performance throughout their lifespan.
Retrofit-ready fixtures, on the other hand, accept standard LED bulbs in bases like E26 or E27. These offer flexibility—you can change color temperature or brightness by simply swapping bulbs, and replacement is straightforward when a bulb eventually fails. However, they may not achieve the ultra-thin profiles possible with integrated designs.
Elegant Options for Every DIY Skill Level
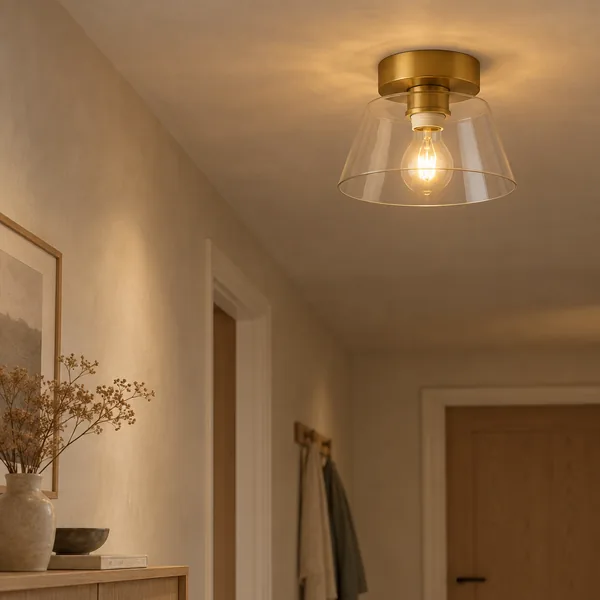 Klara Nordic Glass Ceiling Light for Interiors$109.00$169.00
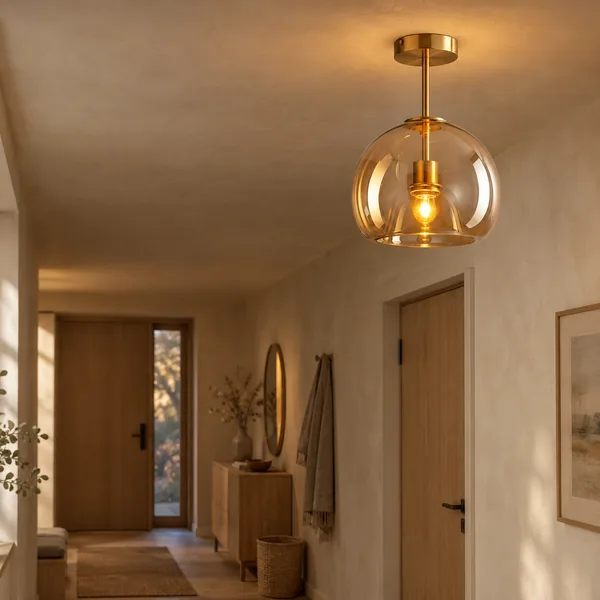 Glasa Minimalist Glass Ceiling Light Warm Glow$119.00$209.00
The Klara Nordic Glass Ceiling Light exemplifies the retrofit approach with its E27 base, making it perfect for DIY enthusiasts who value flexibility and straightforward installation. Meanwhile, the Glasa Minimalist Glass Ceiling Light offers a surface-mounted design with amber or smoke gray glass that creates an immediate atmosphere of hygge warmth in hallways, bedrooms, or intimate dining spaces.
Bedroom Lighting & Decor
Shop all Bedroom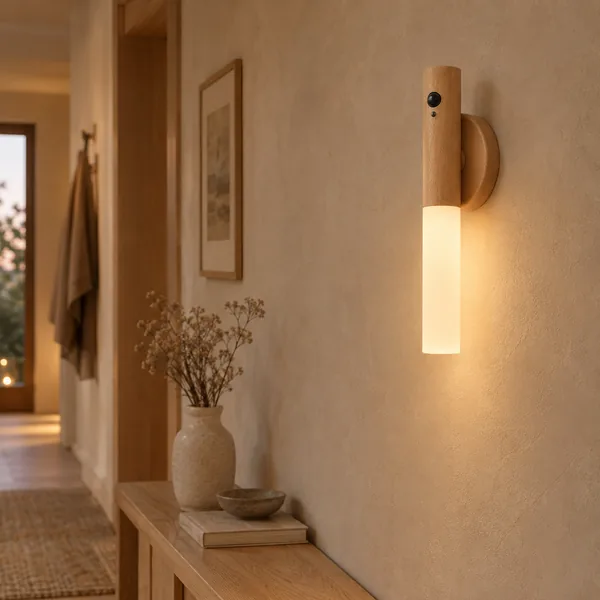
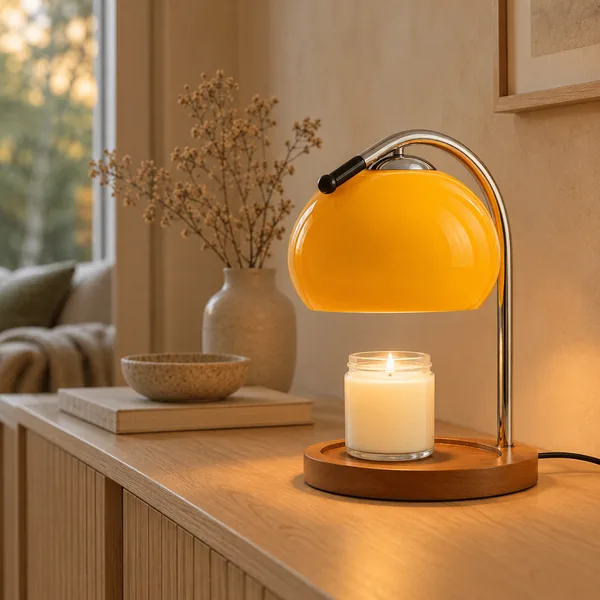
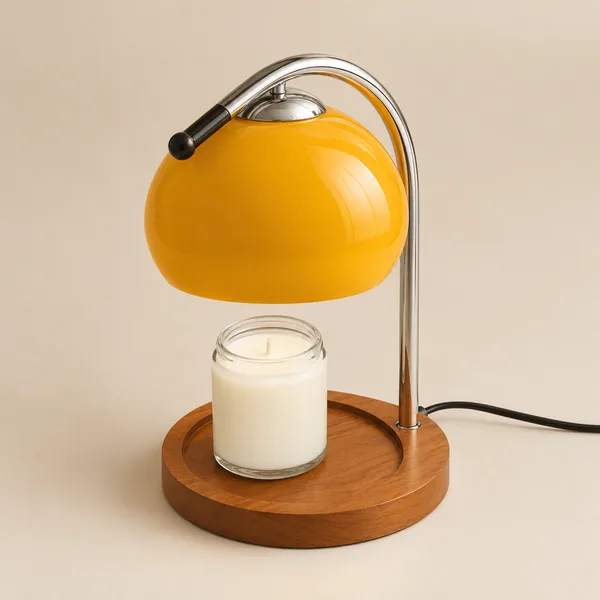 Save $60.00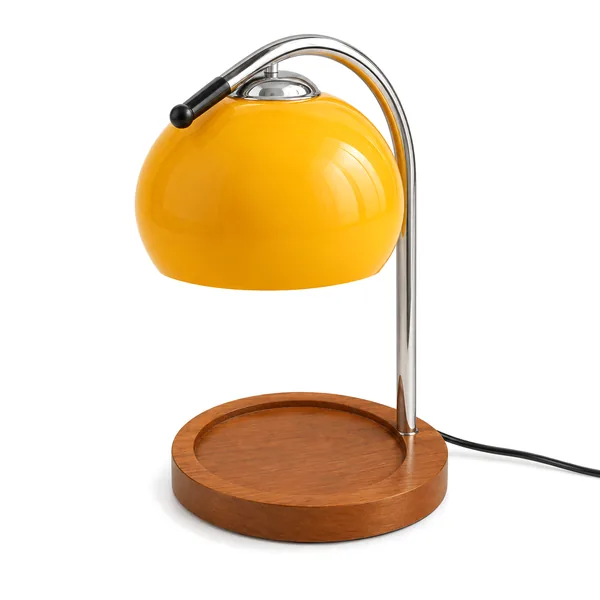
 3 options
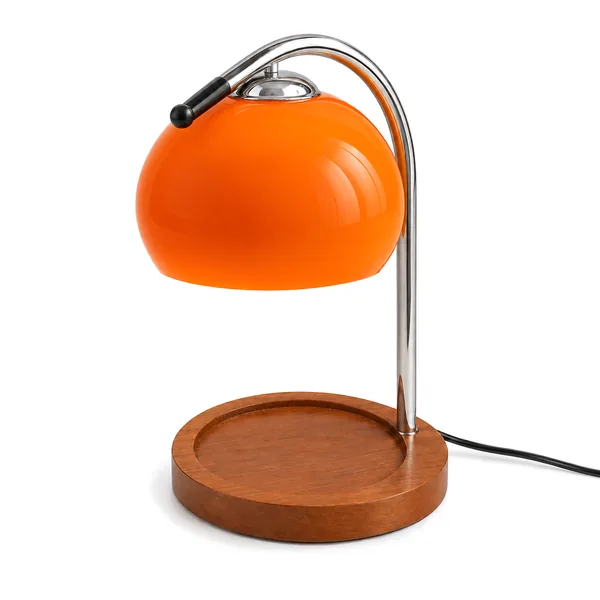
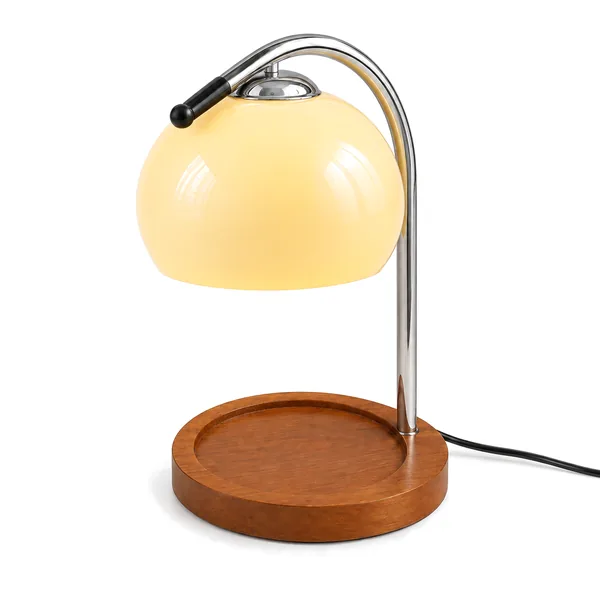
Solvarm Stained Glass Candle Warmer Table Lamp
 Save $120.00
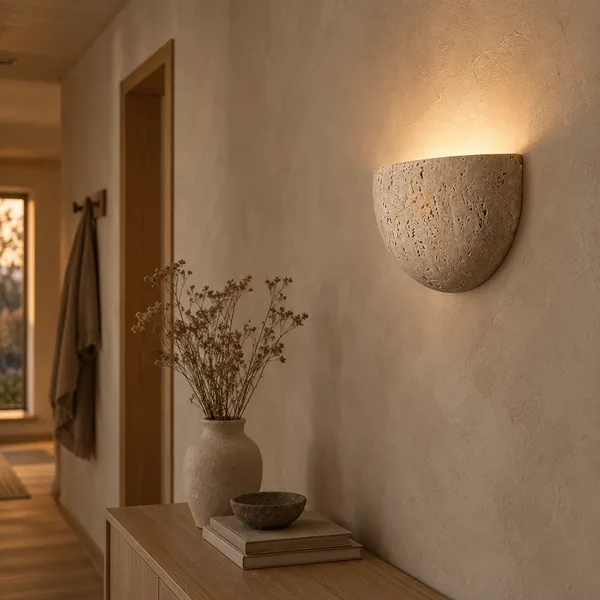
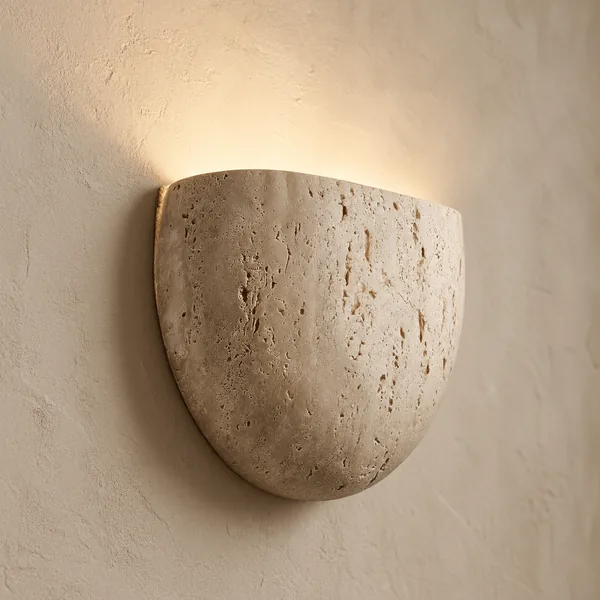
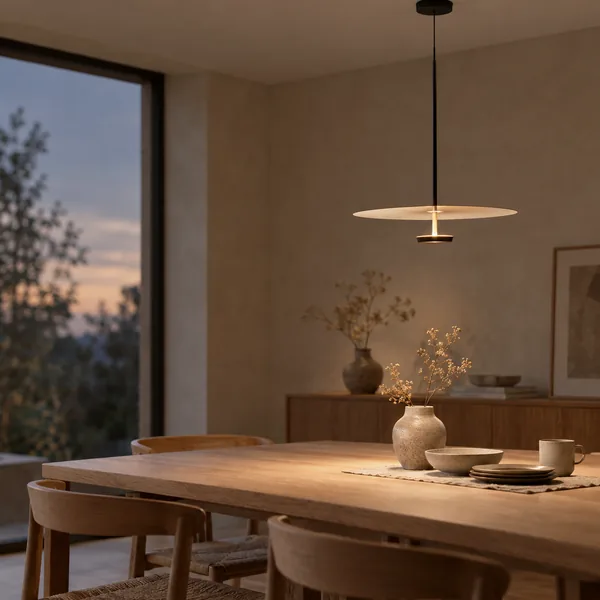
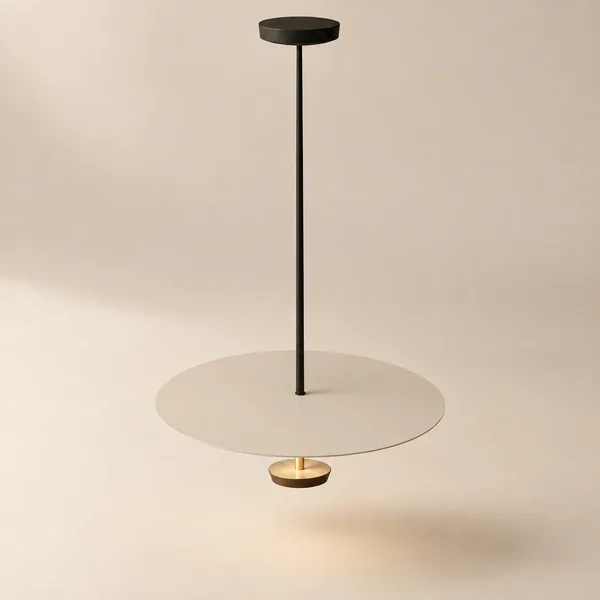
Skiva Nordic Saucer Ceiling Pendant Light LED
Visual Guidance: Watch the Installation Process
Sometimes seeing the process brings clarity that words alone cannot. This detailed tutorial demonstrates how to remove an outdated fixture and install a modern LED replacement, with practical tips for common challenges you'll encounter during your own project.
Notice in the video how the installer tests for power multiple times, never assuming safety based on a single check. This redundancy is the hallmark of professional-quality DIY work. Pay attention also to how they manage wire lengths—too short creates connection difficulties, while too long prevents the fixture from sitting flush against the ceiling.
Troubleshooting Common Installation Challenges
Even well-prepared DIY enthusiasts occasionally encounter surprises. Here are solutions to frequent issues during modern ceiling light install projects:
Flickering after installation: Usually indicates a loose wire connection. Turn off power, remove the fixture, and verify all wire nuts are tight and wires are properly seated in push connectors.
Fixture won't sit flush: Excess wiring in the ceiling box is the common culprit. Carefully rearrange wires, folding them accordion-style to create space for the fixture canopy.
Breaker trips immediately: Indicates a short circuit—likely wires touching each other or the metal electrical box. Recheck all connections, ensuring exposed copper doesn't contact other wires or the box.
No light after installation: Verify the bulb is properly seated (for retrofit fixtures) and test with a known working bulb. Check that wall switches are in the "on" position before concluding there's a wiring issue.
When to Call a Professional Electrician
While many LED ceiling light replacements are within reach of confident DIYers, certain situations warrant professional assistance. If you discover aluminum wiring, knob-and-tube systems, or electrical boxes that appear damaged or overheated, stop immediately and consult a licensed electrician. These scenarios require specialized knowledge and tools beyond standard homeowner equipment.
Additionally, if you're considering a Chandelier installation or any heavy fixture weighing over 50 pounds, professional installation ensures proper ceiling support and safety compliance. The extra investment protects both your home and your peace of mind.
Most importantly, if you ever feel uncertain about a connection or configuration, trust your instincts. Professional electricians handle these situations daily and can complete the job safely—and often faster than a hesitant DIY attempt.

The Reward: Enjoying Your Transformed Space
With the final screw tightened and power restored, that first flip of the switch delivers an unmatched satisfaction. The room transforms—not just because there's light, but because you've chosen lighting that reflects your aesthetic and meets your needs.
LED technology means you'll enjoy immediate benefits: dramatically reduced energy consumption, minimal heat output, and years of maintenance-free operation. A quality LED fixture can operate 25,000 hours or more—over a decade of typical residential use.
But beyond the practical advantages, your new ceiling light becomes part of your home's personality. Whether you've chosen the sculptural warmth of organic shapes, the clean lines of Nordic minimalism, or the elegance of glass and metal, that fixture now contributes to the atmosphere where memories are made.
Conclusion
Replacing an LED ceiling light represents more than a home maintenance task—it's an opportunity to express your design vision while mastering a valuable DIY skill. By following proper safety protocols, understanding your wiring, and selecting fixtures that speak to your aesthetic, you transform both your ceiling and your confidence.
At Skonne, we believe that beautiful lighting should be accessible to everyone. Our curated collection of Scandinavian-inspired ceiling fixtures balances design integrity with practical installation—because the best spaces are those that feel intentional, warm, and authentically yours.
Whether you're refreshing a single room or embarking on a whole-home lighting transformation, the right fixture awaits. Browse our complete collection and discover how the art of illumination can elevate your everyday living.
Related Article
LED Ceiling Lights: The Complete Guide to Fixtures, Styles & What to BuyComplete guide to LED ceiling light fixtures covering styles, brightness options, installation tips & expert buying advice for every room.