Have you ever walked into a space and felt an immediate sense of warmth, depth, and intentionality that you couldn't quite put your finger on? Often, that magic comes from expertly executed ambient wall lighting—specifically, the subtle glow of LED strips tracing architectural features or creating floating effects behind furniture. The versatility of LED strip light design on wall surfaces has revolutionized how we think about illumination, offering homeowners the ability to sculpt their environments with light rather than simply brighten them.
For those seeking to infuse their homes with that coveted Nordic hygge feeling, understanding how to use tape lights effectively is essential. Whether you're looking to create a floating headboard effect in your bedroom, highlight open shelving in your living room, or add drama to a hallway niche, this comprehensive guide will walk you through everything from creative layouts to practical installation tips. We'll explore how Scandinavian design principles can guide your choices, ensuring your LED strip light design feels both timeless and distinctly personal.
Why LED Strip Lights Transform Your Wall Design
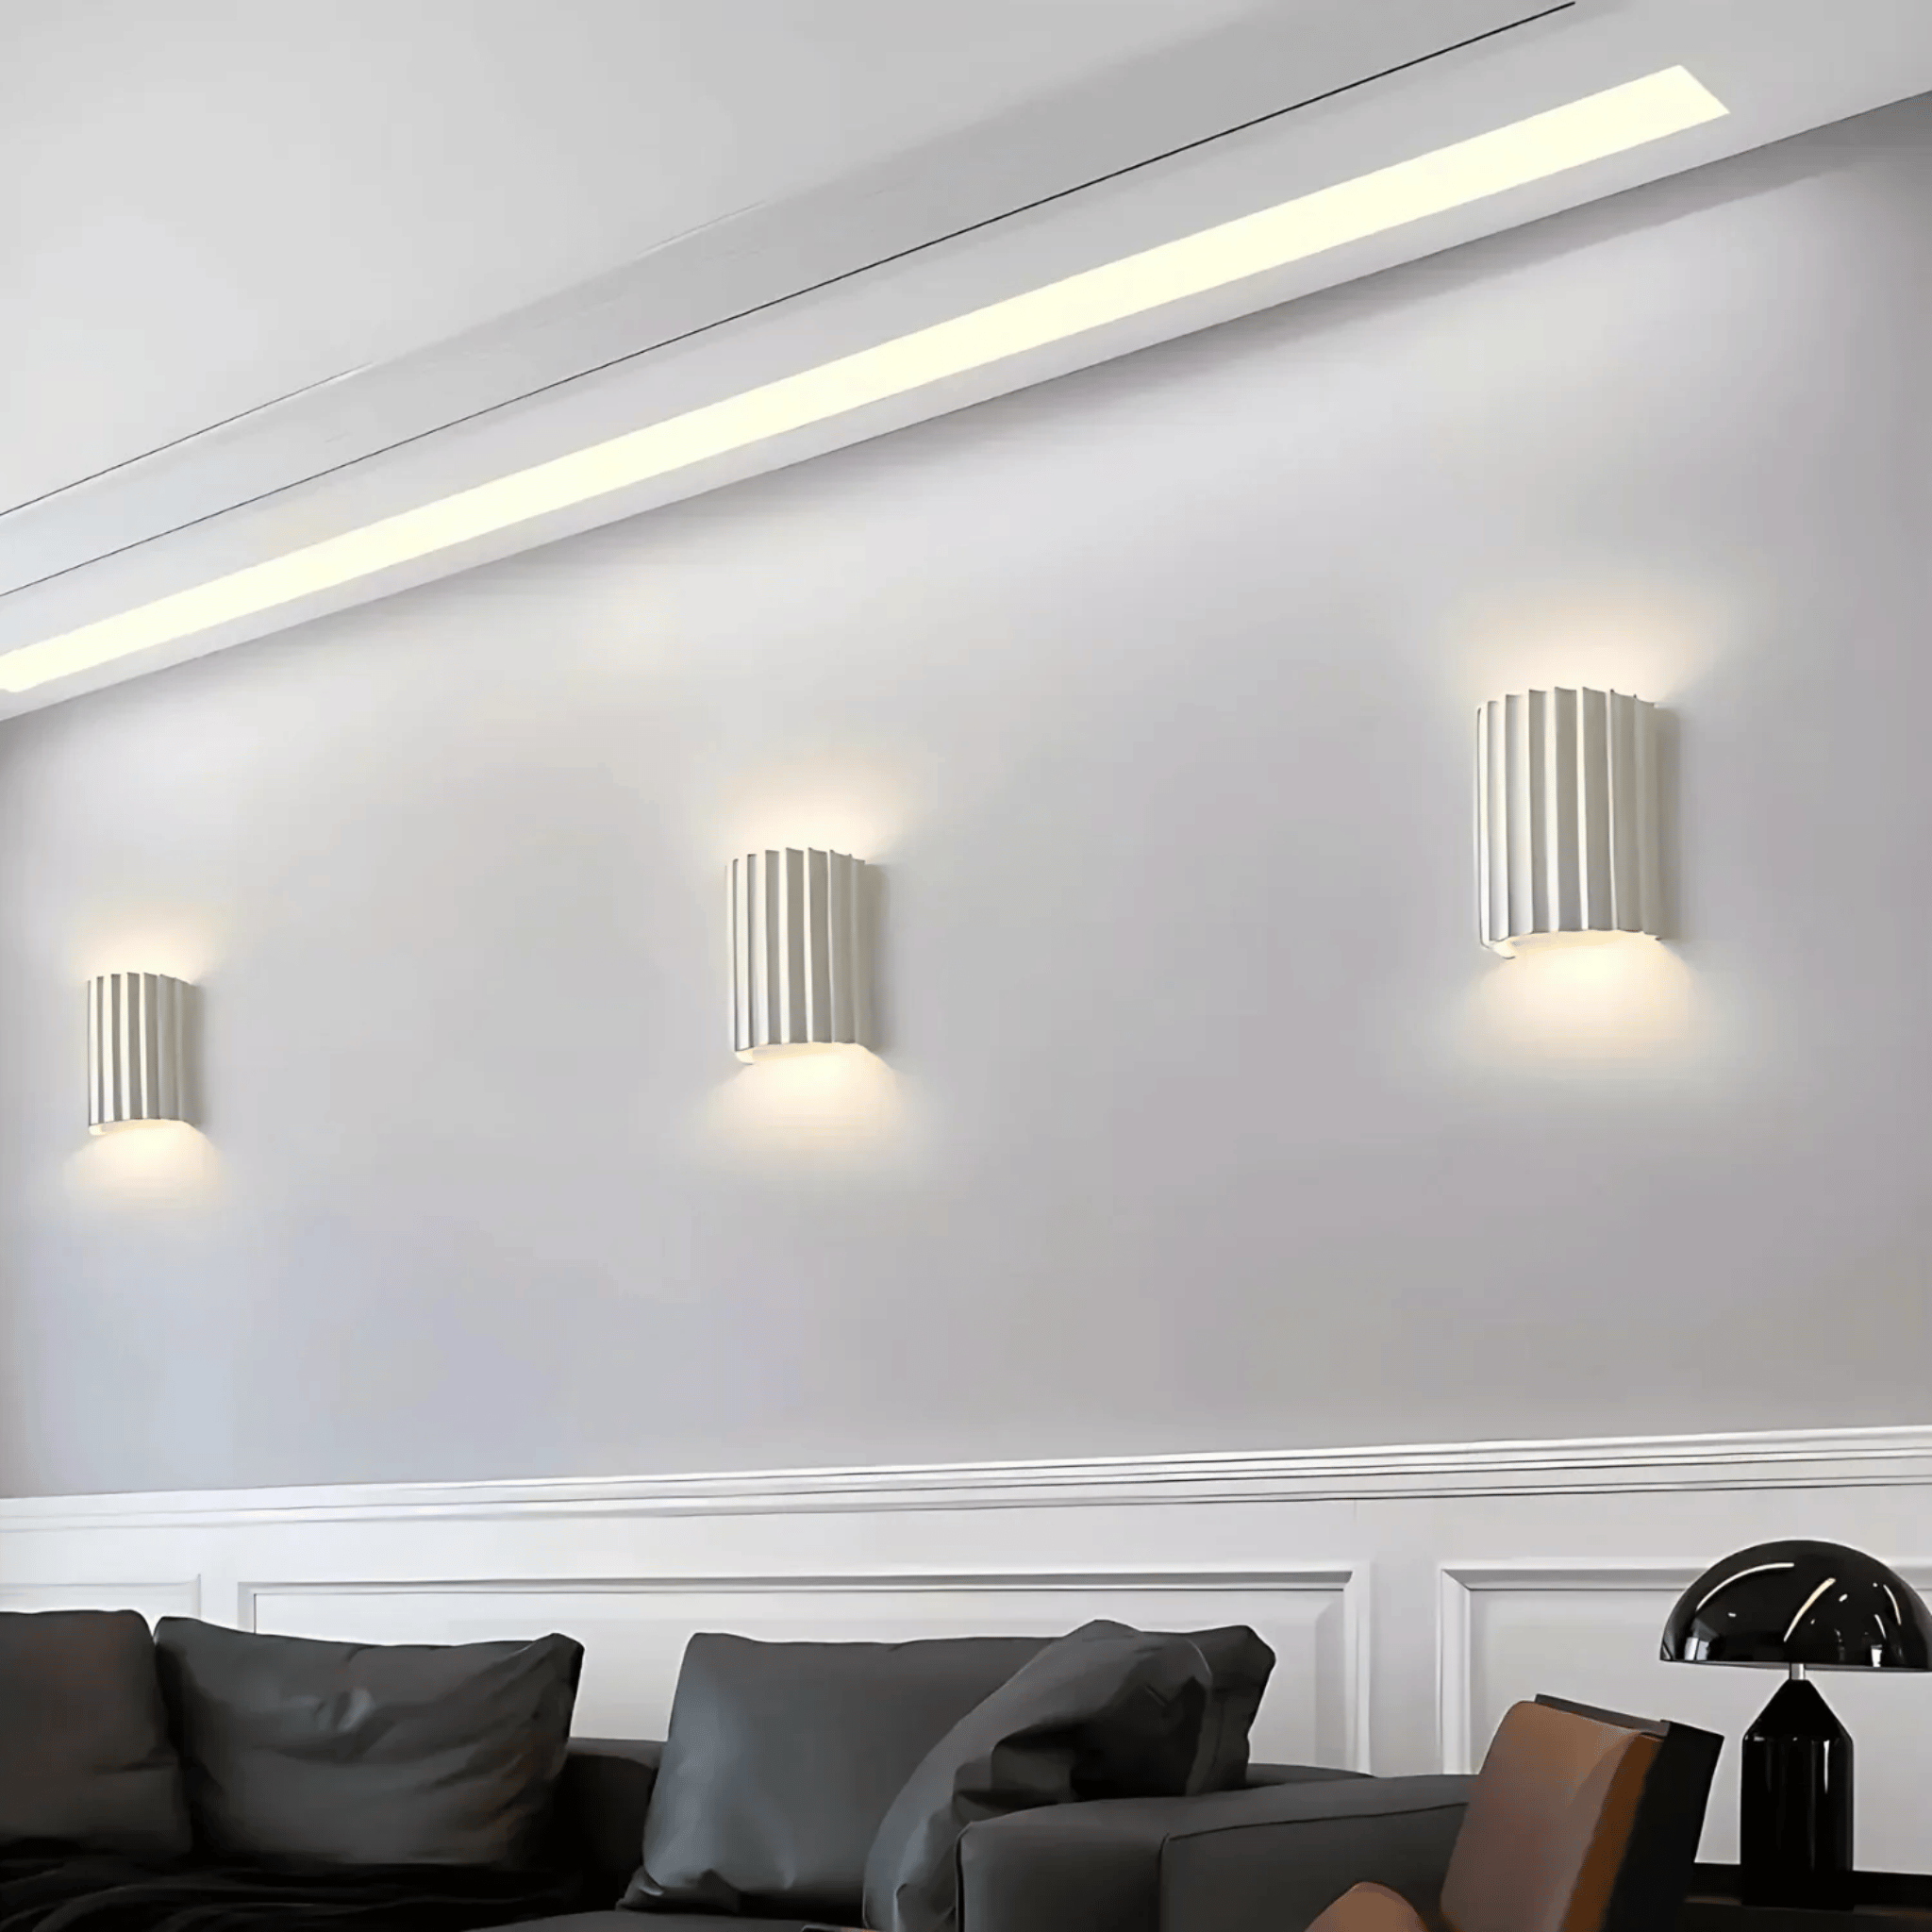
Unlike traditional fixtures that cast light downward or outward, LED strip lights create an continuous line of illumination that draws the eye and defines spatial boundaries. This accent lighting technique has become a cornerstone of contemporary interior design, particularly within minimalist and Bedroom Lighting & Decor schemes where clean lines and purposeful simplicity reign supreme.
The appeal lies in the subtlety. When properly installed, these tape lights virtually disappear, leaving behind only their warm wash of color. This creates what designers call "light without source"—an ethereal quality that makes rooms feel larger, ceilings feel higher, and walls feel more dynamic. For Scandinavian-inspired spaces, this approach is particularly fitting, as it prioritizes natural-feeling illumination that supports well-being rather than overwhelming it.

Creative LED Strip Light Design Ideas for Every Room
The true beauty of wall strip light design for living room spaces and beyond is the medium's adaptability. From subtle cove lighting to bold geometric patterns, your imagination is the only limit. Here are some inspired approaches that align beautifully with Nordic design sensibilities:
Ambient Perimeter Lighting
One of the most popular approaches involves installing LED strips along the perimeter of your ceiling, creating a floating effect that makes the room feel expansive and airy. This technique works particularly well in spaces with crown molding or when paired with the Linnea Modern Nordic Dimmable LED Wall Sconce, which provides focused task lighting while your strips handle ambient duties.
Design Tip: In Scandinavian design, the "floating ceiling" effect created by cove lighting adds perceived height to rooms while maintaining the cozy intimacy essential to Nordic interiors.
Architectural Feature Highlighting
Use LED strip lights to accentuate built-in shelving, alcoves, or drywall reveals. The key is to install them in the recesses where walls meet ceilings or where shelving meets walls, creating depth through shadow and light. This technique transforms ordinary drywall into sculptural elements, bringing life to negative space in a way that feels both modern and timeless.
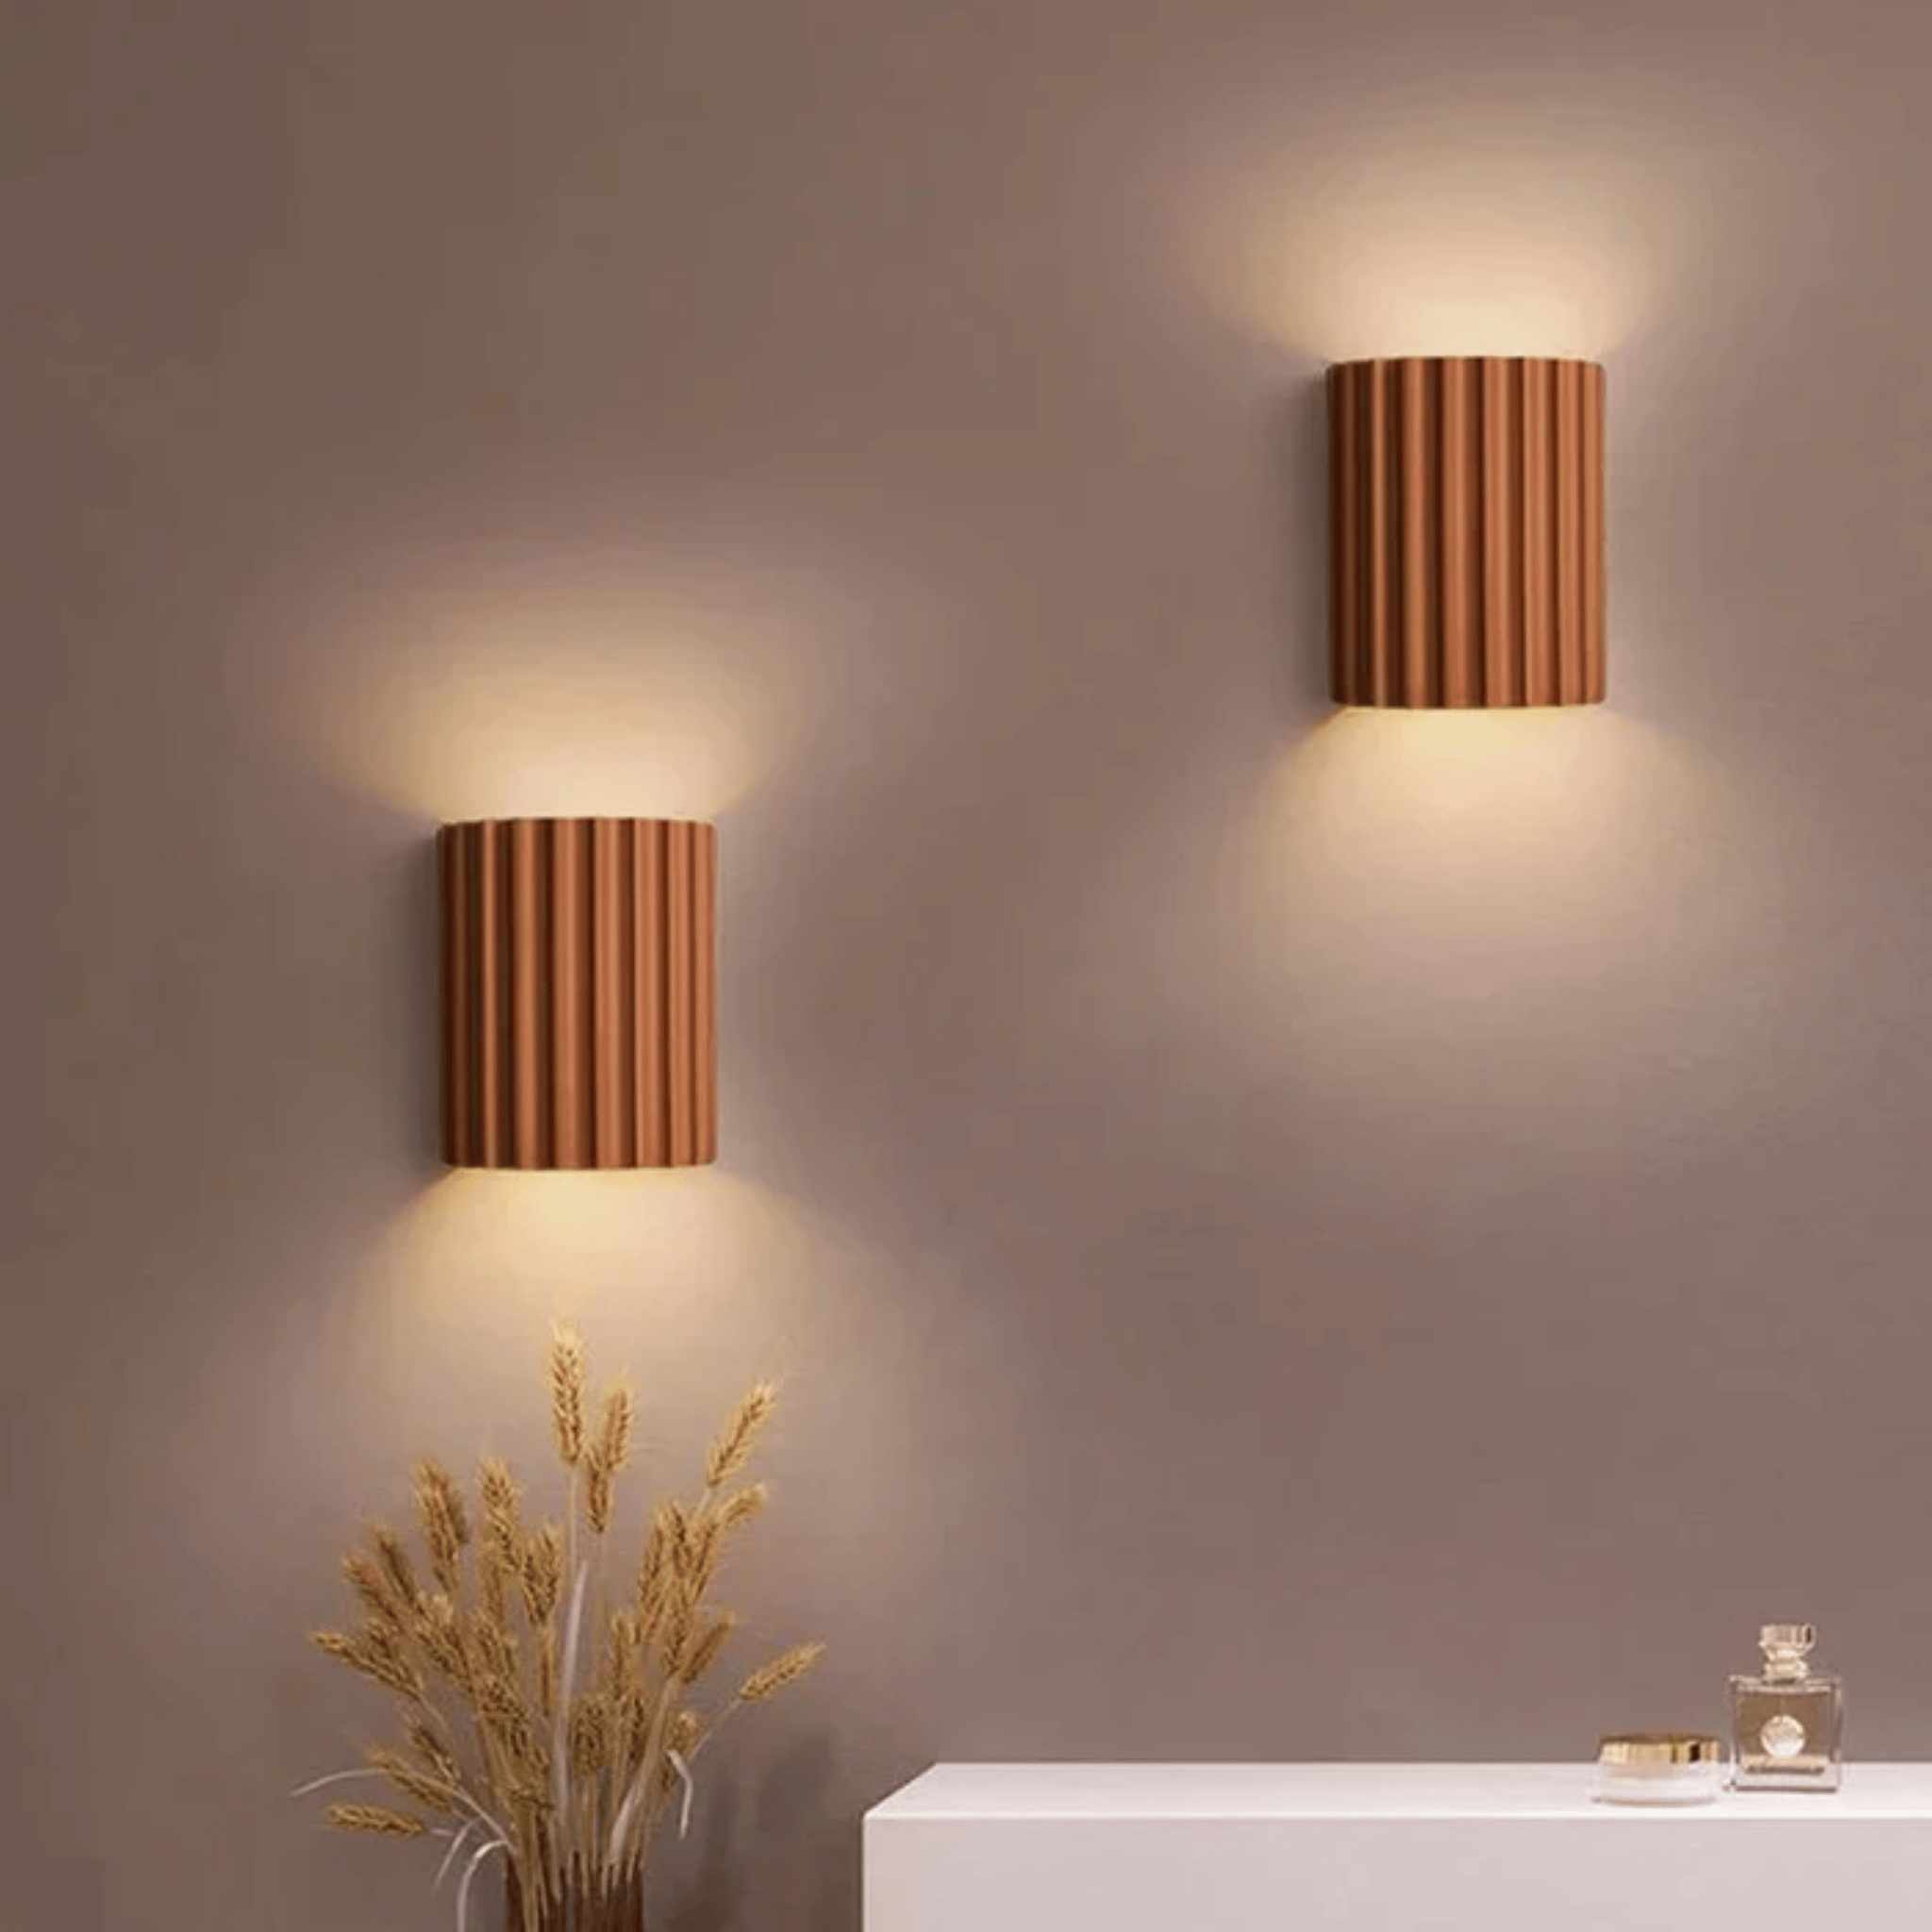
Headboard and Bedroom Sanctuary Effects
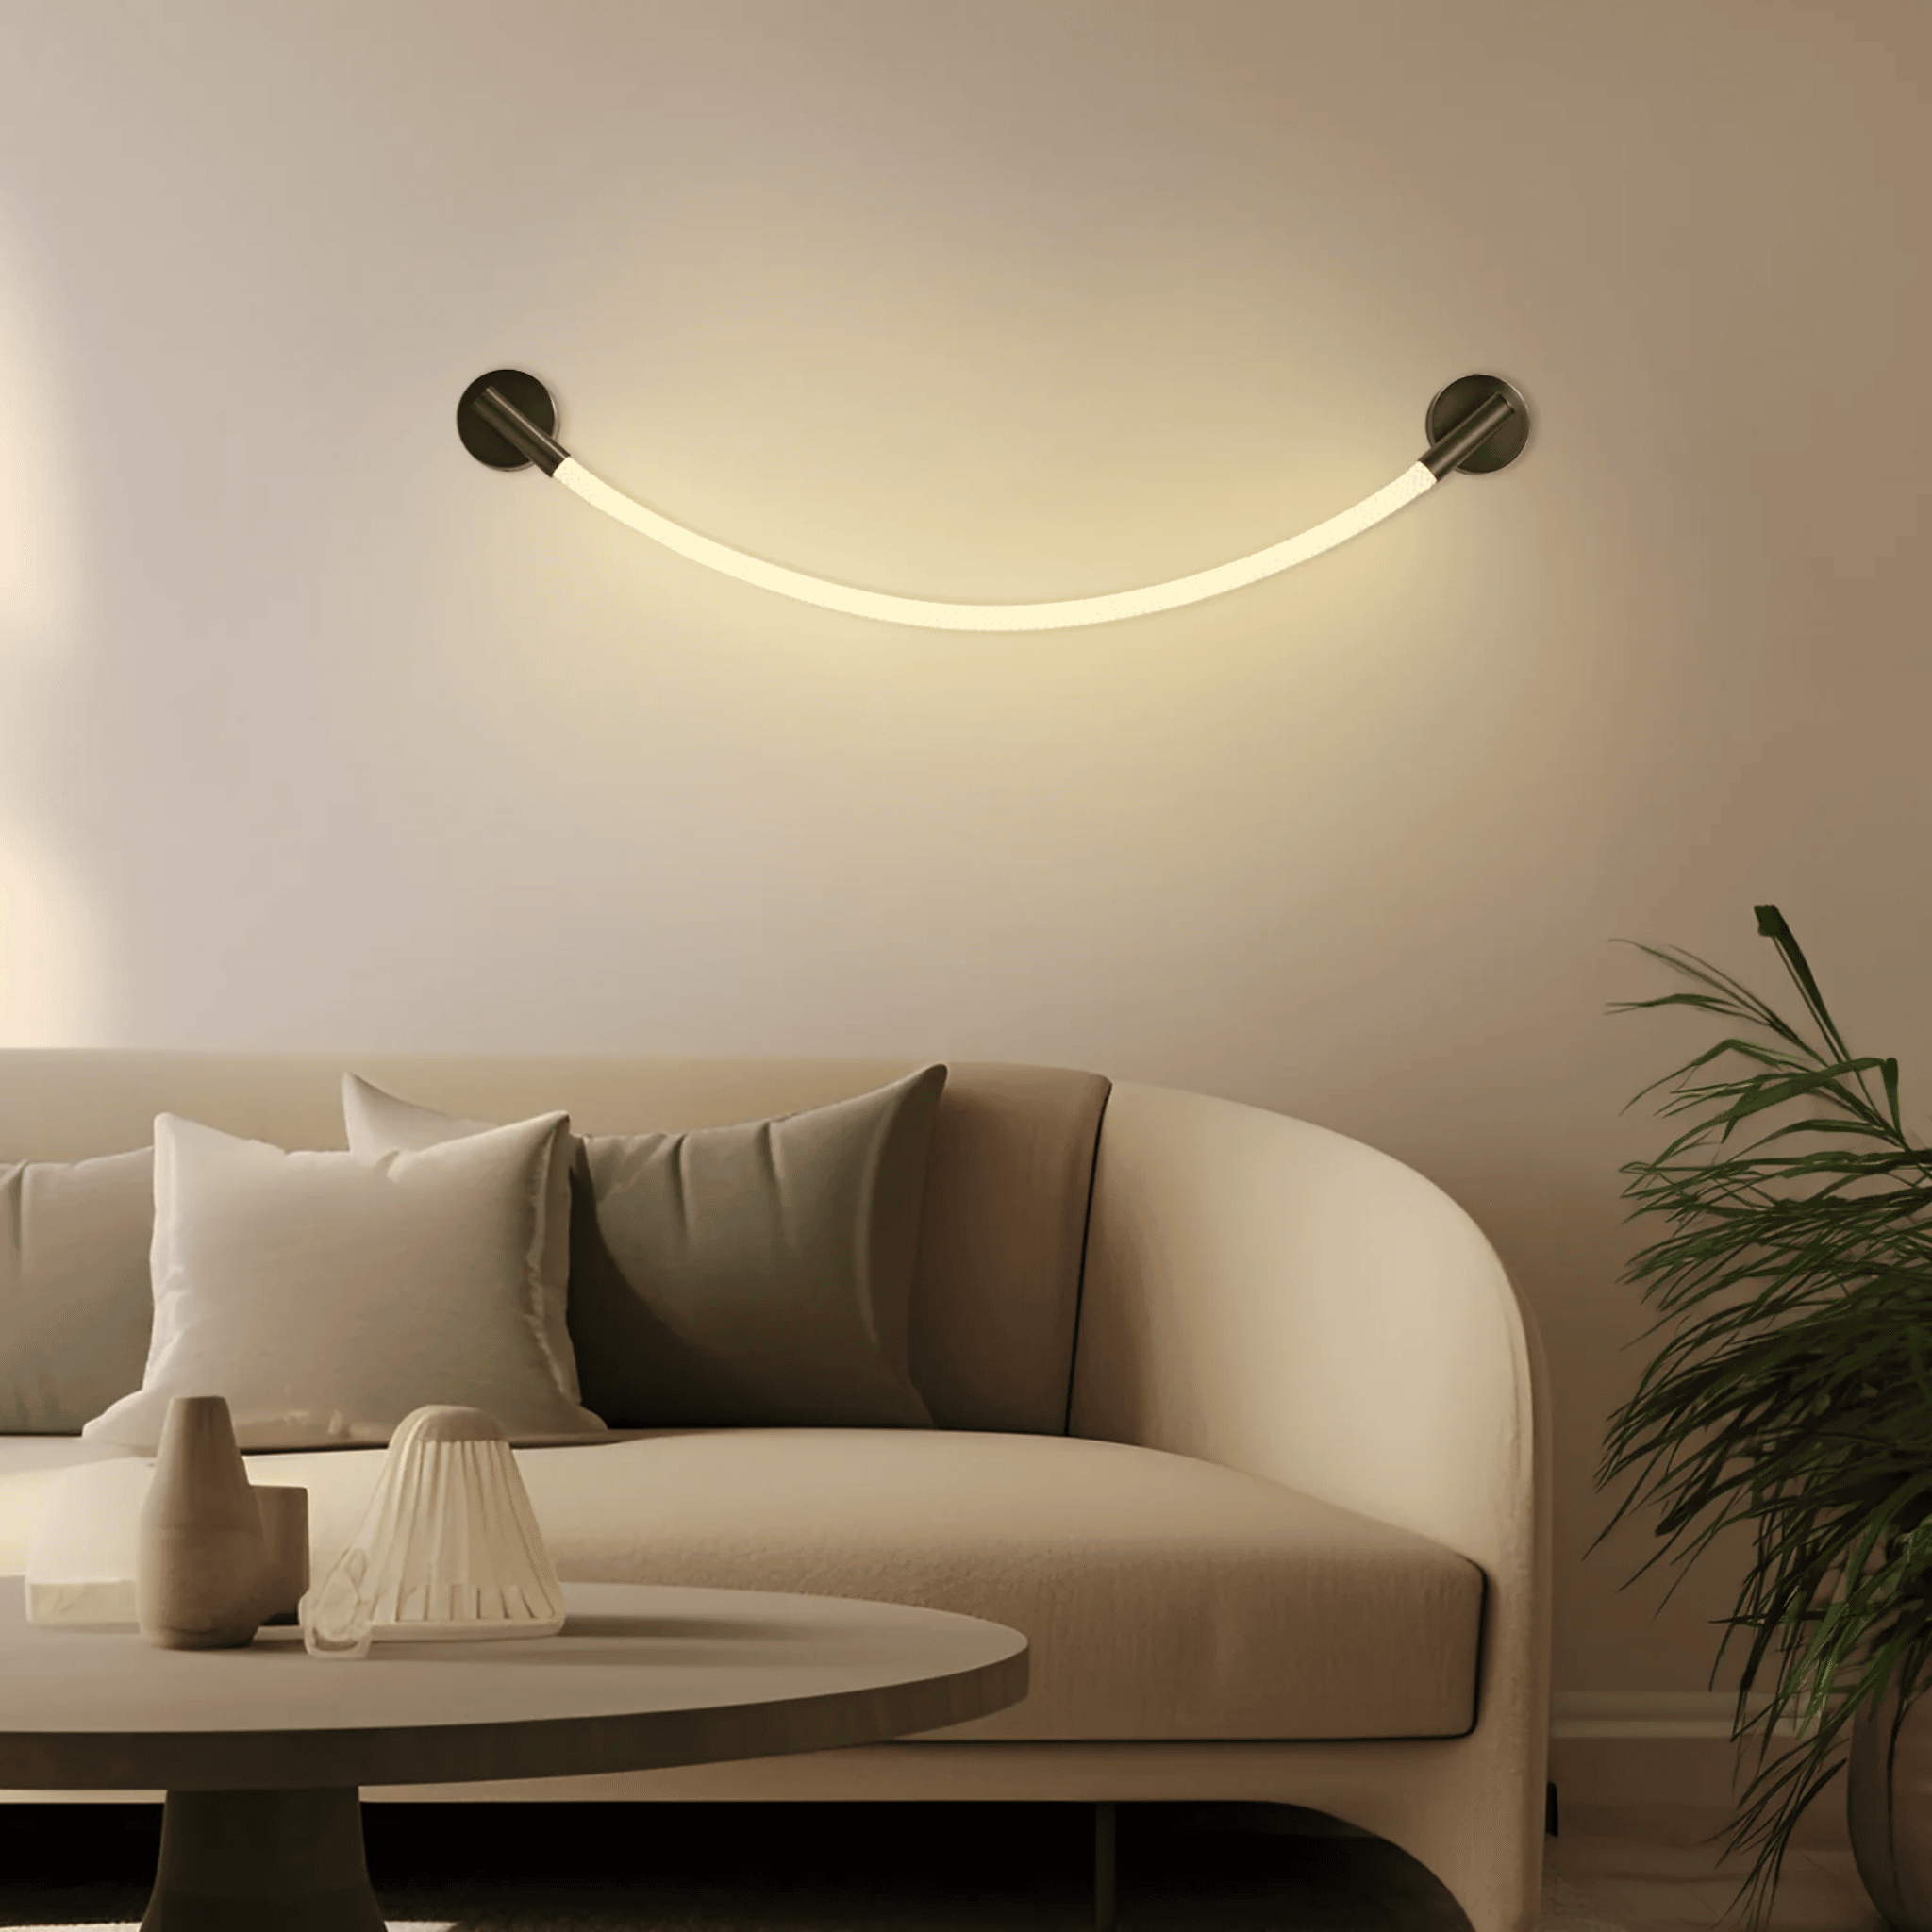
For those looking to implement LED Strip light Ideas for Bedroom spaces, consider mounting strips behind your headboard or within a custom wall-mounted platform. The reflected glow creates a sanctuary-like atmosphere perfect for evening wind-down rituals. This pairs exceptionally well with our Strimla Nordic Minimalist LED Wall Lamp for layered lighting that adjusts to your mood.


Planning Your Tape Light Layout: From Concept to Installation
Before you commit to a specific LED light design for wall application, thoughtful planning is crucial. The success of your installation depends on understanding both the technical requirements and the aesthetic principles that make some layouts soar while others fall flat.
Popular Layout Patterns
- Backlighting: Placing strips behind furniture or wall-mounted elements to create a halo effect. This works beautifully for media consoles, artwork, or floating bathroom vanities.
- Cove Lighting: Installing in recessed ceiling areas or crown molding for indirect illumination that feels like natural daylight.
- Recessed Channels: Using aluminum extrusions mounted flush with drywall for a clean, architectural look that protects the LEDs while directing light specifically.
- Geometric Accent Lines: Creating patterns, grids, or shapes on feature walls for contemporary artistic statements.

To see these installation techniques in action, watch this detailed demonstration showing how integrated LED systems can transform your wall surfaces:
Material Considerations and Preparation
Quality LED tape light layout requires more than just the strips themselves. For professional results, invest in aluminum channels with diffusers—these not only protect your investment from dust and damage but also soften the individual diode points into a continuous line of light. This is particularly important when creating recessed LED strip lighting effects where the source should remain hidden.
How to Place LED Strip Lights on a Wall: Step-by-Step Guide
When considering how to place LED strip lights on a wall, surface preparation and planning are just as important as the actual mounting. Here's a proven approach:
- Plan Your Circuit: Map out where your power source will be and how you'll route wiring to avoid visible cords. Consider hiding drivers in nearby closets or within furniture.
- Clean the Surface: LED strips rely on adhesive backing that needs pristine conditions. Remove any dust, grease, or texture that might compromise the bond.
- Test Before Committing: Connect your strips and power them on before mounting. LED strips sometimes have dead sections, and it's easier to address these before installation.
- Install Mounting Channels: For permanent installations, screw aluminum channels into the wall rather than relying on adhesive alone. This ensures longevity and easier future maintenance.
- Connect and Conceal: Use wire channels or paintable cord covers to hide any visible connections.

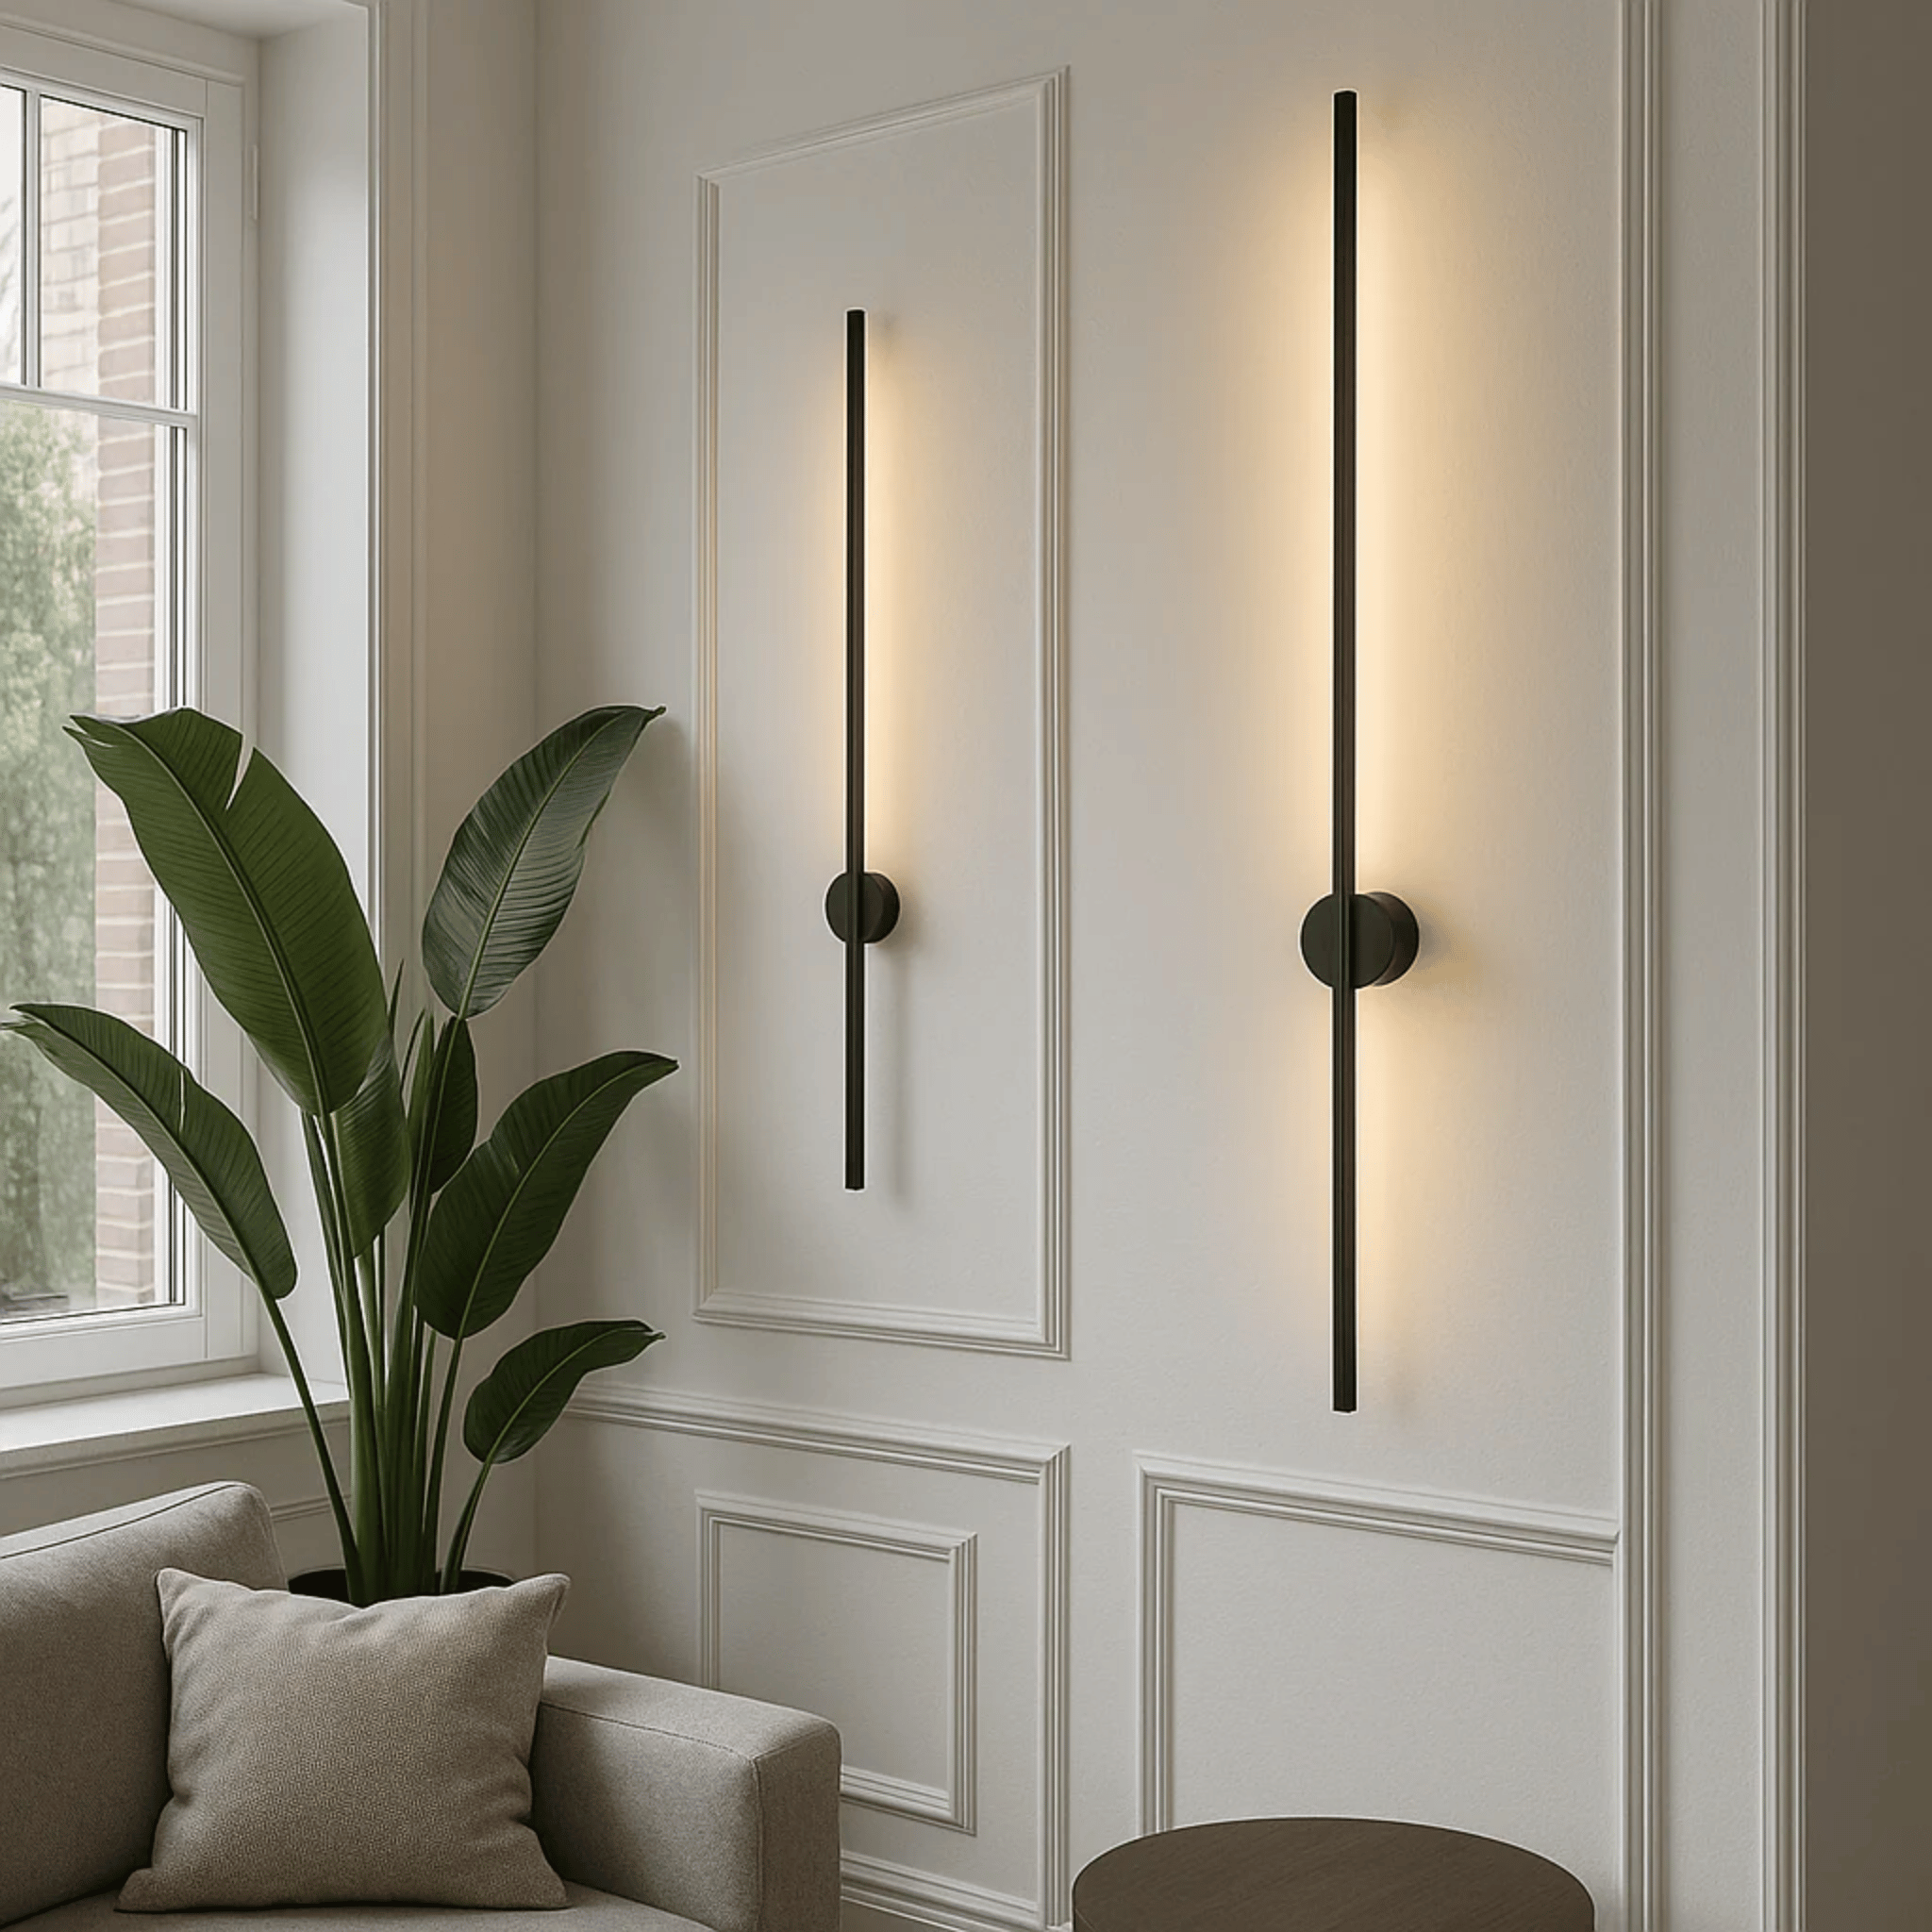
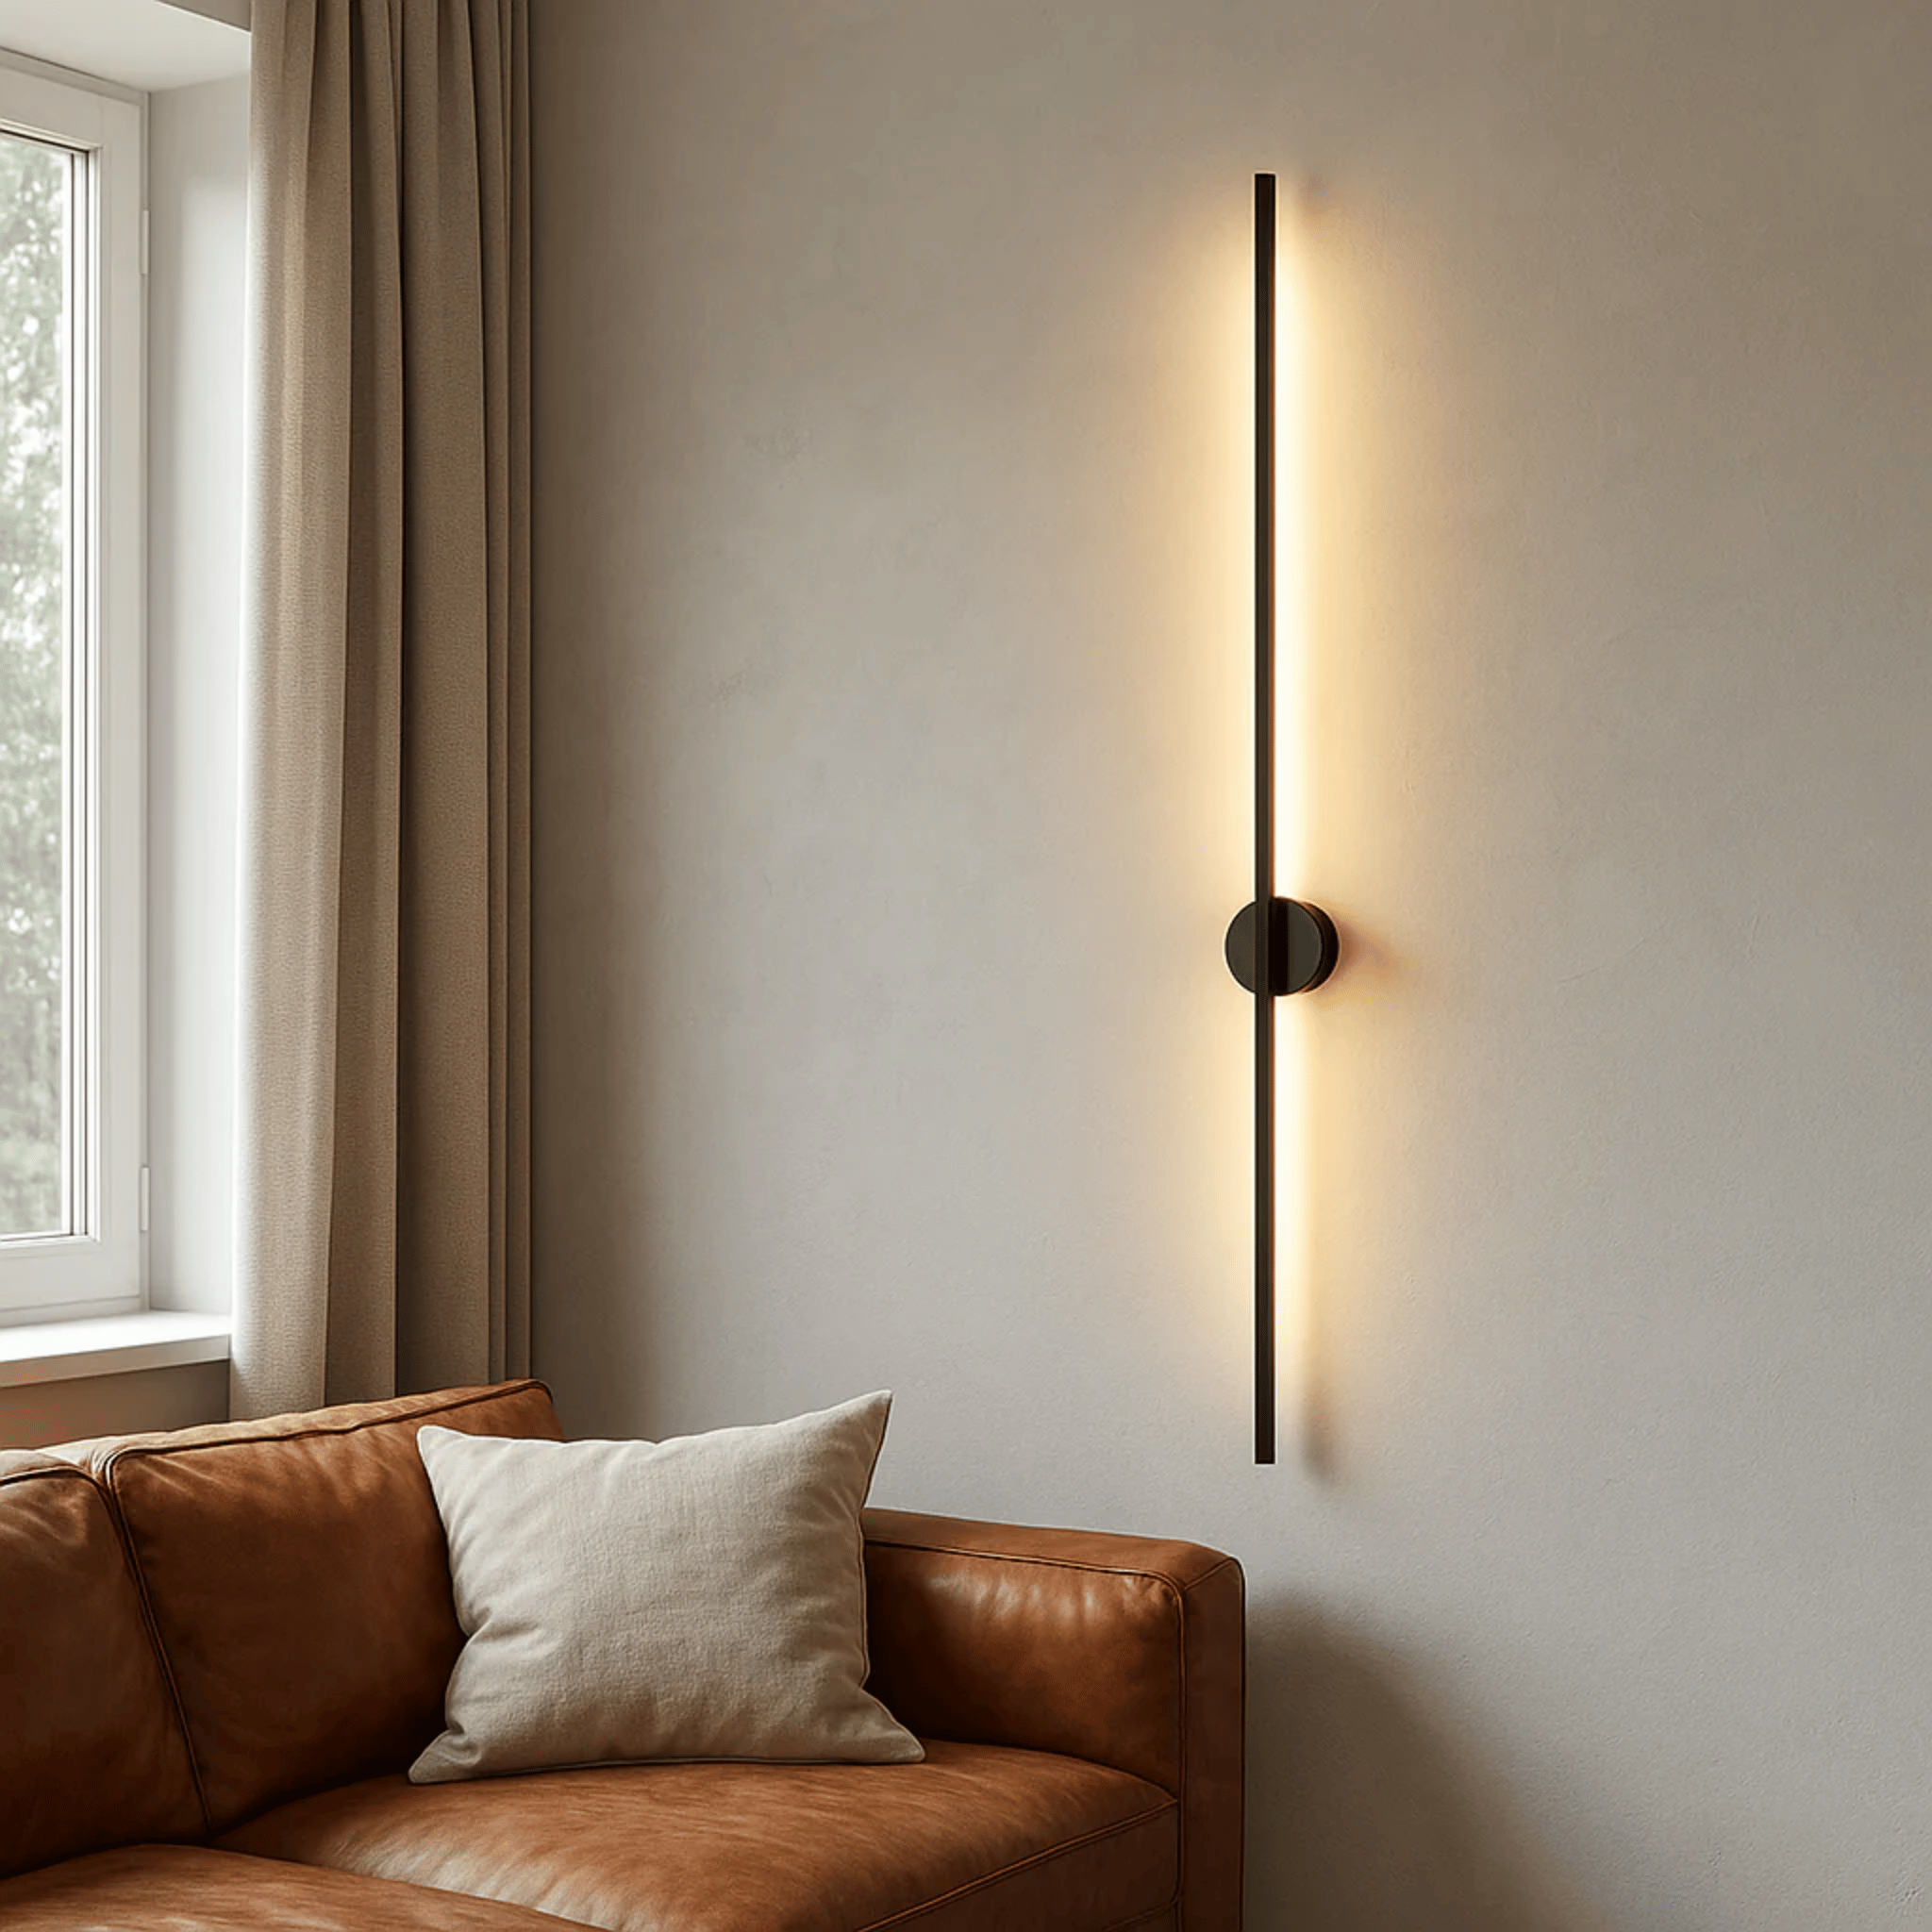
Linnea Modern Nordic Dimmable LED Wall Sconce
$189.00 $299.00
Transform your walls with this sleek dimmable LED sconce. Scandinavian design meets modern technology for the perfect accent lighting solution.
Explore ProductSolving Common LED Strip Installation Challenges
Even the most well-planned LED strip light design on wall projects can encounter hurdles. Here are solutions to the most frequent concerns:
How to Hide LED Strips on Ceilings and Walls
One of the most common questions is how to hide LED strips on ceilings/walls while maintaining their effect. The secret lies in architectural detailing:
- Install crown molding with a gap behind it for cove lighting effects
- Use drywall reveals—intentional gaps between wall planes where strips sit recessed
- Mount behind floating shelves or cabinets that sit proud of the wall surface
- Embed within custom millwork like built-in benches or entertainment centers
Avoiding Common Design Mistakes
What are common LED design mistakes? Primarily, it's choosing color temperatures that clash with your room's palette or installing strips without diffusers, resulting in visible "dotting" where individual LEDs create distracting points of light. Another frequent error is over-lighting—using strips that are too bright for ambient applications. Look for adjustable or dimmable options, and consider pairing with wall sconces like our Glora Colorful Macaron Resin Nordic Wall Sconce for balanced, layered illumination.
Complementary Wall Lighting Solutions

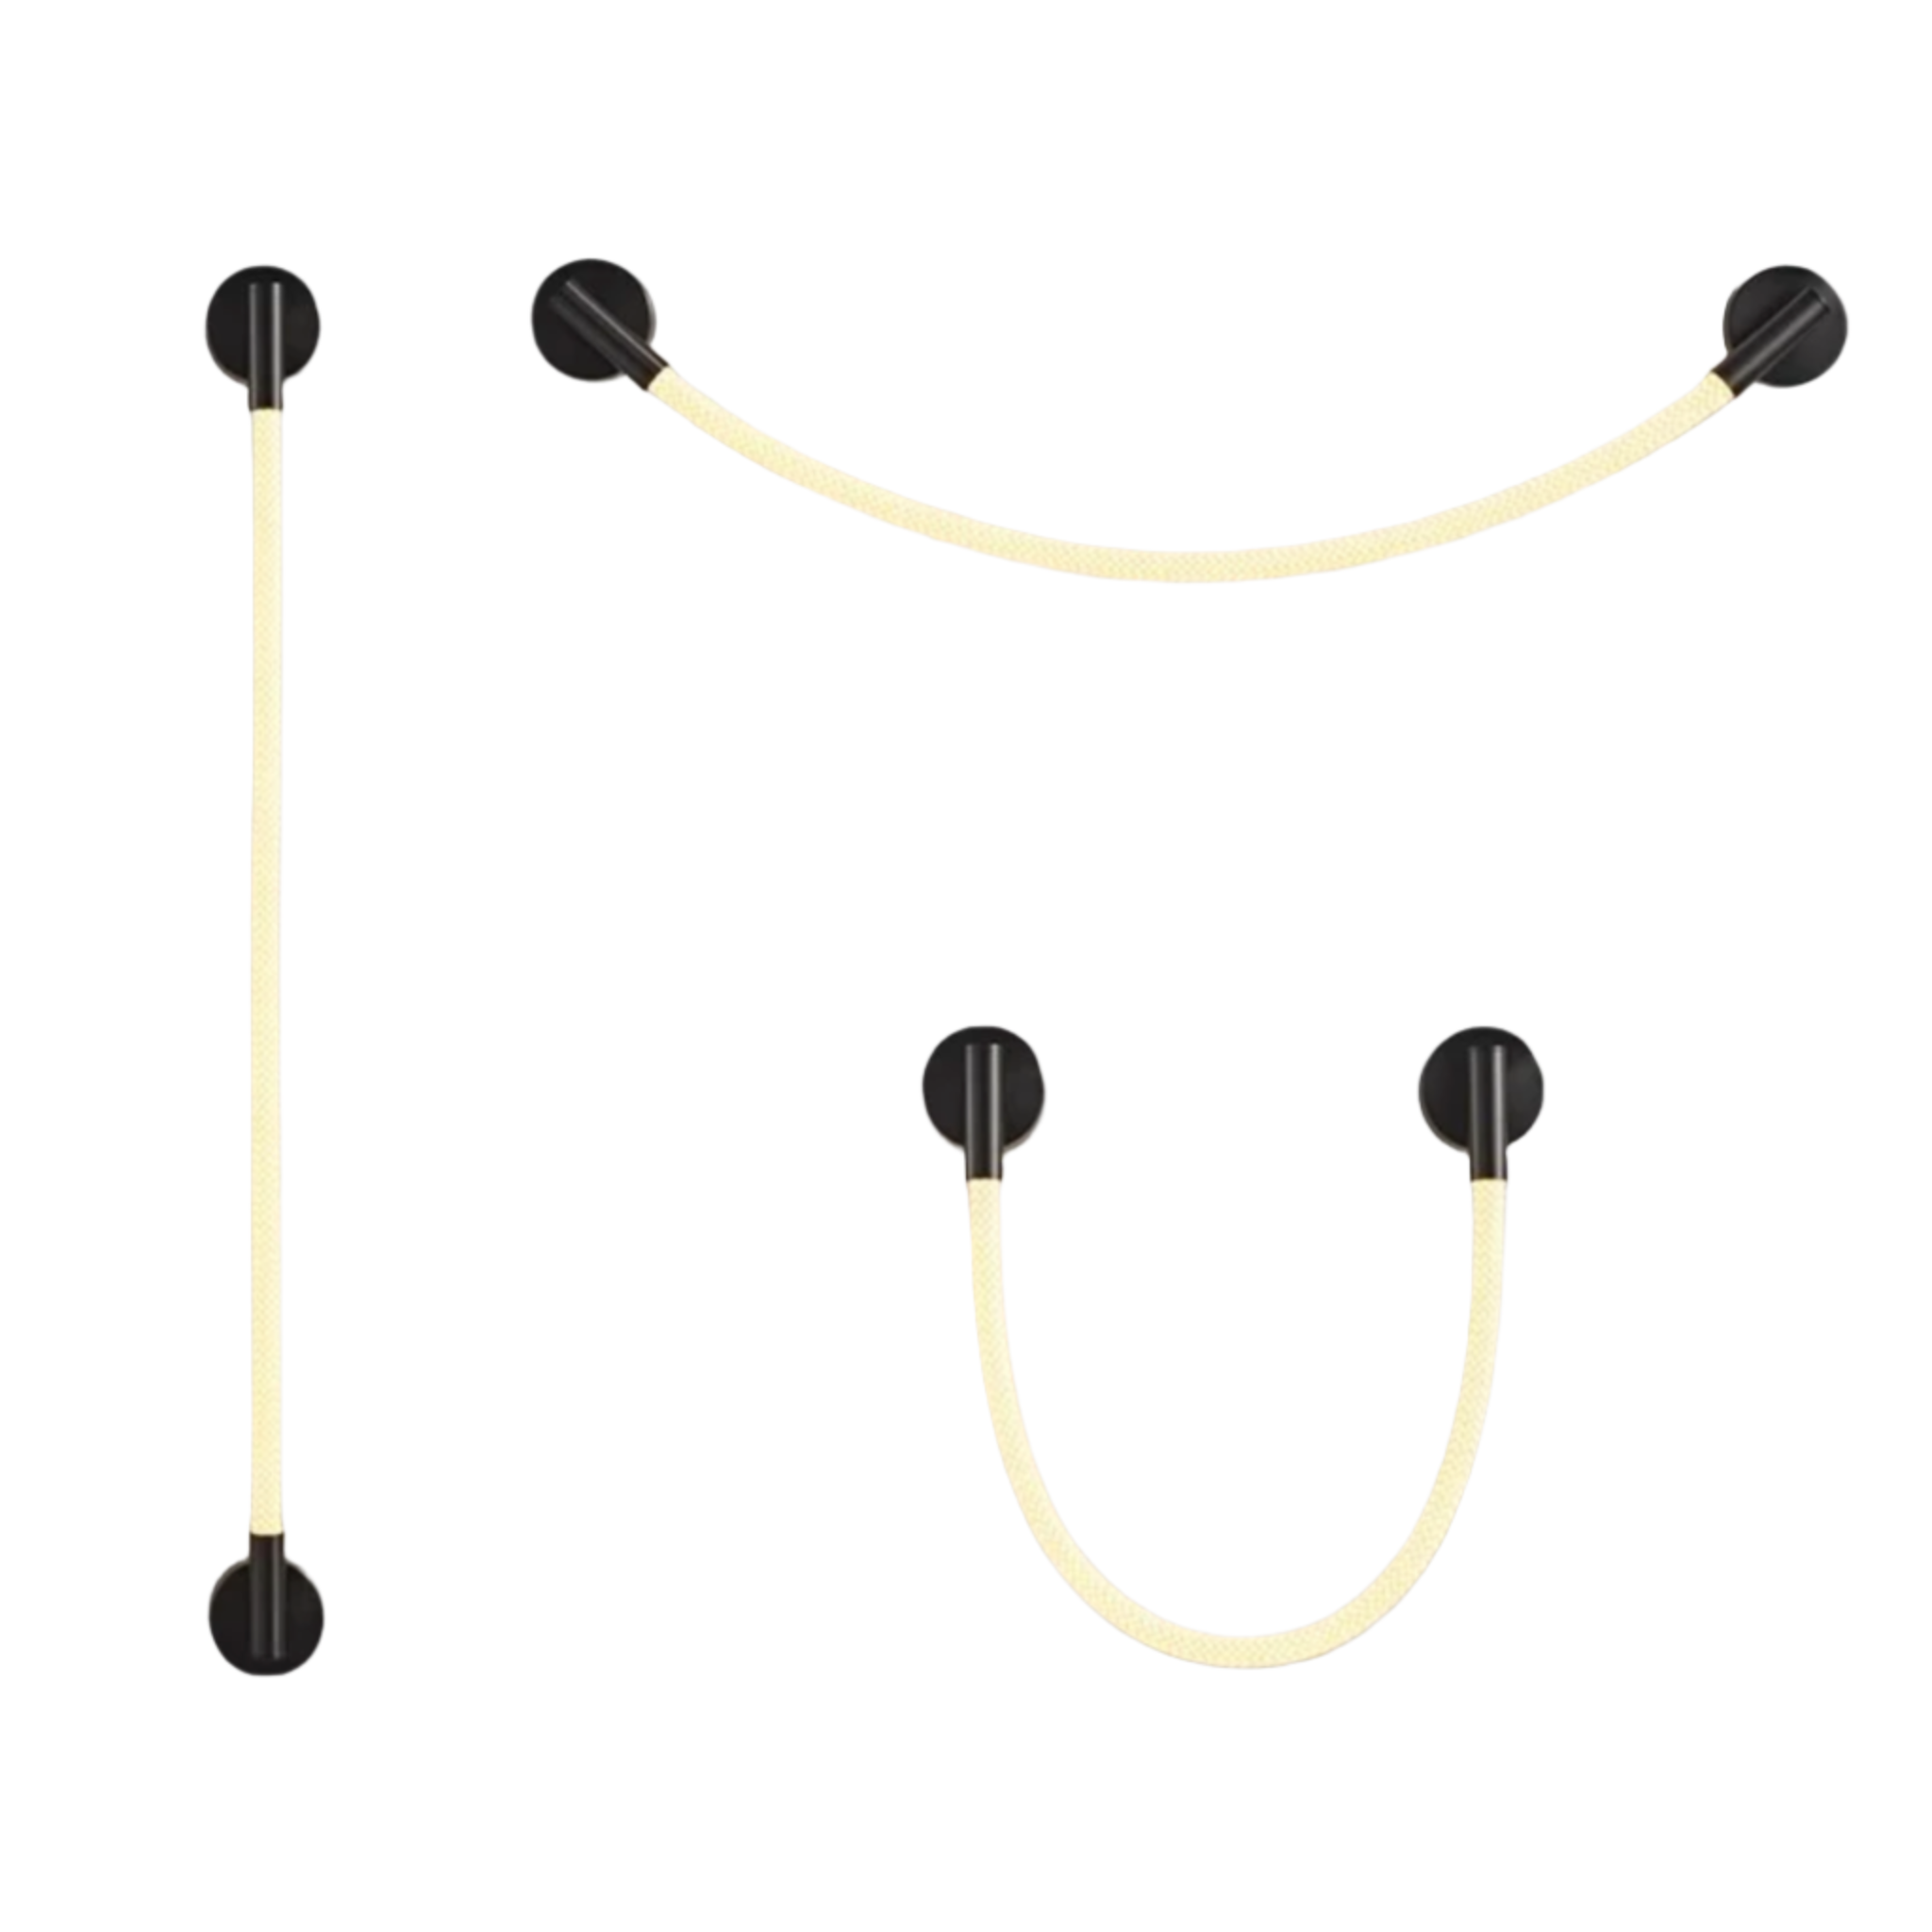
Strimla Nordic Minimalist LED Wall Lamp Dimmable
$129.00
$189.00
Clean lines and warm LED glow define this minimalist wall lamp. Available in multiple sizes to create the perfect linear lighting statement. Learn more ➔

Glora Colorful Macaron Resin Nordic Wall Sconce
$139.00
$209.00
Add a playful yet refined touch with this colorful LED wall sconce. Nordic design meets personality for spaces that need a gentle light accent. Learn more ➔
Energy Efficiency and Practical Considerations
A frequent concern when planning LED strip light design on wall installations is ongoing operational cost. Do LED strips run up the electric bill? The reassuring answer is that quality LED strips are remarkably energy-efficient. Compared to incandescent or even fluorescent alternatives, LEDs consume a fraction of the electricity while producing minimal heat. A typical 16-foot LED strip running at full brightness uses less power than a single 60-watt bulb and can operate for hours at negligible cost.
When selecting your strips, consider:
- Color Temperature: For living spaces, 2700K-3000K provides that warm, inviting glow synonymous with Scandinavian interiors. For task-oriented areas, 4000K offers crisper clarity.
- CRI Rating: Color Rendering Index affects how accurately colors appear under your lighting. Look for CRI 90+ for spaces where you'll spend significant time.
- Dimmer Compatibility: Ensure your strips work with quality dimmers to adjust ambiance throughout the day.

What Not to Do with LED Strip Lights
Understanding what not to do with LED strip lights is just as important as knowing best practices. Avoid cutting strips anywhere other than designated cutting points—these are clearly marked and cutting elsewhere destroys the circuitry. Never install without testing first, and resist the urge to install in wet locations unless you've purchased specifically rated waterproof strips. Additionally, don't forget about heat management; while LEDs run cool compared to halogen, they still need airflow to maintain lifespan and brightness.
Bringing Scandinavian Principles to Your LED Lighting Design
At Skonne, we believe that lighting should serve your life, not dominate it. The Scandinavian approach to wall lighting ideas emphasizes intentionality—every light source should have a purpose, whether it's creating atmosphere, highlighting a cherished object, or providing essential illumination for daily activities.
When integrating LED strips into your Nordic-inspired home, remember these guiding principles: prioritize quality over quantity, choose warmth over harsh brightness, and embrace the interplay between light and shadow. The goal isn't to eliminate darkness but to use light to create spaces that feel safe, warm, and deliberately designed.
Creating Your Perfect LED Strip Installation
Whether you're enhancing your living room with subtle cove lighting, designing a dramatic headboard effect, or simply adding guidance lighting in a hallway, LED strip light design on wall surfaces offers endless possibilities for customization. The key lies in thoughtful planning, quality components, and a clear vision of the atmosphere you wish to create.
By combining these versatile tape lights with curated wall fixtures from Skonne's collection, you can achieve that elusive balance of functionality and aesthetic beauty that defines truly exceptional interior design. Start with a single accent, perfect your technique, and gradually build a lighting scheme that transforms your house into a home filled with warmth and intentional beauty.
Frequently Asked Questions about LED Strip Light Wall Design
The most common LED design mistakes include installing strips without diffusers (resulting in visible "dotting" where individual LEDs create distracting points of light), choosing overly bright strips for ambient applications, mismatching color temperatures with existing lighting, and failing to plan power source locations before installation. Another frequent error is cutting strips at non-designated points or installing in wet locations without proper waterproofing. Always test your strips before mounting, plan for heat dissipation, and consider dimmable options to adjust ambiance throughout the day.
To place LED strip lights on a wall effectively, start by planning your circuit and power source location. Clean the surface thoroughly to ensure proper adhesion. Test the strips before mounting to check for any dead sections. For permanent installations, use aluminum mounting channels screwed into the wall rather than relying solely on adhesive—this ensures longevity and easier maintenance. Position strips in coves, behind furniture, or within architectural reveals for hidden illumination. Conceal connections using wire channels or paintable cord covers. Consider the viewing angle; strips mounted facing upward or inward toward walls create softer, more ambient effects than outward-facing installations.
LED strips are remarkably energy-efficient and typically have minimal impact on your electric bill. Quality LED strips consume significantly less power than incandescent or fluorescent alternatives while producing minimal heat. A standard 16-foot LED strip running at full brightness uses less electricity than a single traditional 60-watt bulb. Even running multiple strips for hours daily results in negligible energy costs compared to conventional lighting. For perspective, LED strips convert approximately 70-80% of their energy into light rather than heat, making them one of the most economical lighting choices for ambient and accent applications.
Never cut LED strip lights anywhere other than designated cutting points—these are clearly marked on the strip, and cutting elsewhere destroys the circuitry and voids warranty. Avoid installing without first testing the strips for dead sections. Don't use non-waterproof strips in wet locations like bathrooms without proper protection. Never overload power supplies, as this creates fire hazards and damages equipment. Avoid installing without considering heat dissipation—even LEDs need airflow to maintain longevity. Don't use harsh chemical cleaners directly on strips, and never coil powered strips tightly, as this can cause hot spots. Finally, avoid bending strips at sharp angles that can damage internal connections.
To hide LED strips while maintaining their glow effect, install them within architectural details like crown molding with gaps behind for cove lighting, or use drywall reveals—intentional gaps between wall planes where strips sit recessed. Mount strips behind floating shelves, cabinets, or headboards that sit proud of the wall surface. Aluminum channels with diffusers can be painted to match walls or installed flush with drywall for minimal visibility. For ceilings, place strips within tray ceiling recesses or behind ceiling coves. When hiding drivers and power supplies, consider nearby closets, furniture interiors, or utility spaces. Wire channels and paintable cord covers conceal any visible connections. The key is creating "light without source"— letting only the reflected glow, not the strips themselves, be visible.