
How to Replace a Bathroom Lighting Fixture: A Step-by-Step DIY Guide
Summary›
- Safety First: Preparing for Your Project
- Essential Tools and Materials
- Removing the Old Fixture Step-by-Step
- Installing Your New Bathroom Light Fixture
- Can You Handle This DIY Project Yourself?
- Understanding Wattage and Lumens for Optimal Lighting
- Upgrading to Scandinavian-Inspired Bathroom Lighting
- Final Testing and Troubleshooting
- Conclusion: Illuminate Your Space with Intention
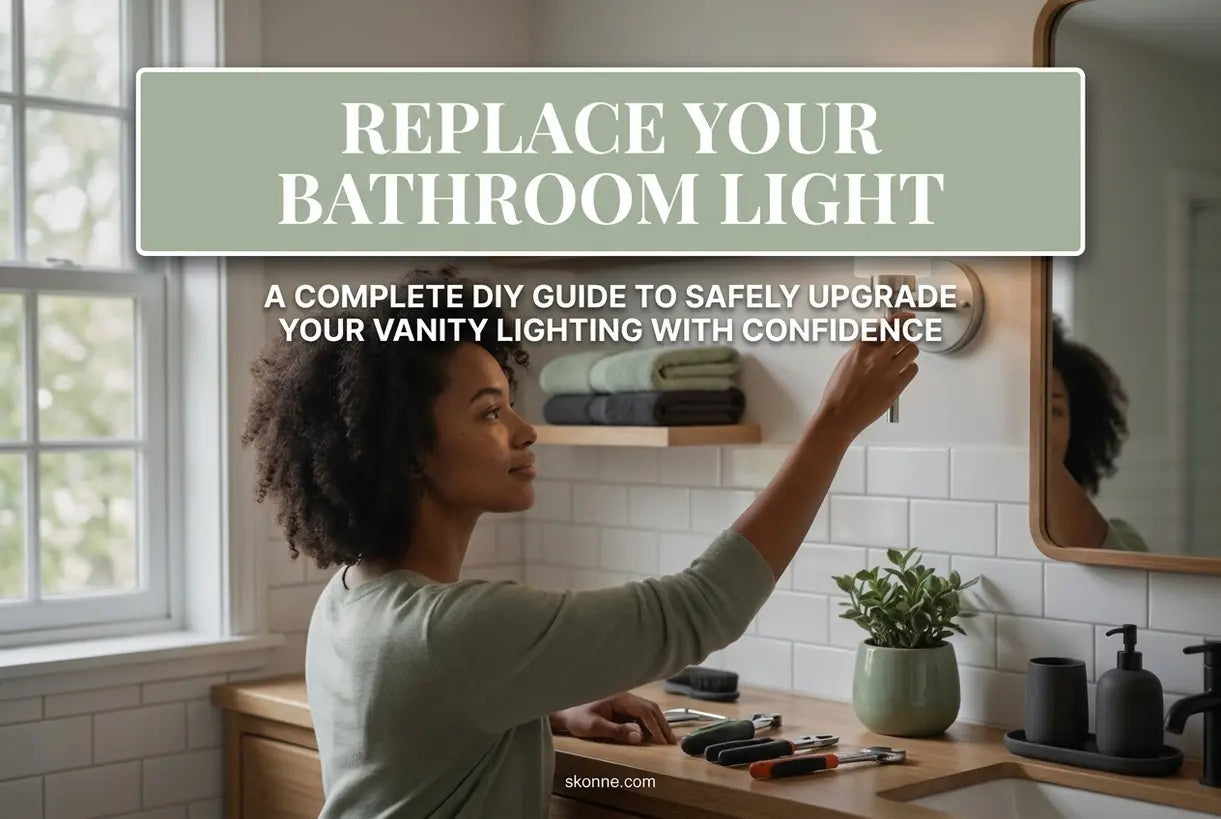
Updating your bathroom lighting is one of the most impactful DIY projects you can tackle as a homeowner or renter. Whether you're dealing with dated fixtures that no longer match your aesthetic or simply craving a brighter, more functional vanity space, learning how to replace bathroom lighting fixture components can transform your daily routine and elevate your interior design. This comprehensive guide walks you through the entire process—from safely disconnecting power to selecting fixtures that embody that coveted Scandinavian hygge feeling. With the right approach and tools, you'll discover that changing bathroom light fixture installations is more accessible than you might think, and the results can completely redefine your space.
Safety First: Preparing for Your Project
Before touching a single wire, understanding proper electrical safety is non-negotiable. Working with bathroom lighting replacement globes and fixtures requires caution because water and electricity create a dangerous combination.
Cutting Power to the Circuit
The most critical step in any lighting installation project is ensuring the power is completely disconnected. Locate your home's main electrical panel—typically found in basements, utility rooms, or garages. Identify the breaker controlling your bathroom lights and switch it to the "off" position. Never rely solely on wall switches when handling wiring.
After flipping the breaker, test the existing fixture with a non-contact voltage tester to confirm zero power flow. This simple step prevents dangerous shocks and should be performed even if you're confident the breaker is correct. For added safety during your bathroom ceiling light replacement, consider placing tape over the breaker switch to prevent family members from accidentally restoring power while you work.
Essential Tools and Materials
Gathering the proper equipment before starting ensures an efficient workflow and professional results. Here's what you'll need for a typical install new bathroom vanity light project:
- Screwdrivers (flat-head and Phillips)
- Wire stripper/cutter
- Non-contact voltage tester
- Wire nuts/connectors (often included with new fixtures)
- Electrical tape
- Step ladder (sturdy and appropriate height)
- Safety glasses
- Replacement fixture—consider upgrading to a piece that reflects intentional Scandinavian design principles
Having these items organized on a towel or work mat prevents damage to your bathroom surfaces and keeps small components from rolling away during the installation process.
Removing the Old Fixture Step-by-Step
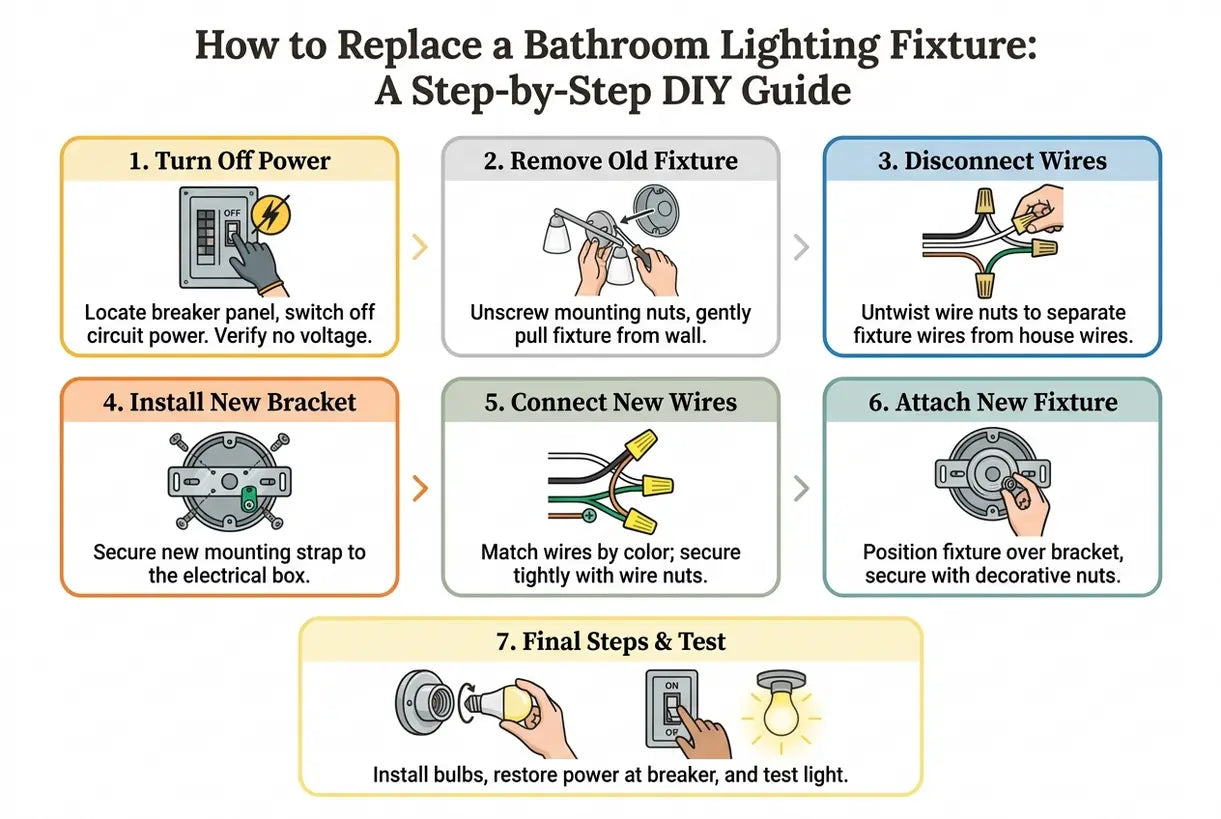
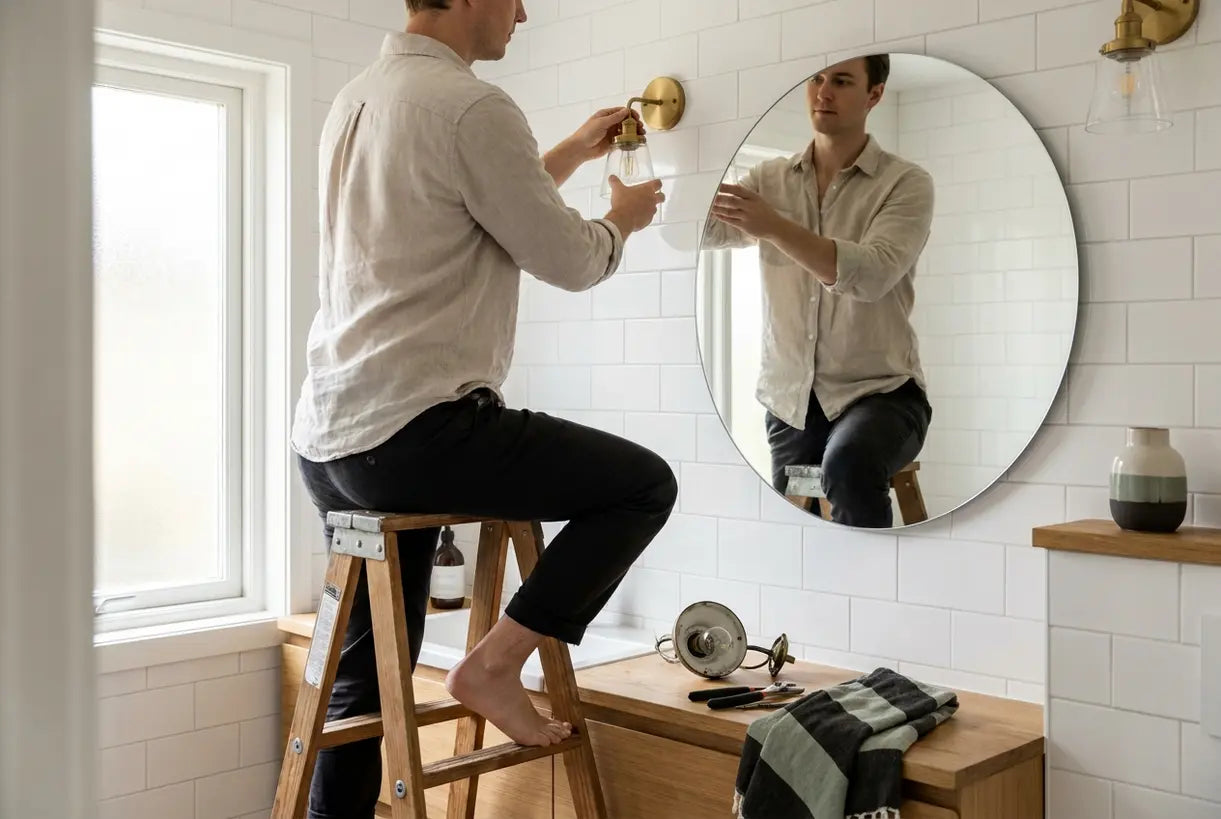
Once safety protocols are established, begin the removal process. Most bathroom fixtures follow similar mounting patterns, making DIY bathroom lighting upgrade projects relatively straightforward.
- Remove the existing bulbs and any decorative shades or globes. Set these aside if you plan to reuse them, or dispose of them properly if switching to LED alternatives.
- Detach the mounting hardware. Depending on your current fixture style, you'll likely find screws securing the canopy or base to the wall or ceiling. Hold the fixture steady with one hand while removing these fasteners with the other.
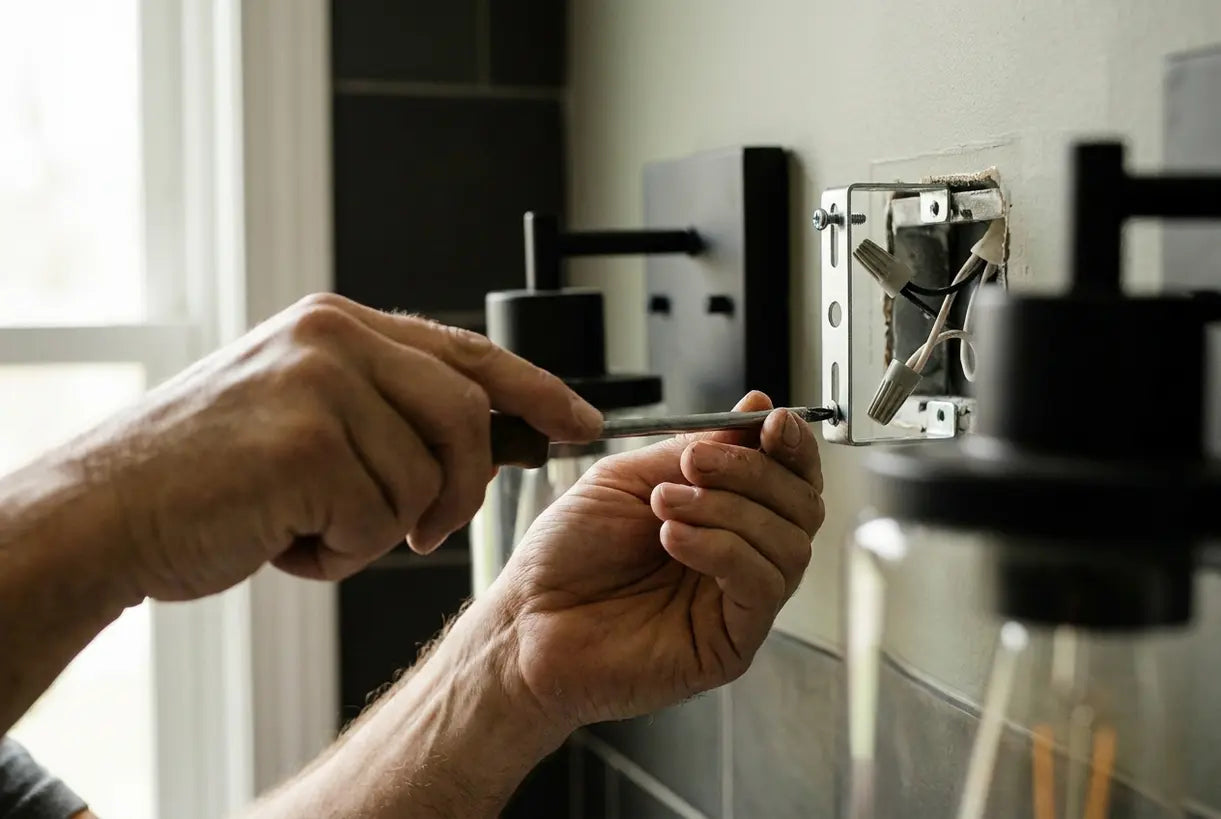
- Lower the fixture carefully to expose the wiring connections inside the electrical box. You should see three wire types: black (hot), white (neutral), and bare copper or green (ground).
- Disconnect the wires by unscrewing the wire nuts and gently separating the connections. If the fixture is heavy, recruit a helper to support it during this step.
- Remove the mounting bracket if your new fixture includes a replacement bracket designed for its specific configuration.
With the old fixture removed, inspect the electrical box for any damage or loose connections. The box should be securely fastened to a stud or joist and rated to support your new fixture's weight.
Bathroom Lighting & Accessories
Shop all Bathroom







Installing Your New Bathroom Light Fixture
Installation essentially reverses the removal process, but attention to detail matters when ensuring long-term safety and performance. When selecting your new fixture, consider how Mounted Ceiling Lights might complement your overall bathroom lighting scheme if you're working with multiple light sources.
Mounting the New Bracket
Position the new mounting bracket against the electrical box, aligning the screw holes. Most brackets include multiple slot configurations to accommodate various box placements. Secure the bracket using the screws provided with your fixture—tighten firmly but avoid over-torquing, which can strip the threads.
Connecting the Wiring
Proper wire connections ensure safe, flicker-free operation:
- Connect the ground wire first. If your electrical box has a ground screw, wrap the fixture's ground wire around it. If not, connect the fixture ground to the existing ground wire using a wire nut.
- Match the neutral wires. Twist the white fixture wire to the white house wire, then cap with a wire nut.
- Connect the hot wires. Join the black fixture wire to the black house wire with a wire nut.
- Secure all connections with electrical tape wrapped around the wire nuts for added stability.
Tuck the connected wires neatly into the electrical box, ensuring no bare copper is exposed outside the wire nuts. Carefully align the fixture with the mounting bracket and secure it according to the manufacturer's instructions.
Can You Handle This DIY Project Yourself?
Many homeowners wonder whether bathroom light fixture replacement falls within their skill set. For most standard installations involving existing wiring and compatible electrical boxes, the answer is yes—provided you follow safety protocols and possess basic handyman skills.
However, certain situations warrant calling a licensed electrician: if you discover aluminum wiring (common in homes built 1965-1973), if the electrical box is loose or damaged, if you need to run new wiring to a different location, or if your home lacks a ground wire in the bathroom circuit. Professional installation ensures code compliance and safety, particularly in moisture-prone bathroom environments.
Understanding Wattage and Lumens for Optimal Lighting
Selecting the appropriate bulbs is as important as choosing the fixture itself. Modern LED technology has changed how we evaluate best wattage for bathroom lighting, shifting focus from power consumption to light output.
Bathroom Lighting Lumens Explained
Lumens measure actual light output, while watts indicate energy consumption. For bathroom vanity lighting—the area where you apply makeup, shave, or perform skincare routines—aim for 700 to 1,100 lumens per vanity light. This range provides sufficient brightness without harsh shadows or glare.
The total lumens needed depend on your bathroom size:
| Bathroom Type | Recommended Lumens | Fixture Layout |
|---|---|---|
| Small Powder Room | 1,500-2,000 lumens | Single sconce or overhead |
| Standard Full Bath | 2,500-4,000 lumens | Vanity + overhead combo |
| Large Master Bath | 4,000-8,000 lumens | Multiple vanity sconces + recessed |
For color temperature, select 3,000K to 4,000K bulbs. This "cool white" range renders skin tones accurately without the clinical harshness of daylight bulbs or the yellow tint of warm white options.
Flush-Mount Wall Lights
Shop all Flush-Mount Wall Lights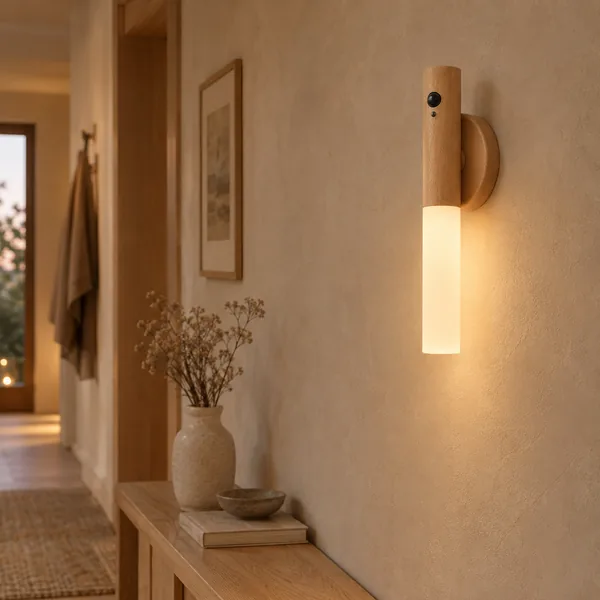
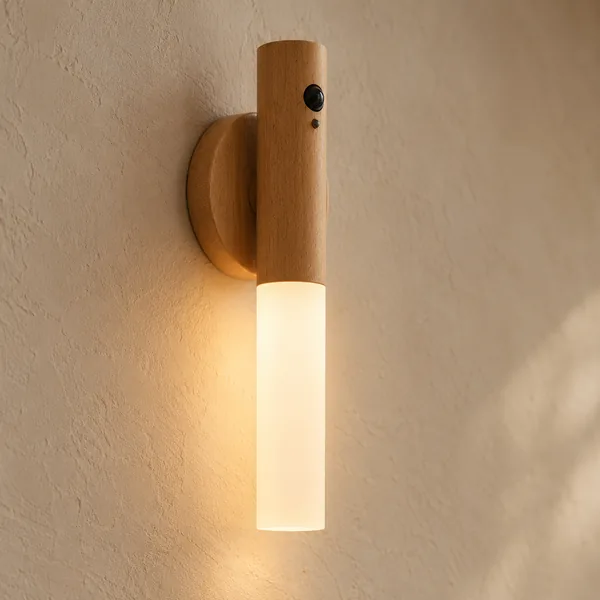
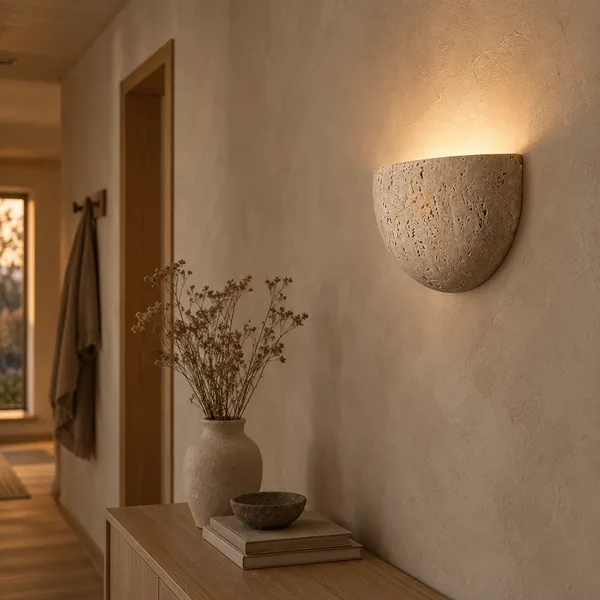
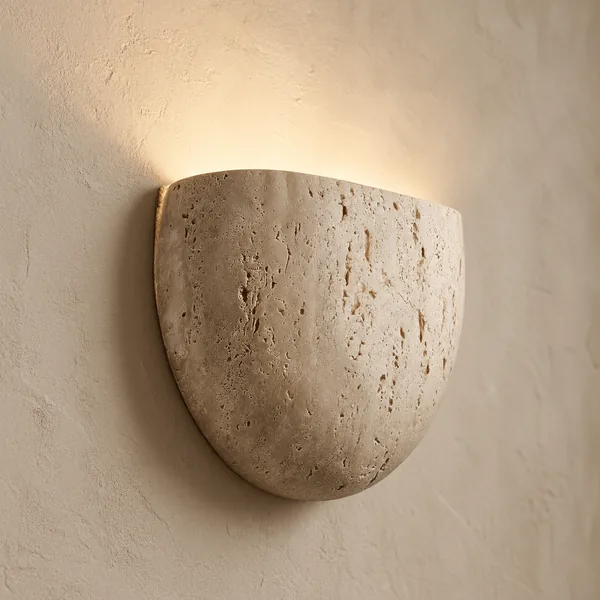
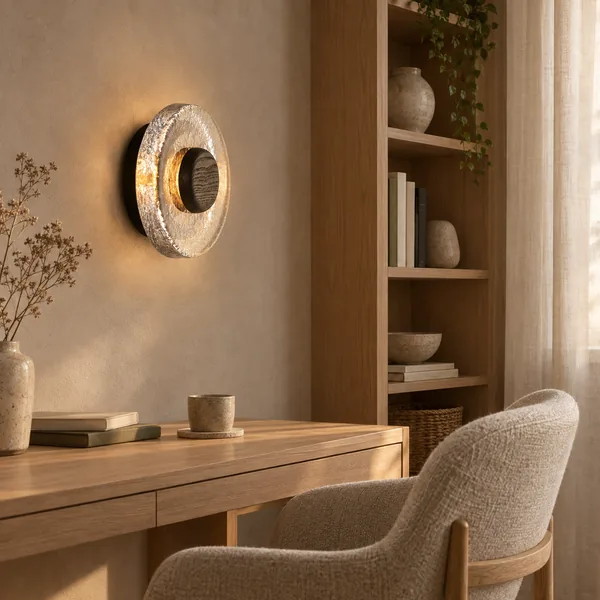
 Glødvar Retro Iron Wall Sconce Nordic Design$89.00$129.00
Upgrading to Scandinavian-Inspired Bathroom Lighting
Now that you understand the technical requirements for your lighting upgrade, consider the aesthetic impact. Scandinavian design principles—clean lines, natural materials, and warm functionality—transform bathrooms from utilitarian spaces into personal sanctuaries.
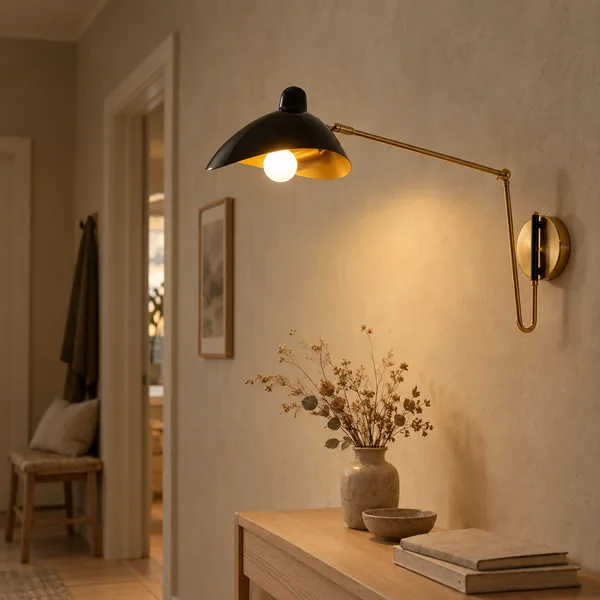
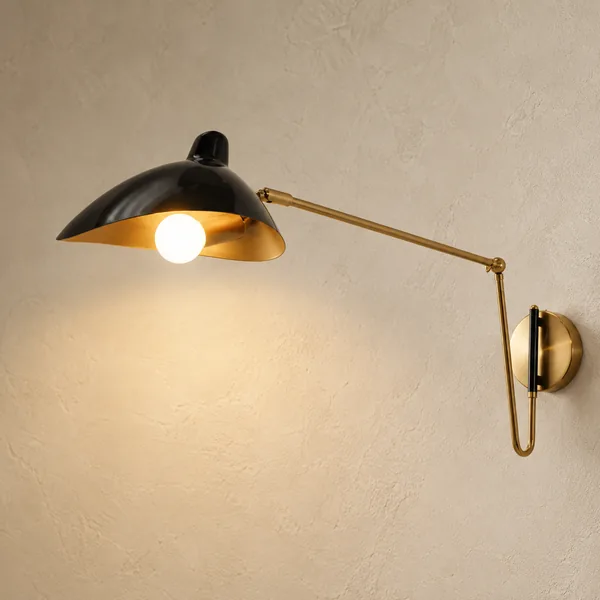
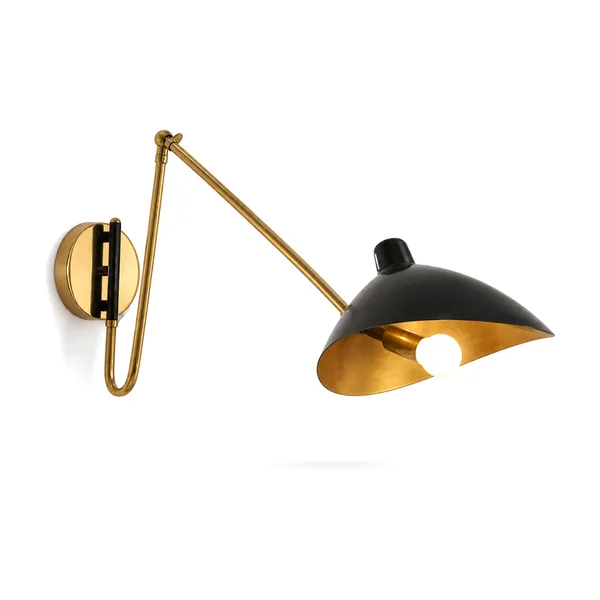
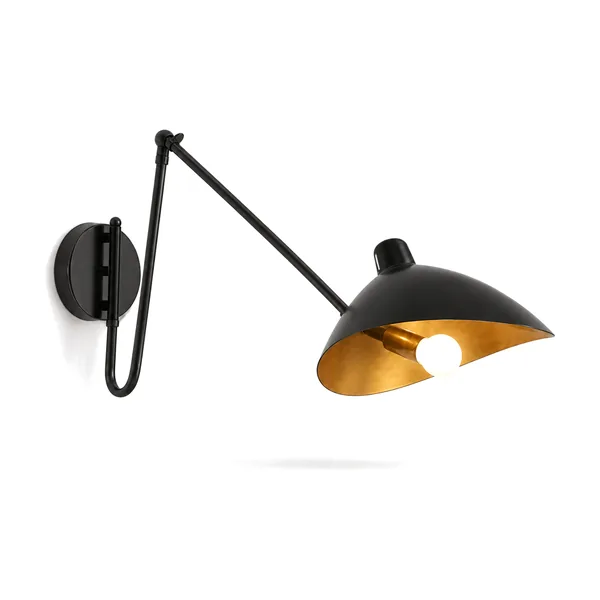
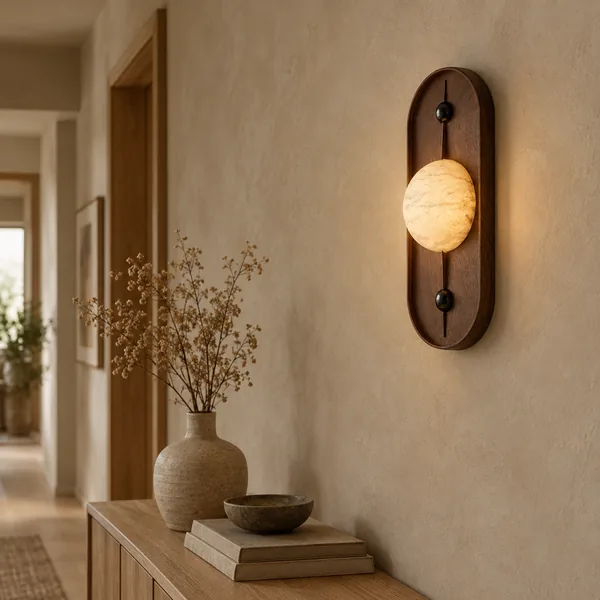
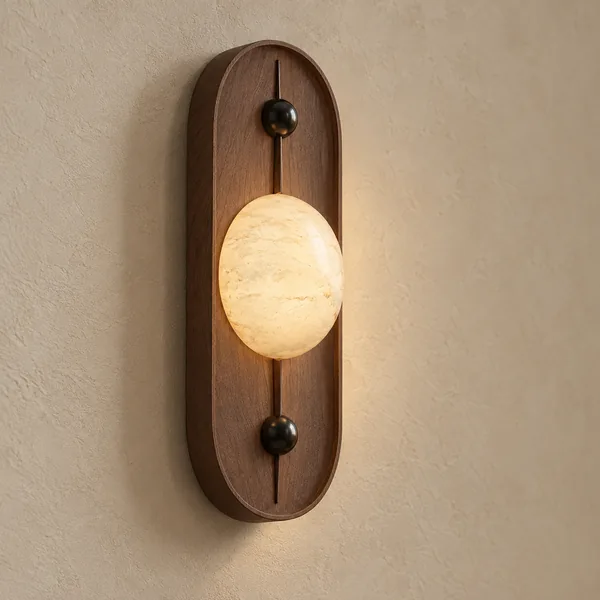
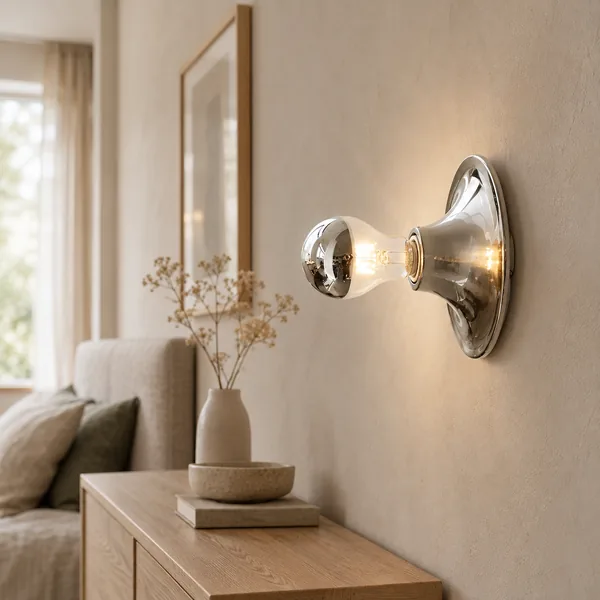
When browsing replacement options, look for fixtures that balance minimalism with character. The Glødvar Retro Iron Wall Sconce Nordic Design exemplifies this balance, offering vintage Nordic character through handcrafted ironwork available in six stunning finishes. Its timeless silhouette complements both traditional and contemporary bathrooms while providing the directional light essential for vanity tasks.
For those seeking something more organic, consider how texture and materiality influence your bathroom's atmosphere. Fixtures that incorporate natural elements or artisanal glass create visual interest while maintaining the uncluttered aesthetic central to Scandinavian interiors.
Scandinavian Wall Sconces for Your Bathroom Transformation
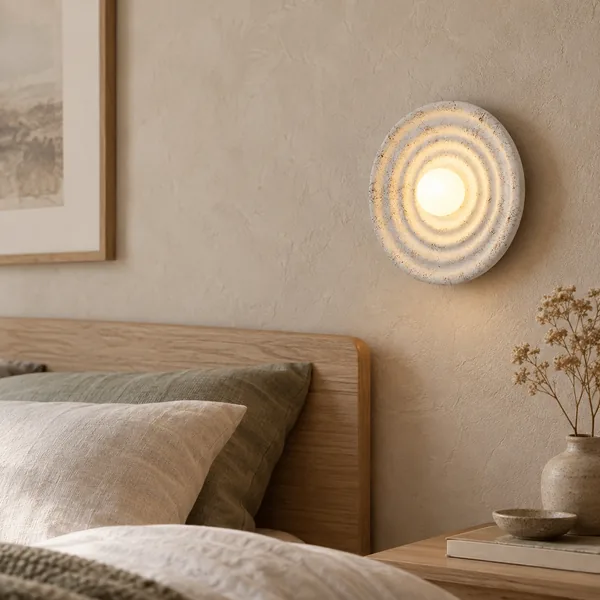 Lysring Circular LED Wall Light Wabi-Sabi Style$169.00$229.00
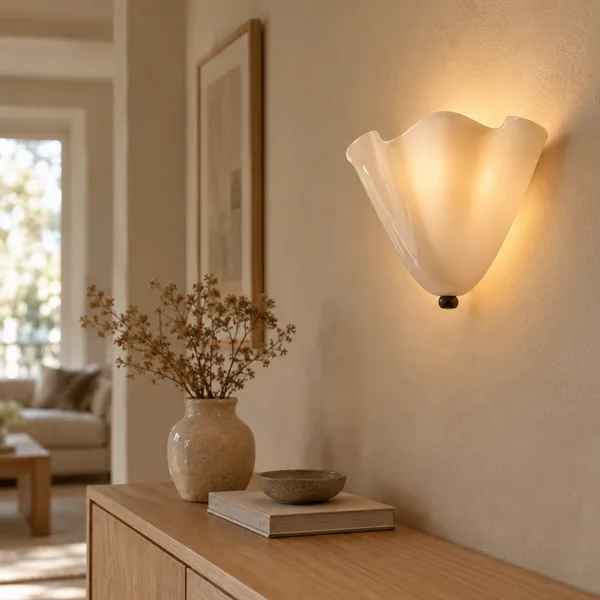 Glodsten Handcrafted Glass Stone LED Wall Light$259.00$319.00
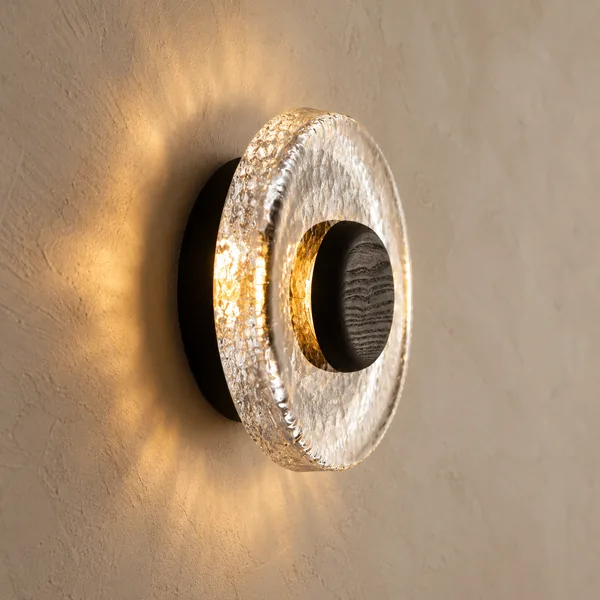
The Lysring Circular LED Wall Light Wabi-Sabi Style brings Japanese-inspired imperfection to Scandinavian utility, casting a soft halo of warm ambient light that flatters skin tones while reducing harsh shadows. Meanwhile, the Glodsten Handcrafted Glass Stone LED Wall Light elevates any space with artisanal glasswork available in four expressive colors, proving that functional lighting can double as sculptural art.
Final Testing and Troubleshooting
After installation is complete, restore power at the breaker and test your new fixture. If the light doesn't illuminate:
- Verify the breaker is fully engaged (sometimes they require firm pressure to reset)
- Check that bulbs are properly seated and functional
- Turn power off again and inspect wire connections for loose nuts or crossed wires
- Confirm the wall switch is in the "on" position
Once operational, step back and assess the light distribution. How to install bathroom lighting correctly includes evaluating shadows—stand at your vanity and note whether shadows fall across your face. If so, adjusting the fixture height or adding complementary lighting on the opposite side may be necessary.
Conclusion: Illuminate Your Space with Intention
Mastering how to replace bathroom lighting fixture components opens opportunities for meaningful home improvement without professional intervention. By following proper safety protocols, understanding the technical specifications of bathroom lighting lumens and wattage, and selecting fixtures that align with your aesthetic vision, you create spaces that support both practical routines and moments of relaxation.
At Skonne, we curate lighting solutions that honor the Scandinavian commitment to purposeful beauty. Each fixture in our collection—from handcrafted wall sconces to architectural ceiling mounts—reflects our belief that daily rituals deserve thoughtful illumination. When you're ready to elevate your bathroom beyond standard builder-grade options, explore our intentionally selected designs that bring warmth, functionality, and enduring style to your home.
Related Article
Mid-Century Modern Bathroom Lighting: Retro Vanity & Vintage-Inspired FixturesDiscover how mid-century modern bathroom lighting transforms your space. From retro vanity fixtures to vintage-inspired sconces, find timeless designs.