There's something deeply personal about the table lamp on your nightstand or the one that illuminates your reading nook. It's witnessed countless evenings of comfort, provided warmth during late-night conversations, and created that perfect hygge ambiance we all crave. So when your beloved lamp flickers, stops working, or shows signs of wear, the question isn't just "Can I fix this?"—it's "How do I preserve this piece of my home's story?"
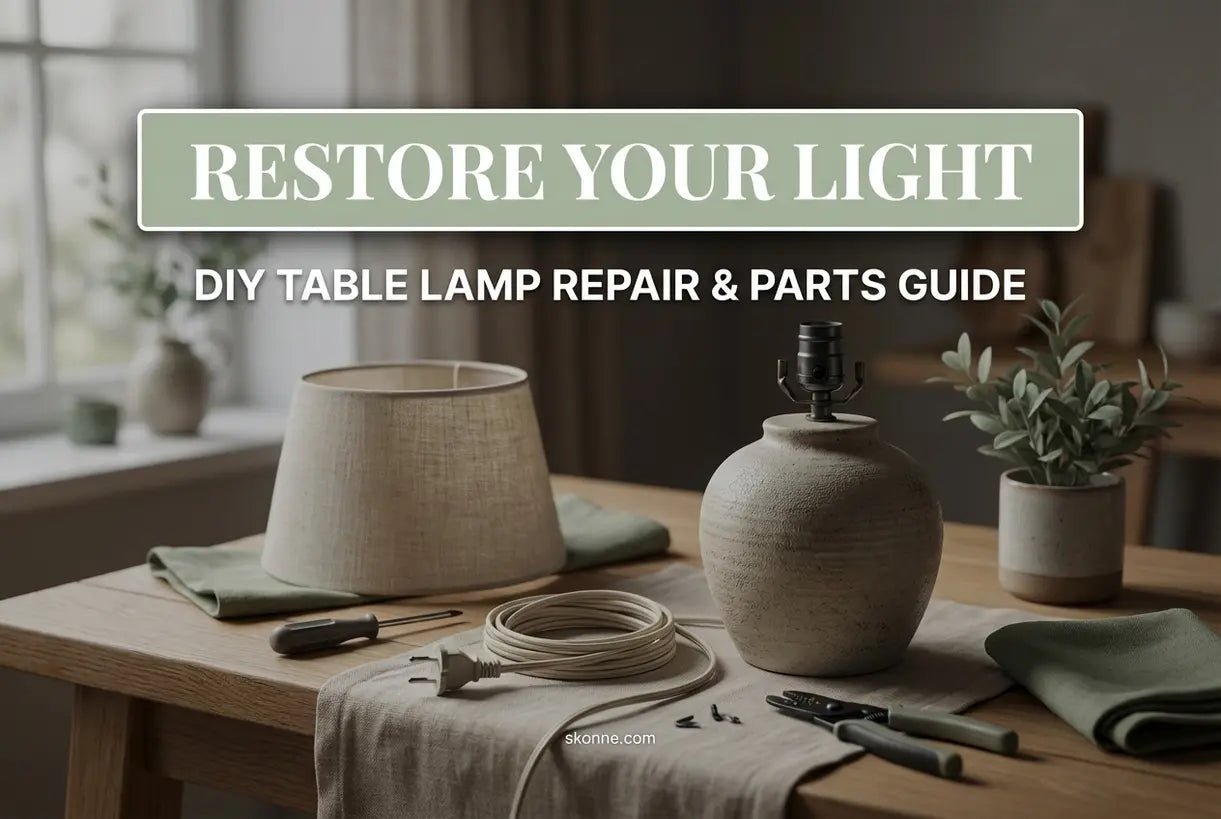
Table lamp repair is more accessible than you might think. Whether you're dealing with a frayed cord, a faulty socket, or simply want to restore a vintage find, understanding how to fix, replace parts, and restore your lamp can save both money and meaningful possessions. In this guide, we'll walk you through everything from basic troubleshooting to complete restoration, helping you extend the life of your lighting while maintaining that curated Scandinavian aesthetic you love.
Can Table Lamps Be Repaired? Understanding the Possibilities
The short answer is yes—most table lamps can be repaired. Unlike many modern electronics designed for obsolescence, quality lamps are built with replaceable components that make them surprisingly serviceable. Understanding your lamp's anatomy is the first step toward successful restoration.
Most table lamps consist of several key components: the base (which provides stability and aesthetic appeal), the socket (where the bulb connects), the cord (carrying electricity), the switch (controlling power), and the harp or shade holder (supporting the lampshade). When one element fails, it rarely means the entire lamp is compromised.
However, not all lamps are created equal when it comes to repairability. Mass-produced, inexpensive lamps often use integrated components that are difficult to replace. On the other hand, thoughtfully designed pieces—like those crafted with Scandinavian intentionality—feature accessible parts and modular construction that make DIY repairs not just possible, but encouraged.
Repair Reality: Approximately 85% of table lamp failures stem from just three issues: worn sockets, damaged cords, or loose connections—all of which are fixable with basic tools and about 30 minutes of your time.
Is It Worth Fixing a Lamp? Quality vs. Replacement
Before diving into lamp restoration, it's worth asking whether repair is the right choice. The decision often comes down to three factors: emotional value, construction quality, and cost comparison.
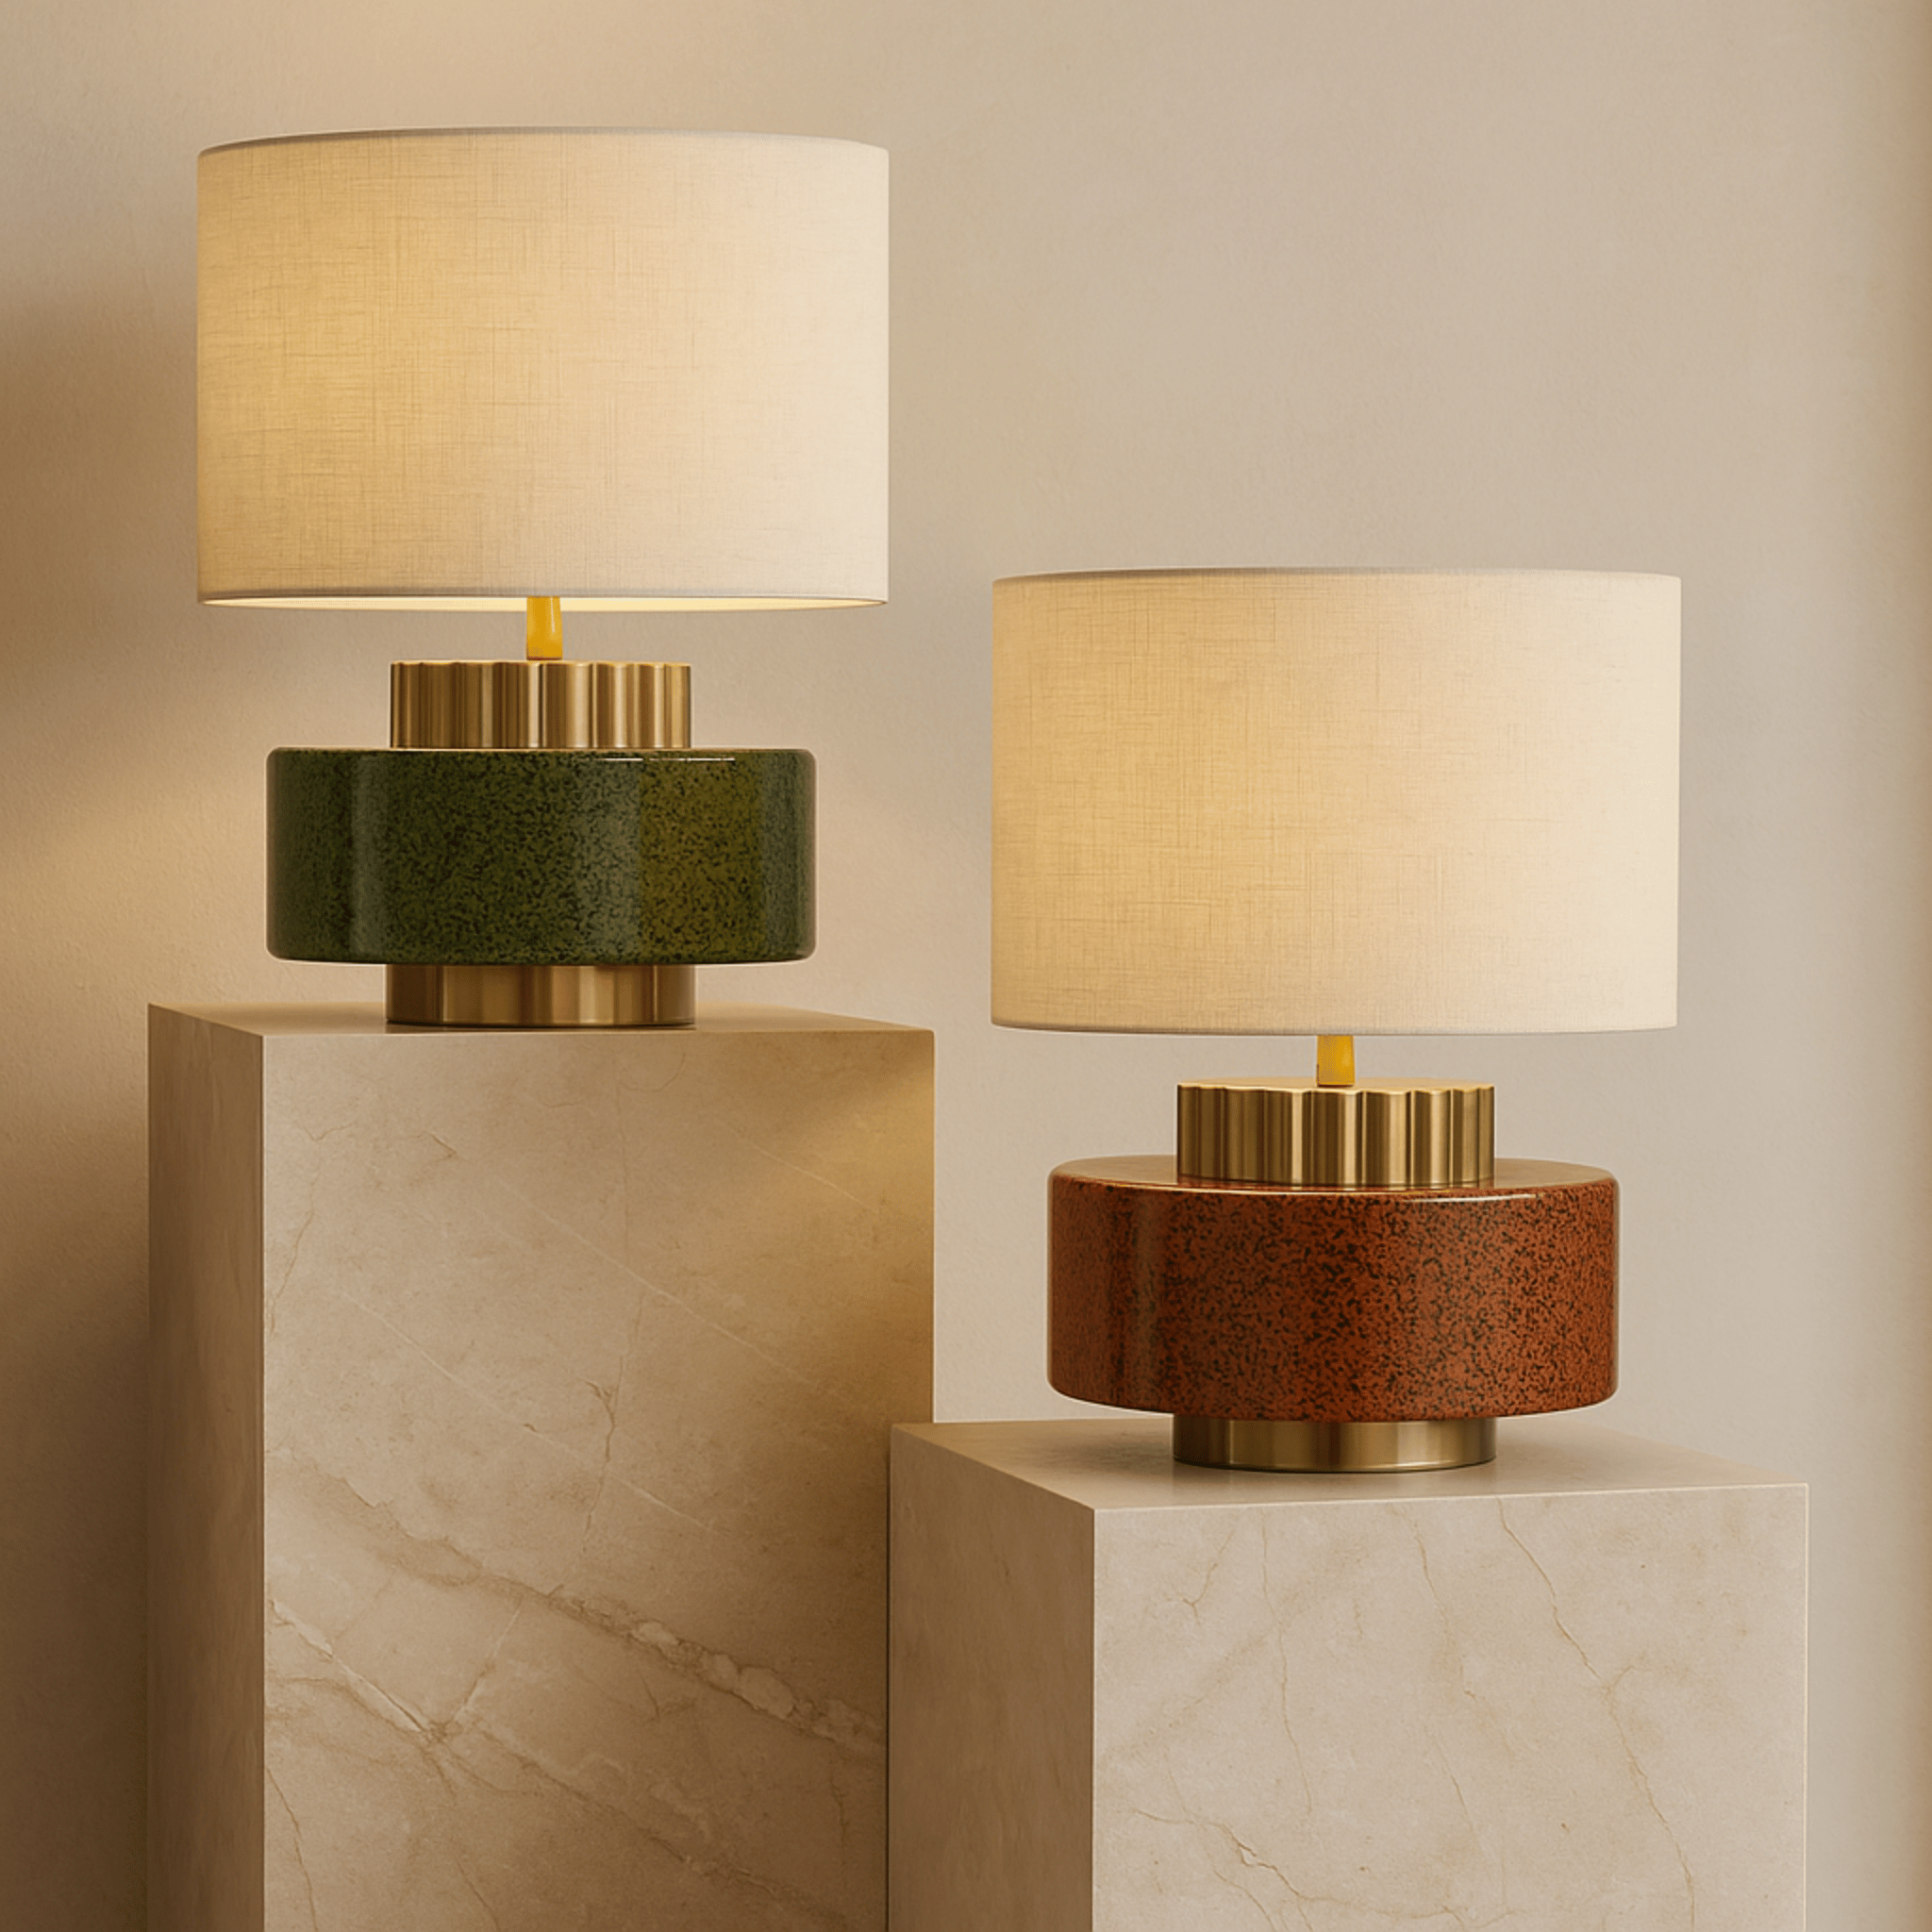
If your lamp holds sentimental significance—a hand-me-down from a loved one, a souvenir from travels, or a piece that perfectly complements your interior design—repair is almost always worthwhile. Similarly, lamps crafted from quality materials like solid wood, ceramic, or brass deserve a second life. These pieces often appreciate in character over time, developing a patina that mass-produced alternatives simply cannot replicate.
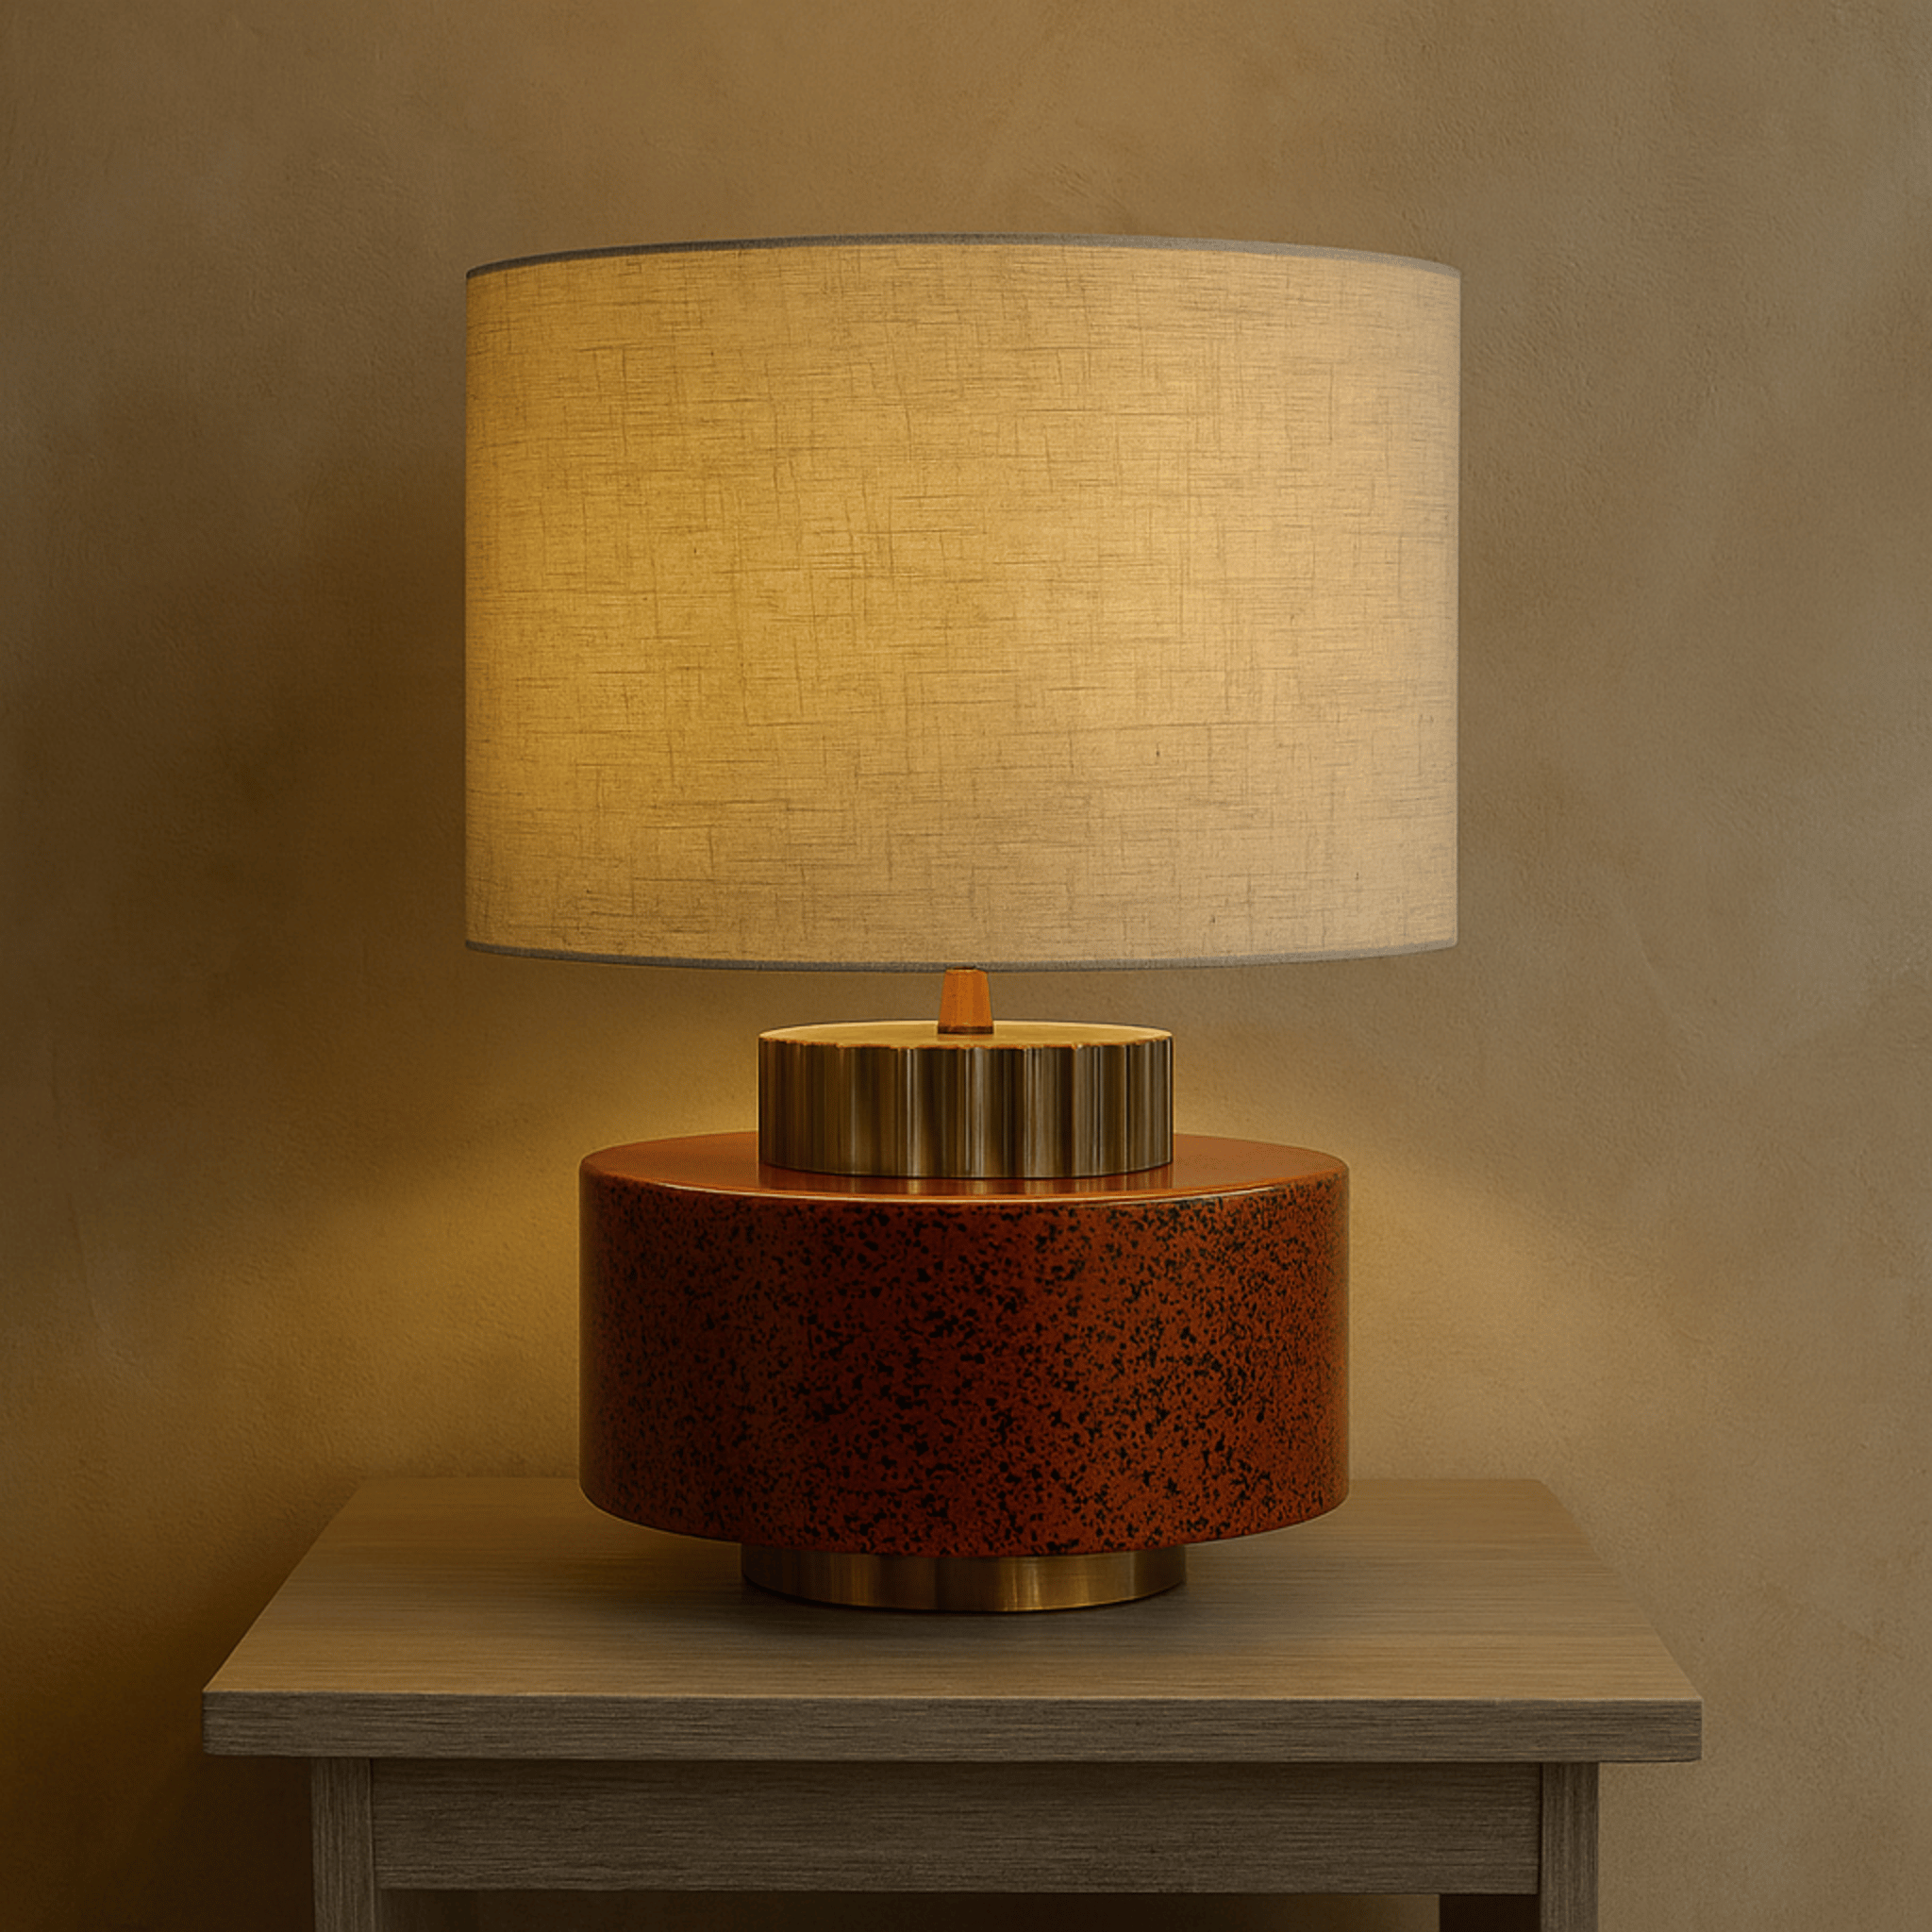
When considering table lamp components, look at the base material and overall construction. Quality ceramic, wood, or metal bases can last generations with proper care. The Leireld Artisan Ceramic Pottery Table Lamp Vintage exemplifies this philosophy—a timeless ceramic base lamp perfect for restoration projects. Its artisan craftsmanship makes it worth repairing for years of warm, ambient light. When a lamp combines aesthetic value with solid construction, repair becomes an investment rather than an expense.
Common Table Lamp Problems and Parts Replacement
Understanding what typically goes wrong helps you diagnose issues quickly. Here are the most frequent culprits behind lamp failures and their solutions:
Faulty or Worn Sockets
The socket is the heart of your lamp's electrical system. Over time, the metal contacts inside can corrode, lose tension, or break entirely. Symptoms include flickering lights, bulbs that work in other fixtures but not your lamp, or complete power failure.
Lamp socket replacement is one of the simplest repairs you can perform. Most sockets are attached with a single shell and socket cap, making removal straightforward. When selecting a replacement, ensure the new socket matches the wattage rating and bulb type (E26 for standard bulbs, E14 for candelabra bases) of your original.
Damaged or Frayed Cords
afety hazard and a common failure point. Modern lamp cords feature polarized plugs and quality insulation, but older lamps may have degraded wiring that's both inefficient and dangerous.
Lamp cord repair involves removing the old cord from the base, threading a new cord through any internal channels, and reconnecting the wires to the socket. Always match the wire gauge to your lamp's requirements, and never attempt to repair a cord with electrical tape—full replacement is the only safe solution.
Switch Malfunctions
Whether your lamp uses a turn-knob, pull-chain, or rotary switch, these mechanisms wear out with use. Stiff operation, inconsistent contact, or complete failure to toggle power all indicate switch problems.
Replacement switches are inexpensive and relatively simple to install, though the process varies by lamp design. Some switches are mounted externally, while others are integrated into the socket assembly.
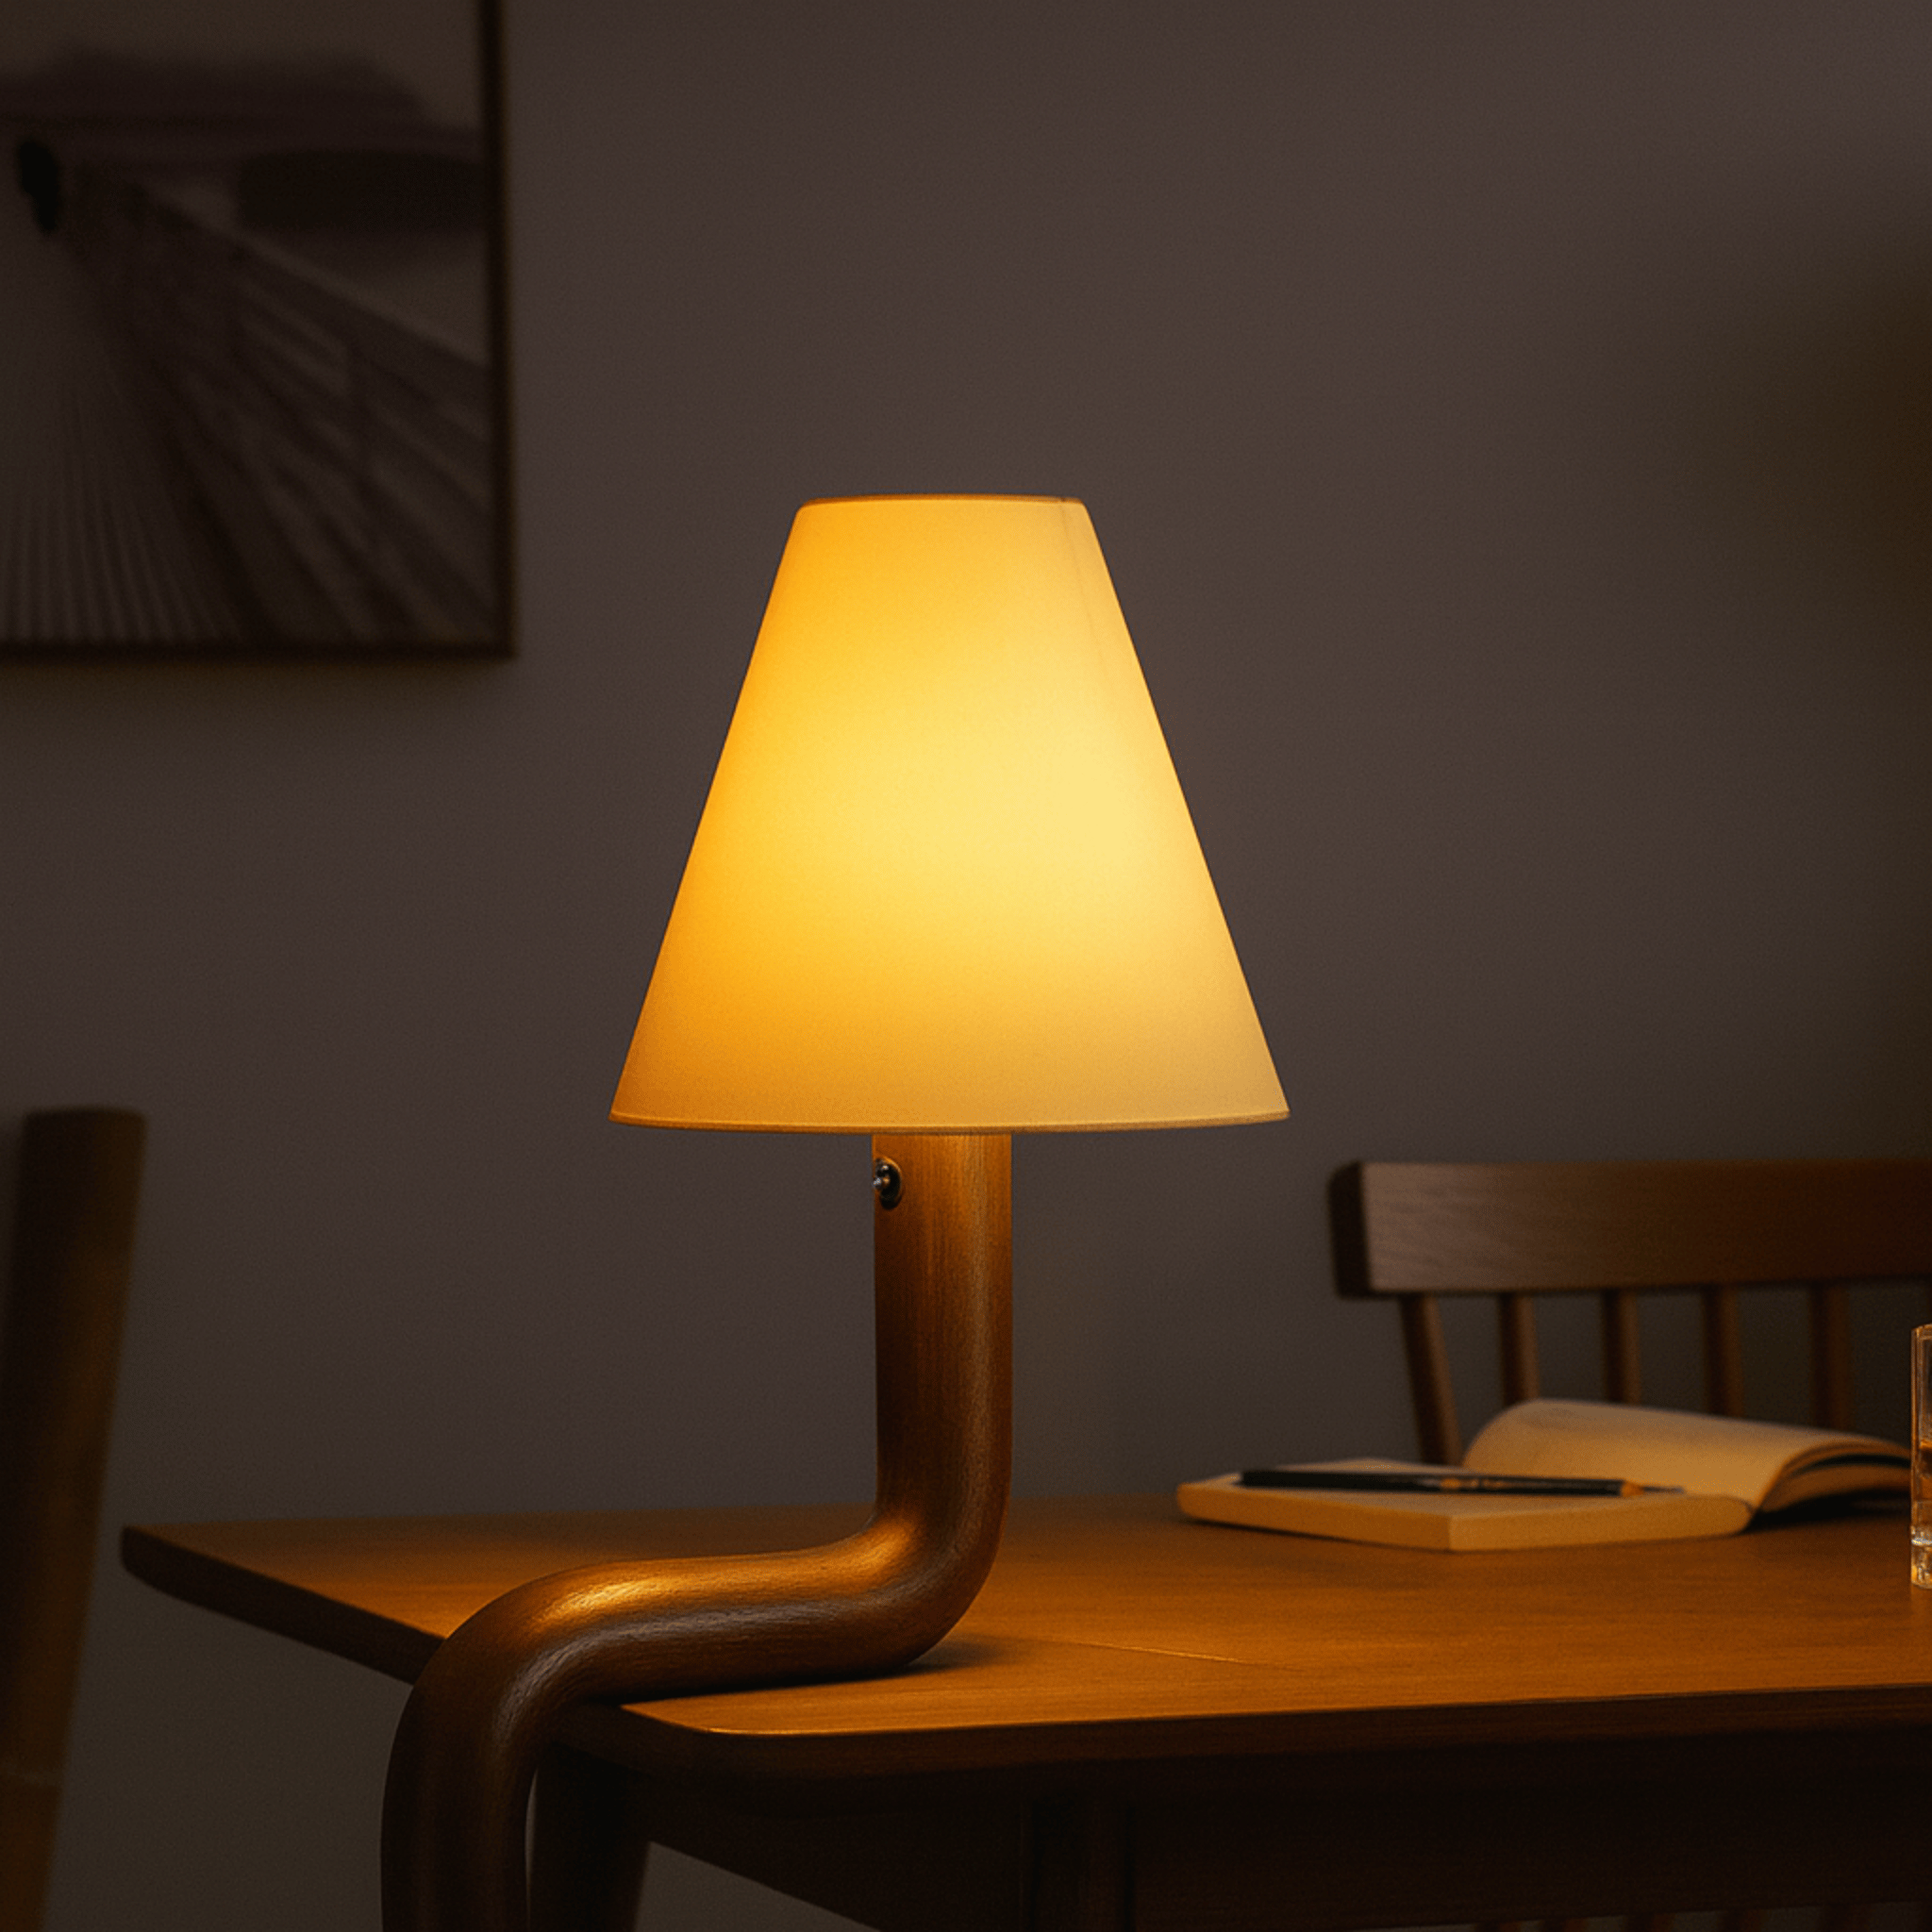
For those exploring Scandinavian Lighting options, you'll find that quality pieces are designed with accessible components. The Varma Nordic Artisan Wood Table Lamp Warm LED, for instance, features solid wood construction with replaceable LED components—an ideal candidate for DIY repairs with accessible parts and timeless Nordic design.

Essential Tools and Materials for DIY Lamp Repair
Before beginning any repairing table lamps project, gather the proper tools. Having everything at hand prevents interruptions and ensures safety throughout the process.
You'll need:
- Screwdrivers: Both flathead and Phillips in various sizes
- Wire strippers: For preparing cord ends (22-18 gauge capacity)
- Wire nuts or terminal connectors: For secure connections
- Electrical tape: Quality vinyl tape for insulation
- Felt pads: To protect your work surface
- Replacement parts: Socket, cord, or switch as needed
- Multimeter: Optional but helpful for testing continuity
Work in a well-lit area with plenty of space. Lay down a soft cloth or felt to prevent scratching your lamp's base during disassembly. Patience is your most valuable tool—rushing through electrical repairs can lead to mistakes or injury.
Step-by-Step Guide: How to Fix a Broken Lamp
Now that you understand the components and have your tools ready, let's walk through a complete lamp rewiring and repair process. This guide assumes you're addressing multiple wear issues simultaneously, which is often the most efficient approach.
Step 1: Safety First
Unplug the lamp and ensure it's completely disconnected from power. Remove the bulb and lampshade to prevent damage during work. If you're dealing with a vintage lamp, photograph the wiring configuration before disassembly—these images will serve as your reassembly guide.
Step 2: Disassemble the Lamp
Remove any decorative elements or harps that support the shade. Unscrew the socket shell from the socket cap, being careful not to damage the cardboard insulator inside. If the shell feels stuck, gently wiggle it rather than forcing it. Once open, you'll see the wire connections and the socket interior.
Step 3: Remove the Old Cord
Untwist or unscrew the wire connections from the socket terminals. Note which wire connects to which terminal—typically, the ribbed or silver wire is neutral (connects to the wider plug prong), while the smooth or gold wire is hot. Pull the old cord out through the lamp base from the bottom. If it resists, check for knots or retention clips inside.
Step 4: Inspect and Clean Components
With the cord removed, examine the socket interior. Look for corrosion, broken contacts, or melted plastic. Clean any oxidation with fine sandpaper or a small wire brush. If the socket shows significant damage, replacement is necessary.

Step 5: Install the New Cord
Tie a knot in the new cord's end to prevent it from pulling through the socket (or use an Underwriter's Knot for extra security). Thread the cord up through the lamp base from the bottom, pulling enough length to work comfortably with the socket connections.
Step 6: Connect the Wires
Strip about 3/4 inch of insulation from the cord ends. Bend the exposed wire into a hook shape and wrap it clockwise around the appropriate socket terminal screw—this ensures the wire tightens as you screw it down. The neutral (ribbed) wire typically connects to the silver screw, while the hot (smooth) wire connects to the brass/gold screw. Tighten securely.
Step 7: Reassemble and Test
Slide the socket shell back over the interior components, ensuring no wires are pinched. Install a bulb and test before reattaching the shade. If the lamp doesn't work, check your connections and ensure the bulb is functional.
How Much Should a Lamp Repair Cost? DIY vs. Professional Services
One common question is cost comparison between DIY repairs and professional services. Understanding these figures helps you make an informed decision.
DIY Repair Costs: Basic parts run $5-15 for a standard socket, $8-20 for quality replacement cords, and $3-10 for switches. A complete rewiring kit often costs under $30. The investment in basic tools (if you don't already own them) adds $20-40 initially, but these serve for multiple projects.
Professional Repair: Local lamp repair services typically charge $25-75 for simple socket or switch replacement, plus parts. Complex restorations involving multiple components or antique pieces can range from $100-300 depending on labor time and specialty parts.
Does Ace Hardware do lamp repairs? While some locations offer basic electrical parts and advice, they typically don't provide repair services. However, they stock common lamp parts if you're tackling the project yourself. For intricate repairs or valuable antiques, consider searching for specialized lamp restoration shops in your area.

Special Considerations for Different Lamp Types
Not all lamps follow the same repair protocol. Understanding the nuances of your specific lamp type ensures successful restoration.
Vintage and Antique Lamps
Antique lamps often require period-appropriate parts to maintain value. Modern plastic sockets in a 1920s ceramic base compromise authenticity. Seek out antique lamp suppliers or salvage yards for vintage-appropriate components. Always document original wiring configurations, as older lamps may have non-standard setups.
Smart and LED Lamps
Modern LED table lamps like the Varma Nordic Artisan Wood Table Lamp Warm LED present unique considerations. While the base and structure remain repairable, integrated LED components may require manufacturer-specific parts. The advantage lies in longevity—quality LED systems often outlast traditional bulbs by years, and modular designs allow component replacement rather than full disposal.
For elegant glass designs such as the Glodra Brass Frosted Glass Ball Table Lamp, restoration focuses on maintaining the sophisticated Scandinavian aesthetic while ensuring electrical safety. This elegant glass globe design with brass base components allows you to replace its E14 socket and maintain its sophisticated aesthetic—a perfect example of how thoughtful design supports longevity.

Leireld Artisan Ceramic Pottery Table Lamp Vintage
$469.00 $679.00
A timeless ceramic base lamp perfect for restoration projects. Its artisan craftsmanship makes it worth repairing for years of warm ambient light.
Explore Product


Preventive Maintenance: Extending Your Lamp's Lifespan
Repair is important, but prevention preserves. Simple maintenance habits can significantly extend the life of your lighting investments.
Regular Inspection: Every six months, unplug your lamps and examine cords for fraying, sockets for discoloration, and switches for stiffness. Early detection prevents catastrophic failures.
Proper Bulb Selection: Never exceed the recommended wattage printed on the socket. Higher wattage creates excess heat that degrades socket components and can create fire hazards. Consider LED bulbs that generate less heat while providing equivalent illumination.
Stable Positioning: Place lamps on stable surfaces away from high-traffic areas where cords might be tripped over or pulled. Stress on cords weakens internal connections over time.
Dust Management: Dust accumulation in sockets can cause poor connections. Occasionally wipe the socket interior with a dry cloth (with the lamp unplugged) to maintain clean contacts.

When to Replace Instead of Repair
While we're advocates for restoration, there are legitimate scenarios where replacement makes more sense:
- Safety Concerns: If the lamp base itself is cracked (particularly ceramic or glass), structural integrity may be compromised beyond safe repair.
- Obsolete Wiring: Some very old lamps used cloth-insulated wiring or lack grounding capabilities that modern safety standards require.
- Economic Reality: Mass-produced lamps under $30 rarely justify repair costs when quality replacements are available.
- Style Evolution: Sometimes a lamp simply no longer serves your aesthetic vision, and donating or recycling makes more sense than restoration.
However, when you're considering a quality replacement, look for pieces designed with longevity and repairability in mind. Scandinavian design philosophy emphasizes exactly this—beautiful objects built to last, with components that can be serviced rather than discarded.
Quality Lamps Worth Restoring

Varma Nordic Artisan Wood Table Lamp Warm LED
$219.00
$319.00
Solid wood construction with replaceable LED components. An ideal candidate for DIY repairs with accessible parts and timeless Nordic design. Learn more ➔

Glodra Brass Frosted Glass Ball Table Lamp
$169.00
$249.00
Elegant glass globe design with brass base components. Learn to replace its E14 socket and maintain its sophisticated Scandinavian aesthetic. Learn more ➔
Conclusion: The Value of Repair in a Scandinavian Home
Table lamp repair is more than a practical skill—it's a philosophy. In our disposable culture, the willingness to repair, restore, and rejuvenate objects stands as a quiet rebellion against waste. Scandinavian design has always embraced this ethos: creating fewer, better things; maintaining them with care; and allowing them to age gracefully within our spaces.
Whether you're reviving a cherished family heirloom, restoring a vintage market find, or simply extending the life of your current bedside companion, the skills you've learned here empower you to curate a home that tells stories. A repaired lamp carries more character than a new one ever could.
At Skonne, we believe that quality lighting deserves longevity. Our collection of Scandinavian Lighting is designed with exactly this philosophy—pieces beautiful enough to treasure and well-crafted enough to maintain for generations. Because the warmest light is the one that's been with you through the years.
Frequently Asked Questions about Table Lamp Repair
Yes, most table lamps can be repaired. Common issues like faulty sockets, frayed cords, and broken switches are all fixable with basic tools and replacement parts. Quality lamps with replaceable components are especially easy to repair, while inexpensive mass-produced lamps may have integrated parts that make repair more challenging.
It's worth fixing a lamp if it has sentimental value, quality construction, or aesthetic significance that makes it irreplaceable. Lamps made from solid materials like ceramic, wood, or brass, as well as designer pieces or family heirlooms, are almost always worth repairing. Simple repairs costing $10-30 often make more sense than replacing quality lighting.
DIY lamp repairs typically cost $5-30 in parts (sockets, cords, or switches). Professional repair services generally charge $25-75 for simple repairs plus parts, while complex restorations can range from $100-300. The cost depends on the repair complexity, parts availability, and whether the lamp requires specialized work.
Ace Hardware locations typically do not offer lamp repair services, though policies may vary by individual store. However, they do stock common lamp parts like sockets, cords, and switches for DIY repairs. For professional lamp repair services, look for specialized lighting stores or antique restoration shops in your area.
To fix a broken lamp, first unplug it and identify the issue (socket, cord, or switch). Remove the old component by unscrewing the socket shell and disconnecting wires. Install the replacement part by matching wire connections (ribbed/silver to neutral, smooth/gold to hot), secure with wire nuts or terminal screws, and reassemble. Always test with a working bulb before finishing.