
Ceiling Lamp Parts, Canopy & Hardware: Everything You Need to Know
Summary›
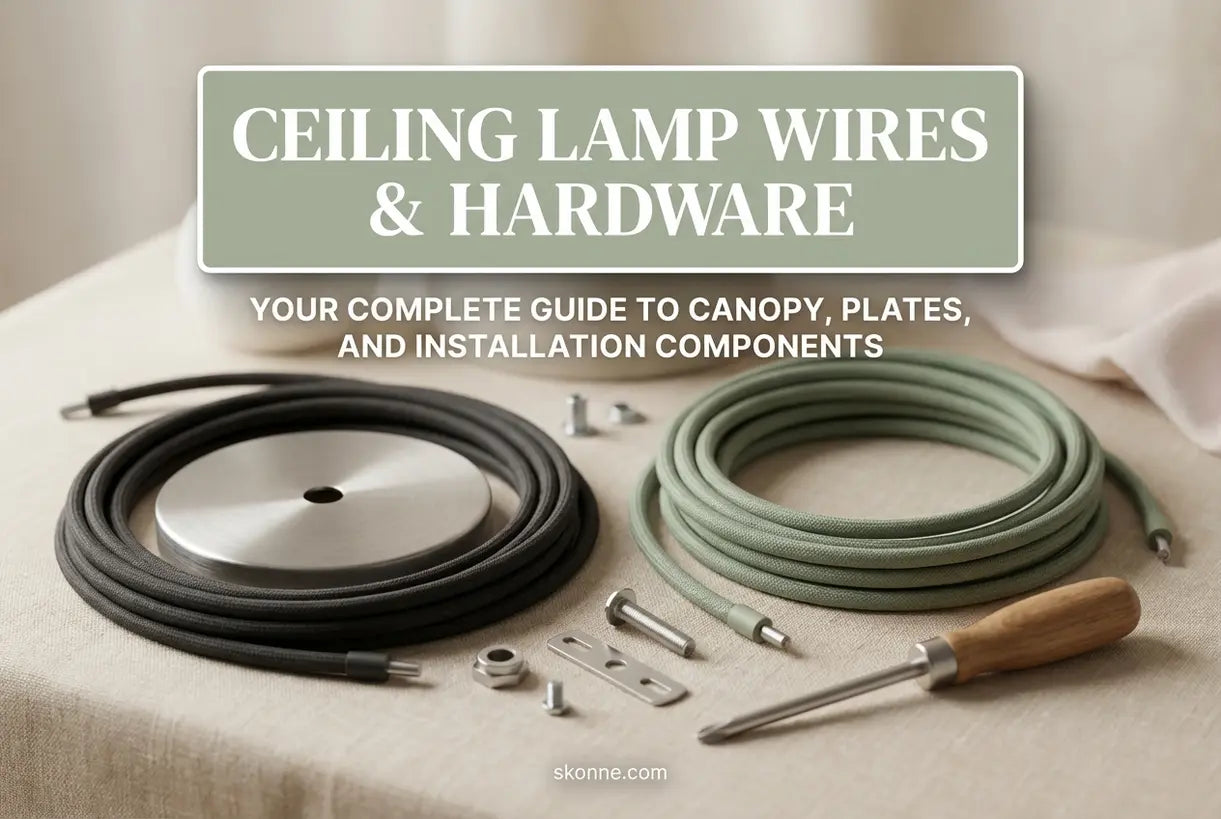
Understanding ceiling lamp wires and fixture components can feel overwhelming, especially when you're staring at a tangle of electrical connections and unfamiliar hardware. Whether you're planning a DIY installation, troubleshooting an existing fixture, or simply want to make an informed purchase, knowing the terminology and function of each part transforms uncertainty into confidence.
In this guide, we'll walk you through every essential component of ceiling lamp hardware, from the canopy that conceals the mounting plate to the hangers that secure your fixture. By the end, you'll not only understand what each part does but also discover how to select quality fixtures that make installation straightforward and safe. Speaking of quality, at Skonne, we design our lighting with thoughtful integration of all these components, ensuring your installation experience feels as seamless as the final look.
Understanding Ceiling Lamp Components
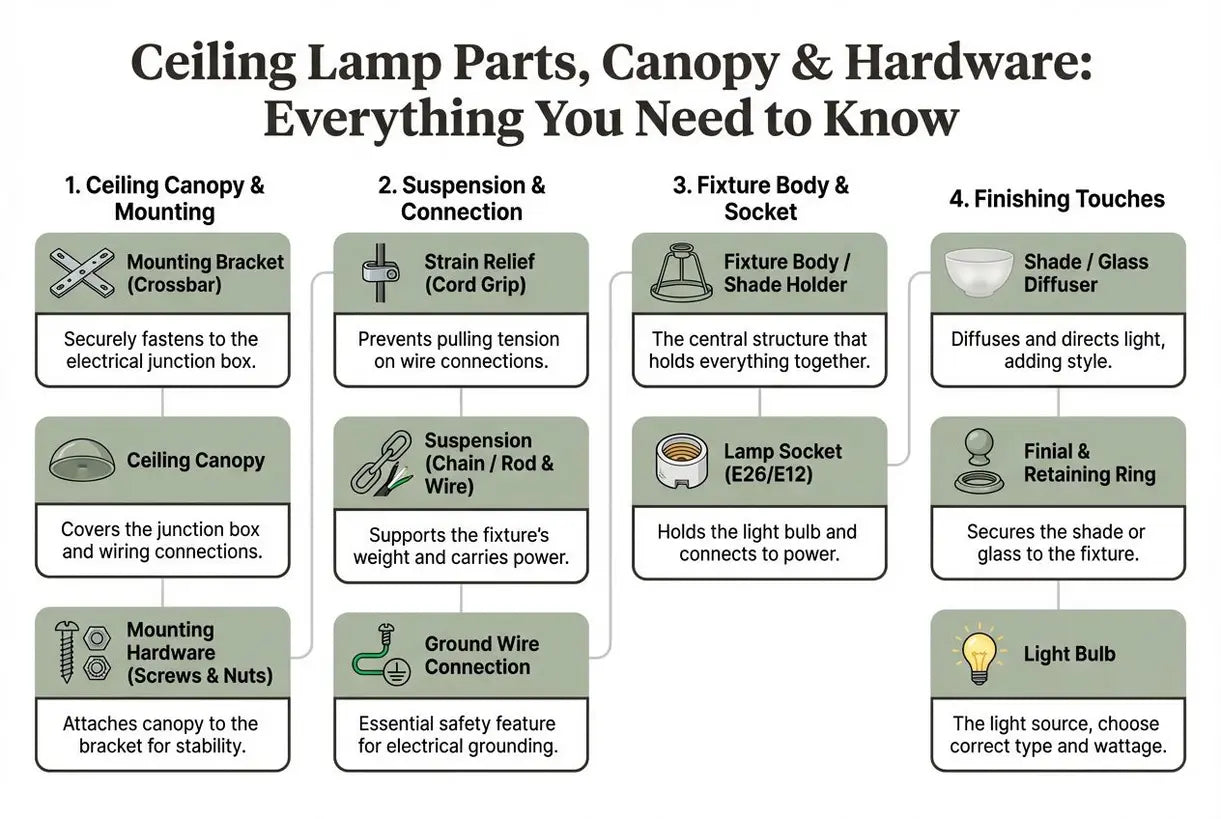
Before you can confidently install or troubleshoot a ceiling light, you need to recognize each component by name and function. Ceiling lamp terminology might seem technical at first glance, but each term describes a simple piece of hardware with a specific purpose. Understanding these parts will help you read installation manuals, purchase the right replacement components, and communicate effectively with electricians or customer support teams.
The components you'll encounter fall into four major categories: electrical connections (wires and terminals), mounting hardware (plates and brackets), cosmetic elements (canopy and decorative covers), and structural supports (hangers and chains). Each plays a critical role in both the safety and aesthetics of your lighting installation.
For those looking to explore more options, our Home Improvement collection offers a curated selection of lighting fixtures designed with straightforward mounting in mind.
Mounted Ceiling Lights
Shop all Ceiling Lights
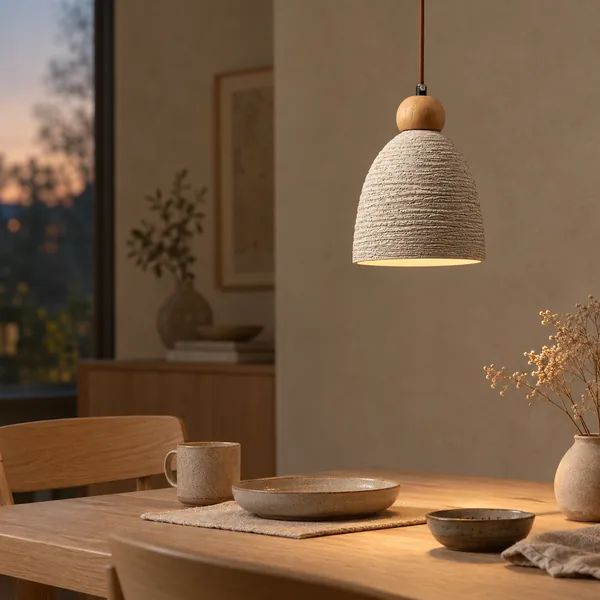
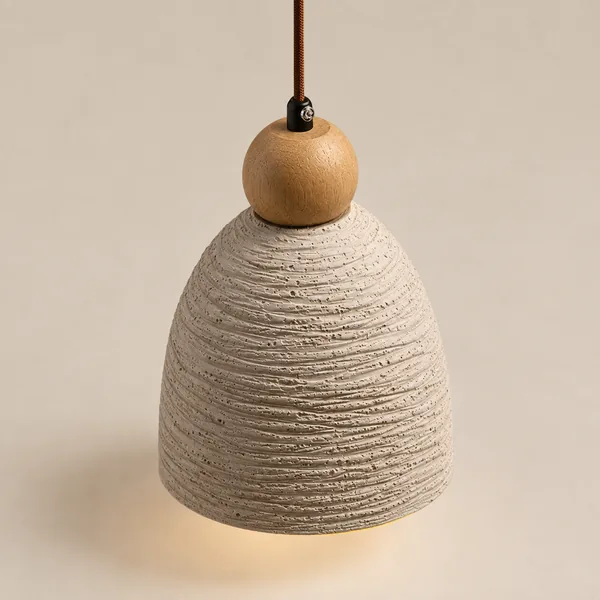
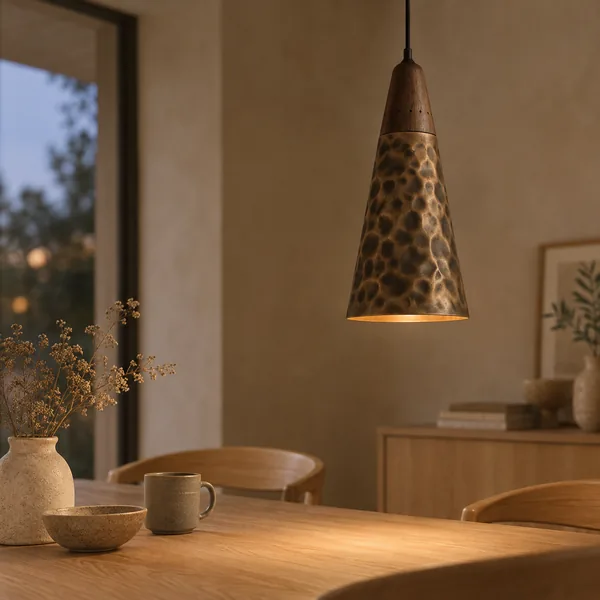
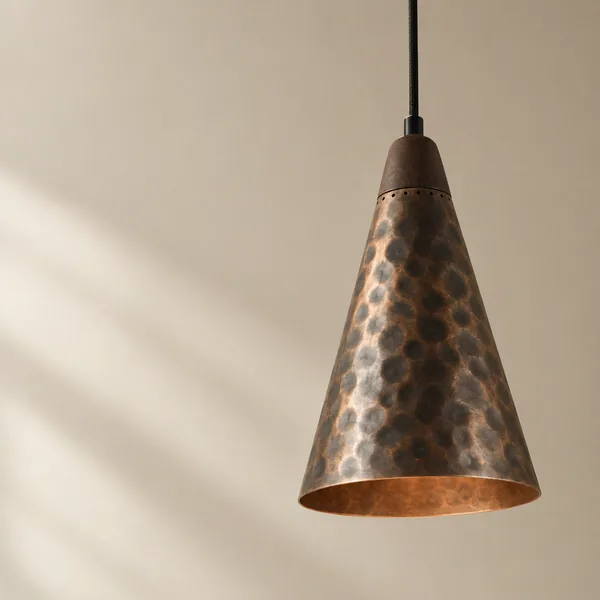
What Are the Parts of a Ceiling Lamp Called?
The anatomy of a ceiling lamp involves several interconnected components working together. At the top, you'll find the ceiling lamp canopy, a decorative cover that hides the electrical box and mounting bracket. Below that sits the mounting plate or bracket, which provides the structural anchor point for the entire fixture. The ceiling lamp wires run through the plate, connecting your home's electrical supply to the fixture itself.
Depending on your fixture type, you may also see a ceiling lamp hanger, which could be a chain, rod, or cord system that suspends the light at your desired height. In pendant installations, a cord grip or strain relief keeps the weight off the electrical connections, ensuring long-term safety. Understanding these terms helps you identify replacement parts and follow installation guides with confidence.
Familiarity with these components becomes especially valuable when shopping for new fixtures. The Klara Nordic Glass Ceiling Light for Interiors demonstrates how modern Scandinavian design integrates all these elements seamlessly, featuring a clean canopy design that conceals mounting hardware while showcasing the elegant glass shade below.
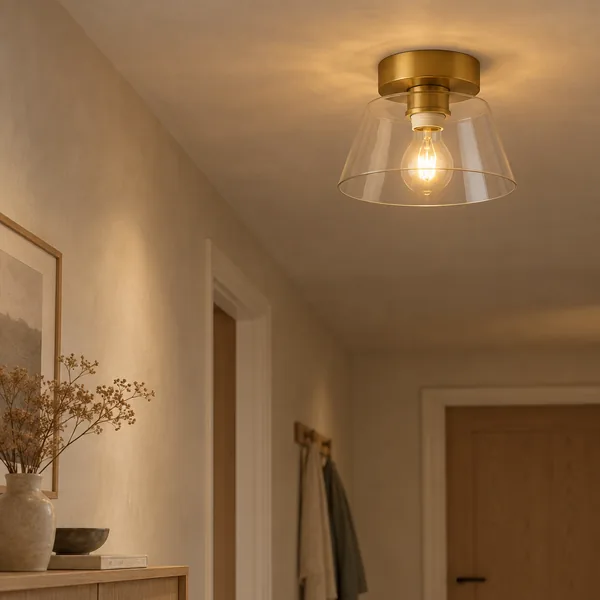 Klara Nordic Glass Ceiling Light for Interiors$109.00$169.00
Ceiling Lamp Wires Explained
The electrical wiring is the lifeline of any ceiling fixture, carrying power from your home's electrical system to the light source. Most residential ceiling lamps use three wires: the hot wire (usually black), the neutral wire (usually white), and the ground wire (usually green or bare copper). These color codes are standard across North American fixtures, though you should always verify with your specific installation instructions.
When installing or servicing ceiling lamp wires, safety is paramount. Always turn off power at the circuit breaker before beginning any electrical work. Use a voltage tester to confirm no current is flowing. Secure connections with wire nuts (also called wire connectors or marrettes), which twist onto the wire ends to create a safe, insulated junction. The quality of these connections directly affects both the safety and longevity of your lighting installation.
For adjustable pendant installations, ceiling lamp wires often incorporate a cord system that allows height customization. These cords may be decorative as well as functional, available in materials like fabric, metal, or clear PVC. Understanding how these wires integrate with the mounting system helps you plan your installation effectively and troubleshoot any flickering or intermittent operation issues.
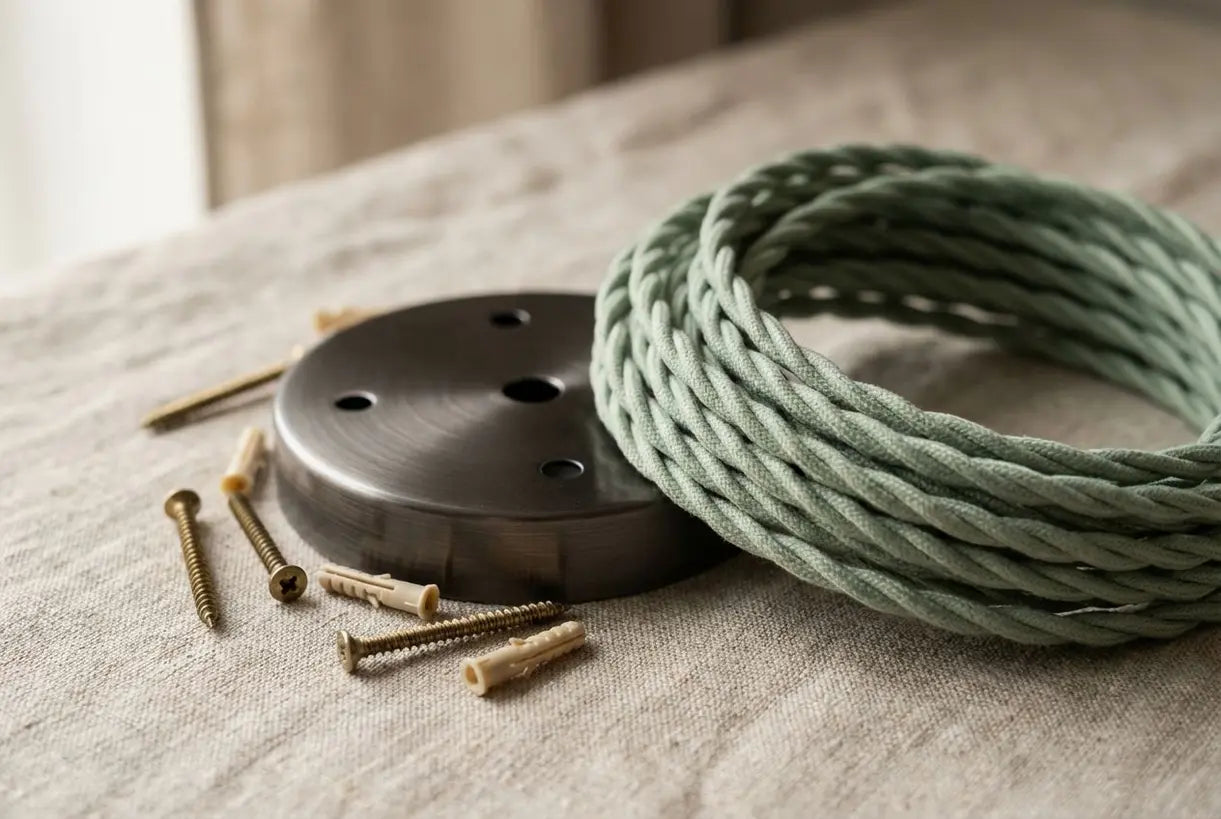
What Is a Canopy on a Light Fixture?
The canopy serves both practical and aesthetic functions in ceiling lighting. This dome-shaped or disc-shaped cover attaches to the ceiling, concealing the electrical box, mounting hardware, and wire connections from view. When you look up at a pendant or semi-flush mount fixture, the canopy provides clean visual closure where the fixture meets the ceiling surface.
Canopies come in various shapes, sizes, and finishes to complement different design styles. A shallow canopy works well for low ceilings or flush-mount applications, while deeper canopies accommodate sloped ceilings or extended mounting systems. Many modern Scandinavian-inspired fixtures feature slim, minimalist canopies that emphasize clean lines.
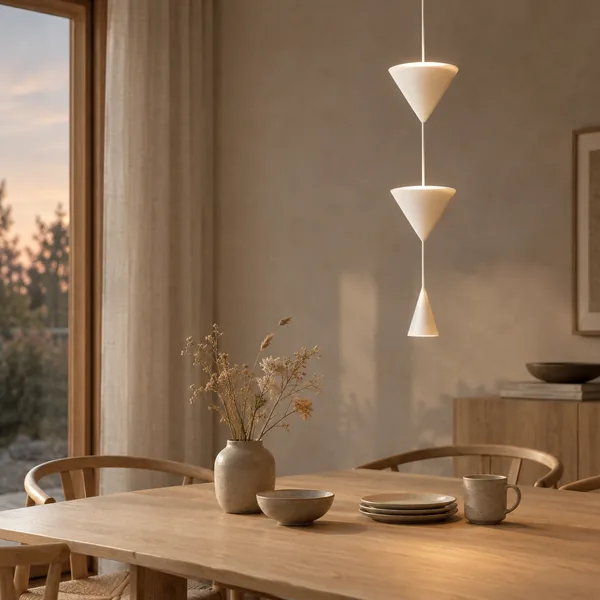
When selecting a fixture, consider the canopy diameter relative to your electrical box. Standard North American electrical boxes are typically 4 inches in diameter, so your canopy should comfortably cover this opening while providing enough working space for wire connections. Multi-point canopies, used with fixtures like the Kjella 3-Head Modern Cone Pendant Light in Metal, contain multiple entry points for several pendant cords, allowing dramatic multi-light installations from a single electrical connection.
How to Install a Ceiling Lamp Plate
The mounting plate, sometimes called a mounting bracket or crossbar, provides the structural foundation for your ceiling light. This metal component attaches directly to the electrical box embedded in your ceiling, creating a secure anchor point for the fixture's weight. Understanding ceiling lamp plate installation fundamentals ensures your fixture hangs safely for years to come.
Mounting plates typically feature multiple screw holes to accommodate various electrical box configurations. When installing, align the plate with the electrical box and secure it using the provided screws. Ensure the plate sits flush against the ceiling surface, as this alignment affects how the canopy will fit. The plate should feel completely secure before any wiring connections are made.
Once the plate is mounted, you'll connect the ceiling lamp wires to the fixture's corresponding wires, tuck the connections into the electrical box, and attach the canopy. This sequence ensures safe, concealed connections behind an attractive finished surface. For visual guidance on multi-point canopy installations, the following video demonstrates the process clearly:
Pendant Lights
Shop all Pendant Lights
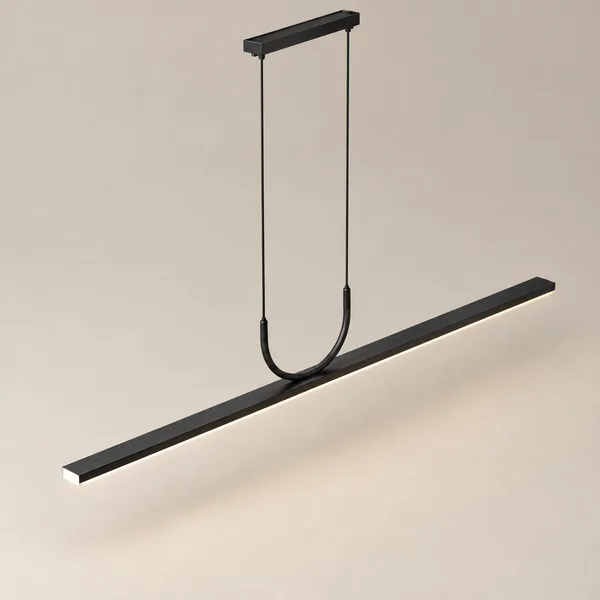 Save $140.00
Linné Minimalist Linear Black LED Pendant Light
 Save $60.00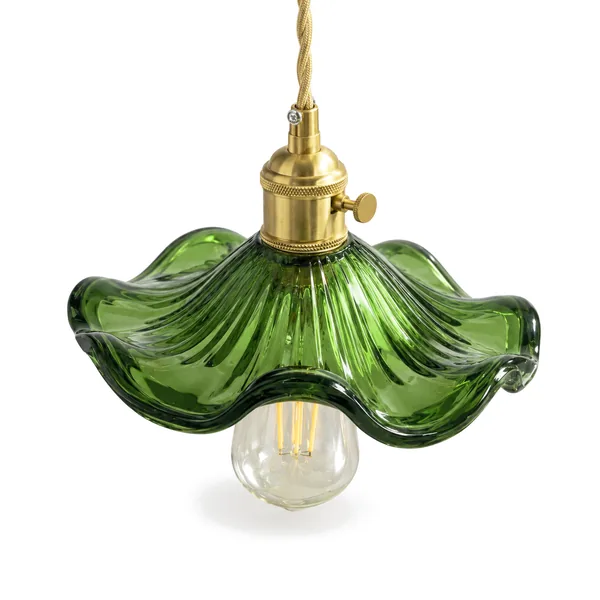
 3 options
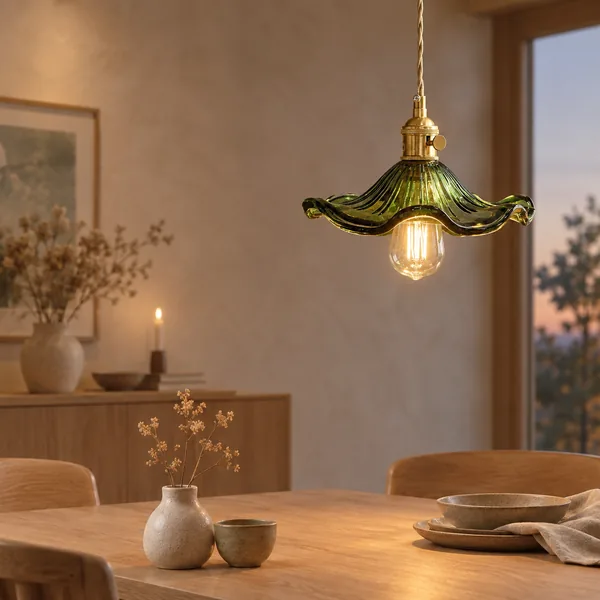
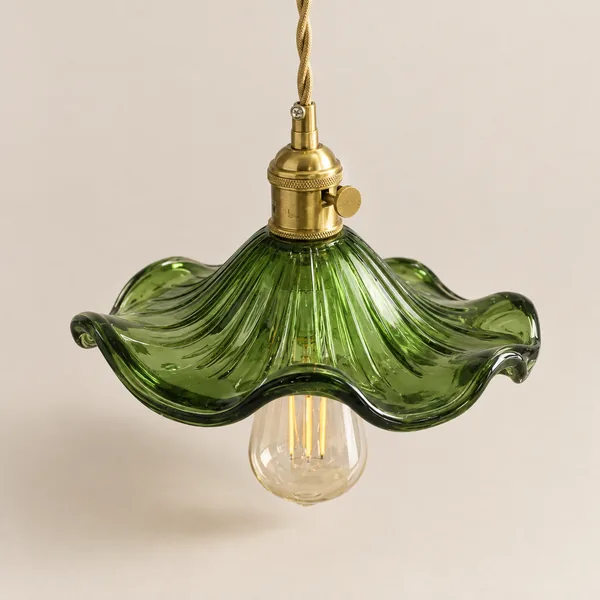
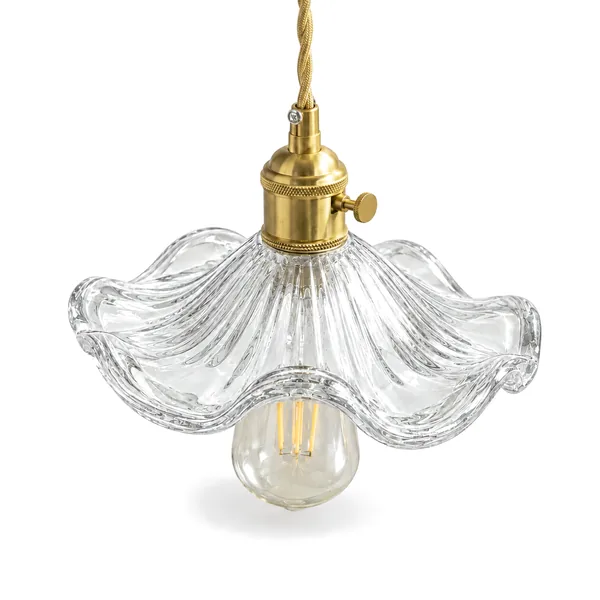
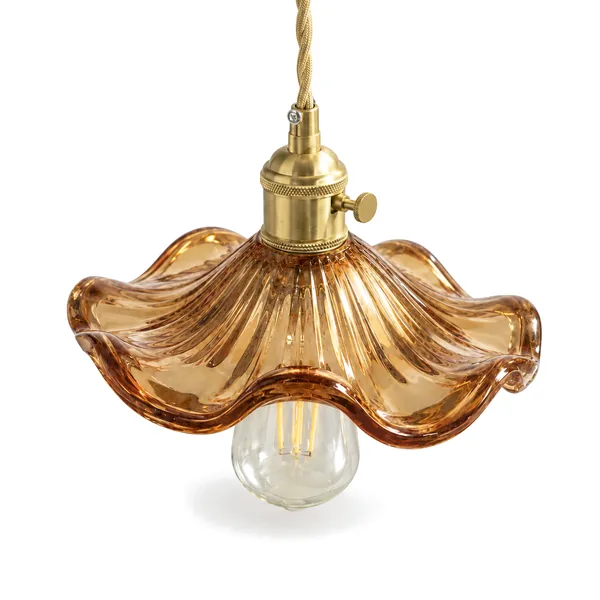
Glora Nordic Glass Pendant Light with Copper
 Save $120.00
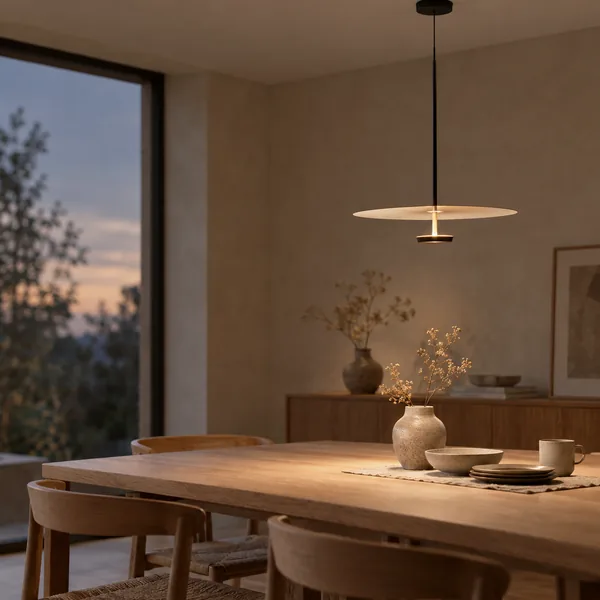
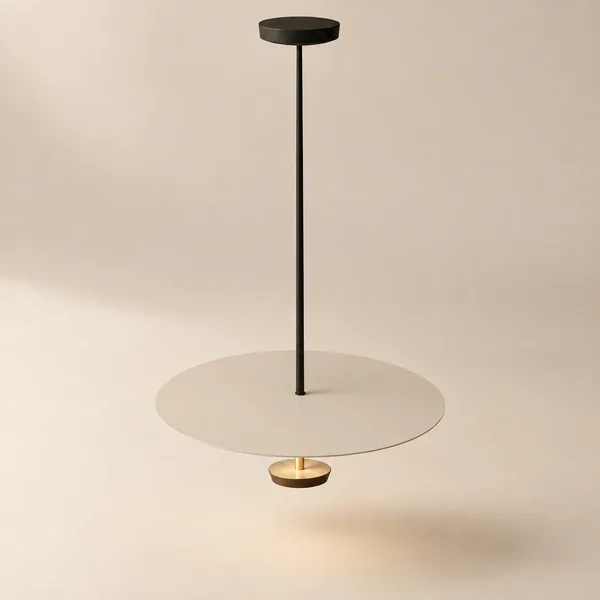
Skiva Nordic Saucer Ceiling Pendant Light LED
Types of Ceiling Lamp Hangers
Determining how your fixture will suspend from the ceiling involves selecting the appropriate mounting hardware. Ceiling lamp hangers vary based on fixture weight, ceiling height, and design preferences. Understanding hanger types helps you choose compatible fixtures and safely support varying weights.
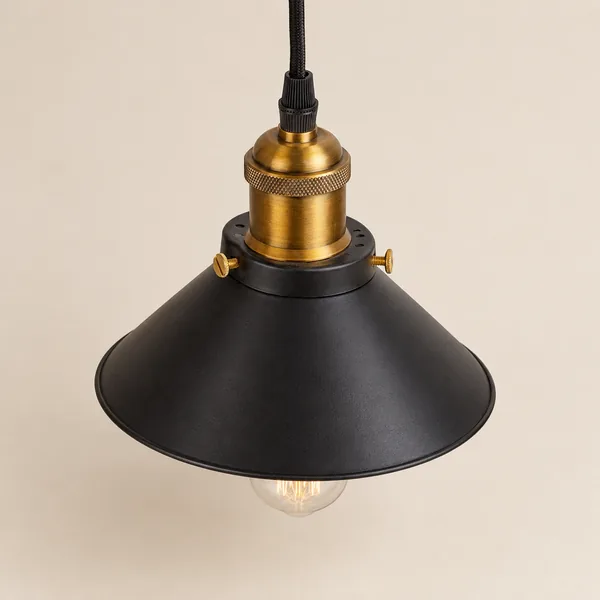
Rod hangers provide rigid support for heavier fixtures like chandeliers, keeping the light perfectly positioned. Chain hangers offer adjustable length and traditional styling, ideal for classic or industrial designs. Cord hangers present the most flexible option, allowing precise height adjustments and available in textile-wrapped or metal-clad varieties for different aesthetic needs.
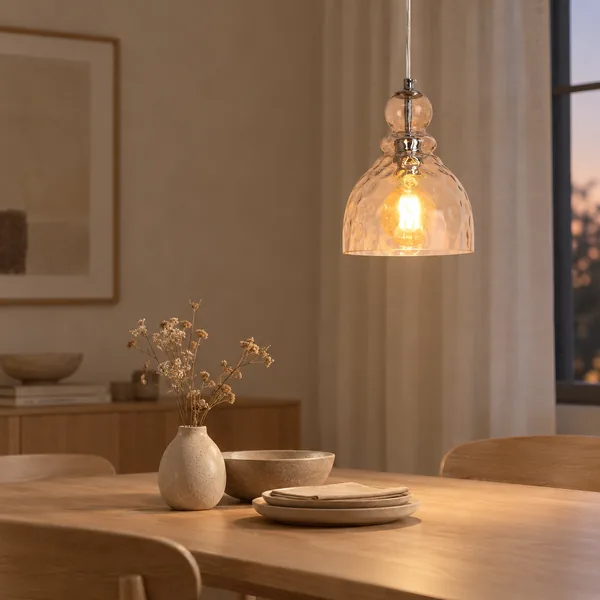
When working with cord-hung pendants, pay special attention to the strain relief mechanism where the cord exits the canopy. This component prevents the electrical connections from bearing the fixture's weight, which could damage wires and create safety hazards. The Dropa Glass Drop Pendant Light for Kitchen Dining showcases elegant cord-hung design with proper strain relief integrated into its minimalist canopy system, making it an excellent reference for understanding modern pendant installation.
Multi-Head Pendant Solutions for Modern Spaces
 Kjella 3-Head Modern Cone Pendant Light in Metal$219.00$319.00
 Dropa Glass Drop Pendant Light for Kitchen Dining$79.00$119.00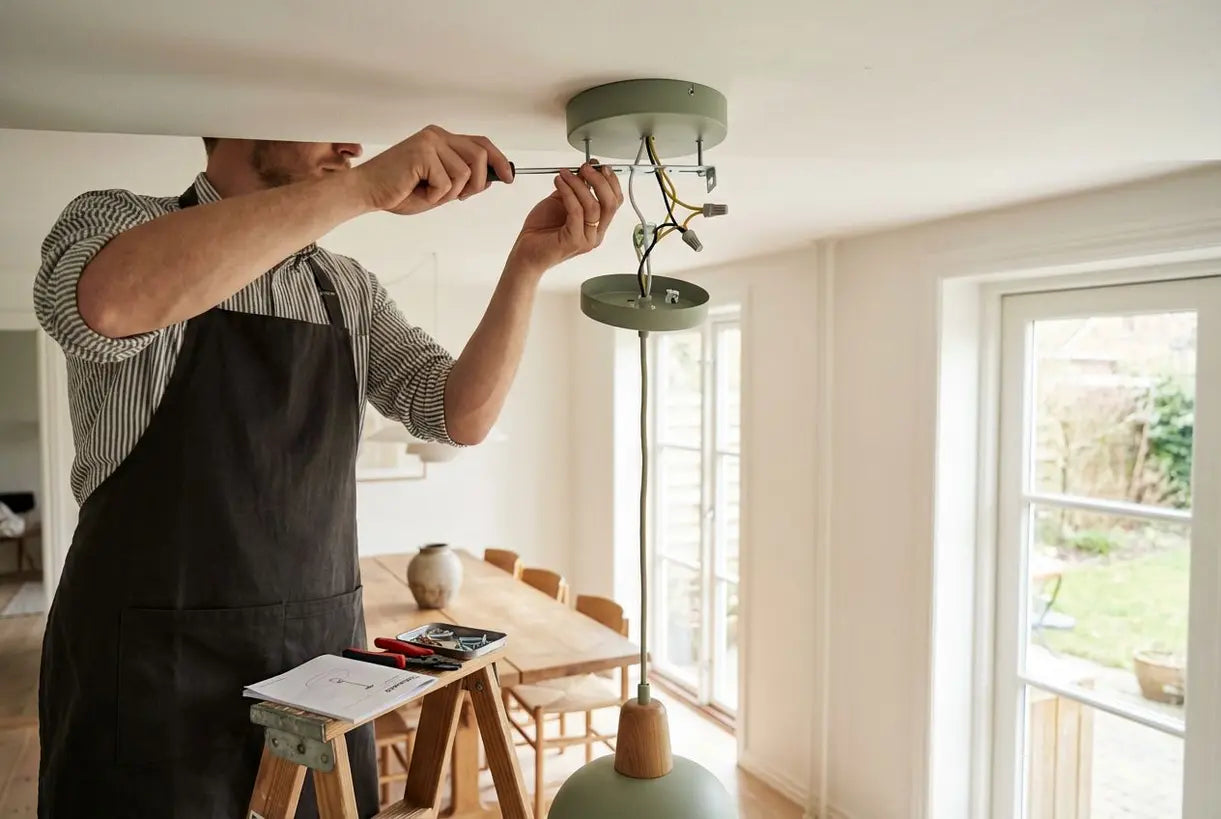
For additional authoritative information about electrical safety and wiring standards, consult the U.S. Consumer Product Safety Commission's Electrical Safety Guidelines.
Final Thoughts on Ceiling Lamp Hardware
Mastering ceiling lamp wires, canopy components, and mounting hardware transforms what might seem like a complex project into a manageable home improvement task. By understanding the function and proper installation of the mounting plate, canopy, wire connections, and hangers, you gain the confidence to select, install, and maintain beautiful lighting that enhances your living spaces.
As you evaluate your lighting options, look for fixtures designed with thoughtful engineering that simplifies installation. At Skonne, every lighting fixture we create—from single pendants to multi-head chandeliers—is designed with integrated canopy systems, quality mounting hardware, and clear installation guidance. Our Scandinavian-inspired aesthetic emphasizes both beauty and practicality, ensuring that the technical components support rather than complicate your design vision.
Whether you're installing your first pendant over a kitchen island or replacing an outdated ceiling fixture, the right understanding of ceiling lamp parts paired with quality fixtures makes all the difference. Explore our complete lighting collection to discover how thoughtful hardware design elevates the entire installation experience.
Related Article
Decorative Ceiling Lamps: Statement & Luxury Overhead Fixtures for Every Interior StyleExplore stunning decorative ceiling lamps from luxury chandeliers to elegant pendants. Find the perfect statement piece for your dining room, living space, or entryway.