There's something undeniably magical about the moment a chandelier illuminates a room for the first time. Whether you're upgrading your dining room ambiance or adding architectural interest to your entryway, chandelier installation represents one of the most transformative DIY projects a homeowner can undertake. Beyond the aesthetic payoff, tackling this project yourself can save significant money compared to hiring a professional, with electrician costs for chandelier installation typically ranging from $150 to $400 depending on your location and ceiling height.
In this comprehensive guide, we'll walk you through everything you need to know about installing a chandelier safely and confidently. From assessing your ceiling's structural capacity to connecting the final wire, you'll discover that with the right preparation and tools, this project is well within reach for most homeowners. And when you're ready to select the perfect fixture, Skonne's curated collection of Scandinavian-inspired designs awaits to bring that coveted hygge feeling to your space.
DIY vs. Professional Installation: Making the Right Choice
Before you climb that ladder, it's crucial to determine whether your specific situation is suitable for DIY or requires professional expertise. The decision largely depends on your comfort level with electrical work, the complexity of your chosen fixture, and your home's existing electrical infrastructure.
You can confidently tackle chandelier installation yourself when you're simply replacing an existing light fixture with a new one of similar weight, your ceiling already has a proper electrical box rated for ceiling fans or heavy fixtures, and you're working with standard 8-10 foot ceilings. These straightforward swaps typically require only basic wiring knowledge and standard tools.
However, call a licensed electrician if you need to install new wiring where no fixture existed previously, your ceiling requires reinforcement to support heavy fixtures over 50 pounds, you're working with high ceilings requiring special scaffolding, or your home has aluminum wiring (common in homes built 1965-1973) which requires specialized handling. Safety should always be your primary consideration when working with electrical systems.
Assessing Your Ceiling's Capacity
One of the most critical steps in how to install a chandelier is determining whether your ceiling can safely support your chosen fixture. This question—how do I know if my ceiling can support a chandelier?—tops the list of concerns for many DIY enthusiasts, and rightfully so.
Start by examining your existing electrical box. Look for markings indicating weight ratings; ceiling boxes rated for ceiling fans typically support 50+ pounds, while standard light fixture boxes may only support 10-15 pounds. For heavier chandeliers, you'll need to install a chandelier mounting bracket that anchors directly to ceiling joists or install a fan-rated pancake box secured to structural framing.

If you're installing on a plaster ceiling, take extra care to locate joists using a stud finder, as plaster doesn't provide reliable anchoring on its own. For drywall ceilings, always ensure your mounting hardware connects to solid structural elements rather than relying solely on drywall anchors, which can fail under the dynamic load of a swinging chandelier.
Essential Tools and Materials
Gathering the right equipment before you begin ensures a smooth installation process and minimizes frustrating mid-project trips to the hardware store. Here's what you'll need for a standard chandelier replacement:
- Voltage tester (non-contact and contact)
- Wire strippers and wire nuts
- Screwdrivers (flathead and Phillips)
- Adjustable wrench and pliers
- Step ladder (rated for your weight plus tools)
- Circuit breaker finder
- Measuring tape and pencil
- Chandelier mounting bracket (if not included)
- Wire connectors and electrical tape
- Assistant or helper for heavy fixtures
For those looking to explore more options, our Mounted Ceiling Lights collection offers a curated selection of fixtures designed with installation-friendly features that work beautifully with standard ceiling boxes.
Step-by-Step Chandelier Installation Process
Safety First: Power Down
Begin by turning off power at the circuit breaker, not just the wall switch. Use your voltage tester to confirm the power is completely off before touching any wires. This step cannot be overstated—electrical shock poses serious safety risks.
Remove the Old Fixture
Carefully remove your existing light fixture, supporting its weight as you disconnect the wires. Take note of how the wires are connected—typically black to black (hot), white to white (neutral), and copper/green to grounding screw. Photographing the existing setup provides a helpful reference.
Install the Mounting Bracket
If your new chandelier is heavier than the old fixture or if you're unsure about the existing box's rating, install a new chandelier mounting bracket secured directly to ceiling joists. The bracket should be perfectly level and tightly fastened to prevent any wobbling.

Connect the Wiring
With your mounting bracket secure, it's time to connect your chandelier's wires. Match the wires by color: black fixture wire to black ceiling wire, white to white, and ground to ground or the grounding screw on the bracket. Use wire nuts to secure connections, wrapping them with electrical tape for added security. Ensure no bare wire is exposed beyond the wire nuts.
Adjust Height and Secure
Most chandeliers come with adjustable chains or cords. Determine your optimal hanging height—typically 30-36 inches above dining tables or 7 feet clearance from the floor in open areas. Trim excess chain if necessary, or simply adjust the cord length before securing the canopy to the ceiling bracket.


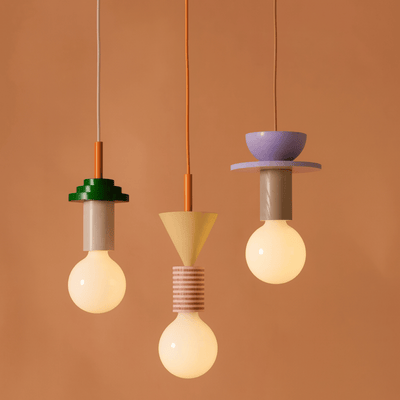
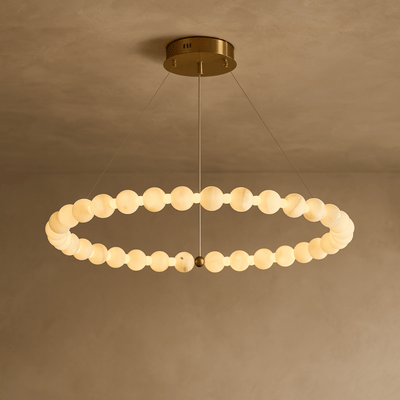
Choosing the Perfect Chandelier for Your Installation
Now that you understand the technical process, selecting a fixture that matches both your aesthetic vision and installation capabilities becomes the exciting part. The right chandelier should complement your room's scale while being manageable for your DIY skill level.

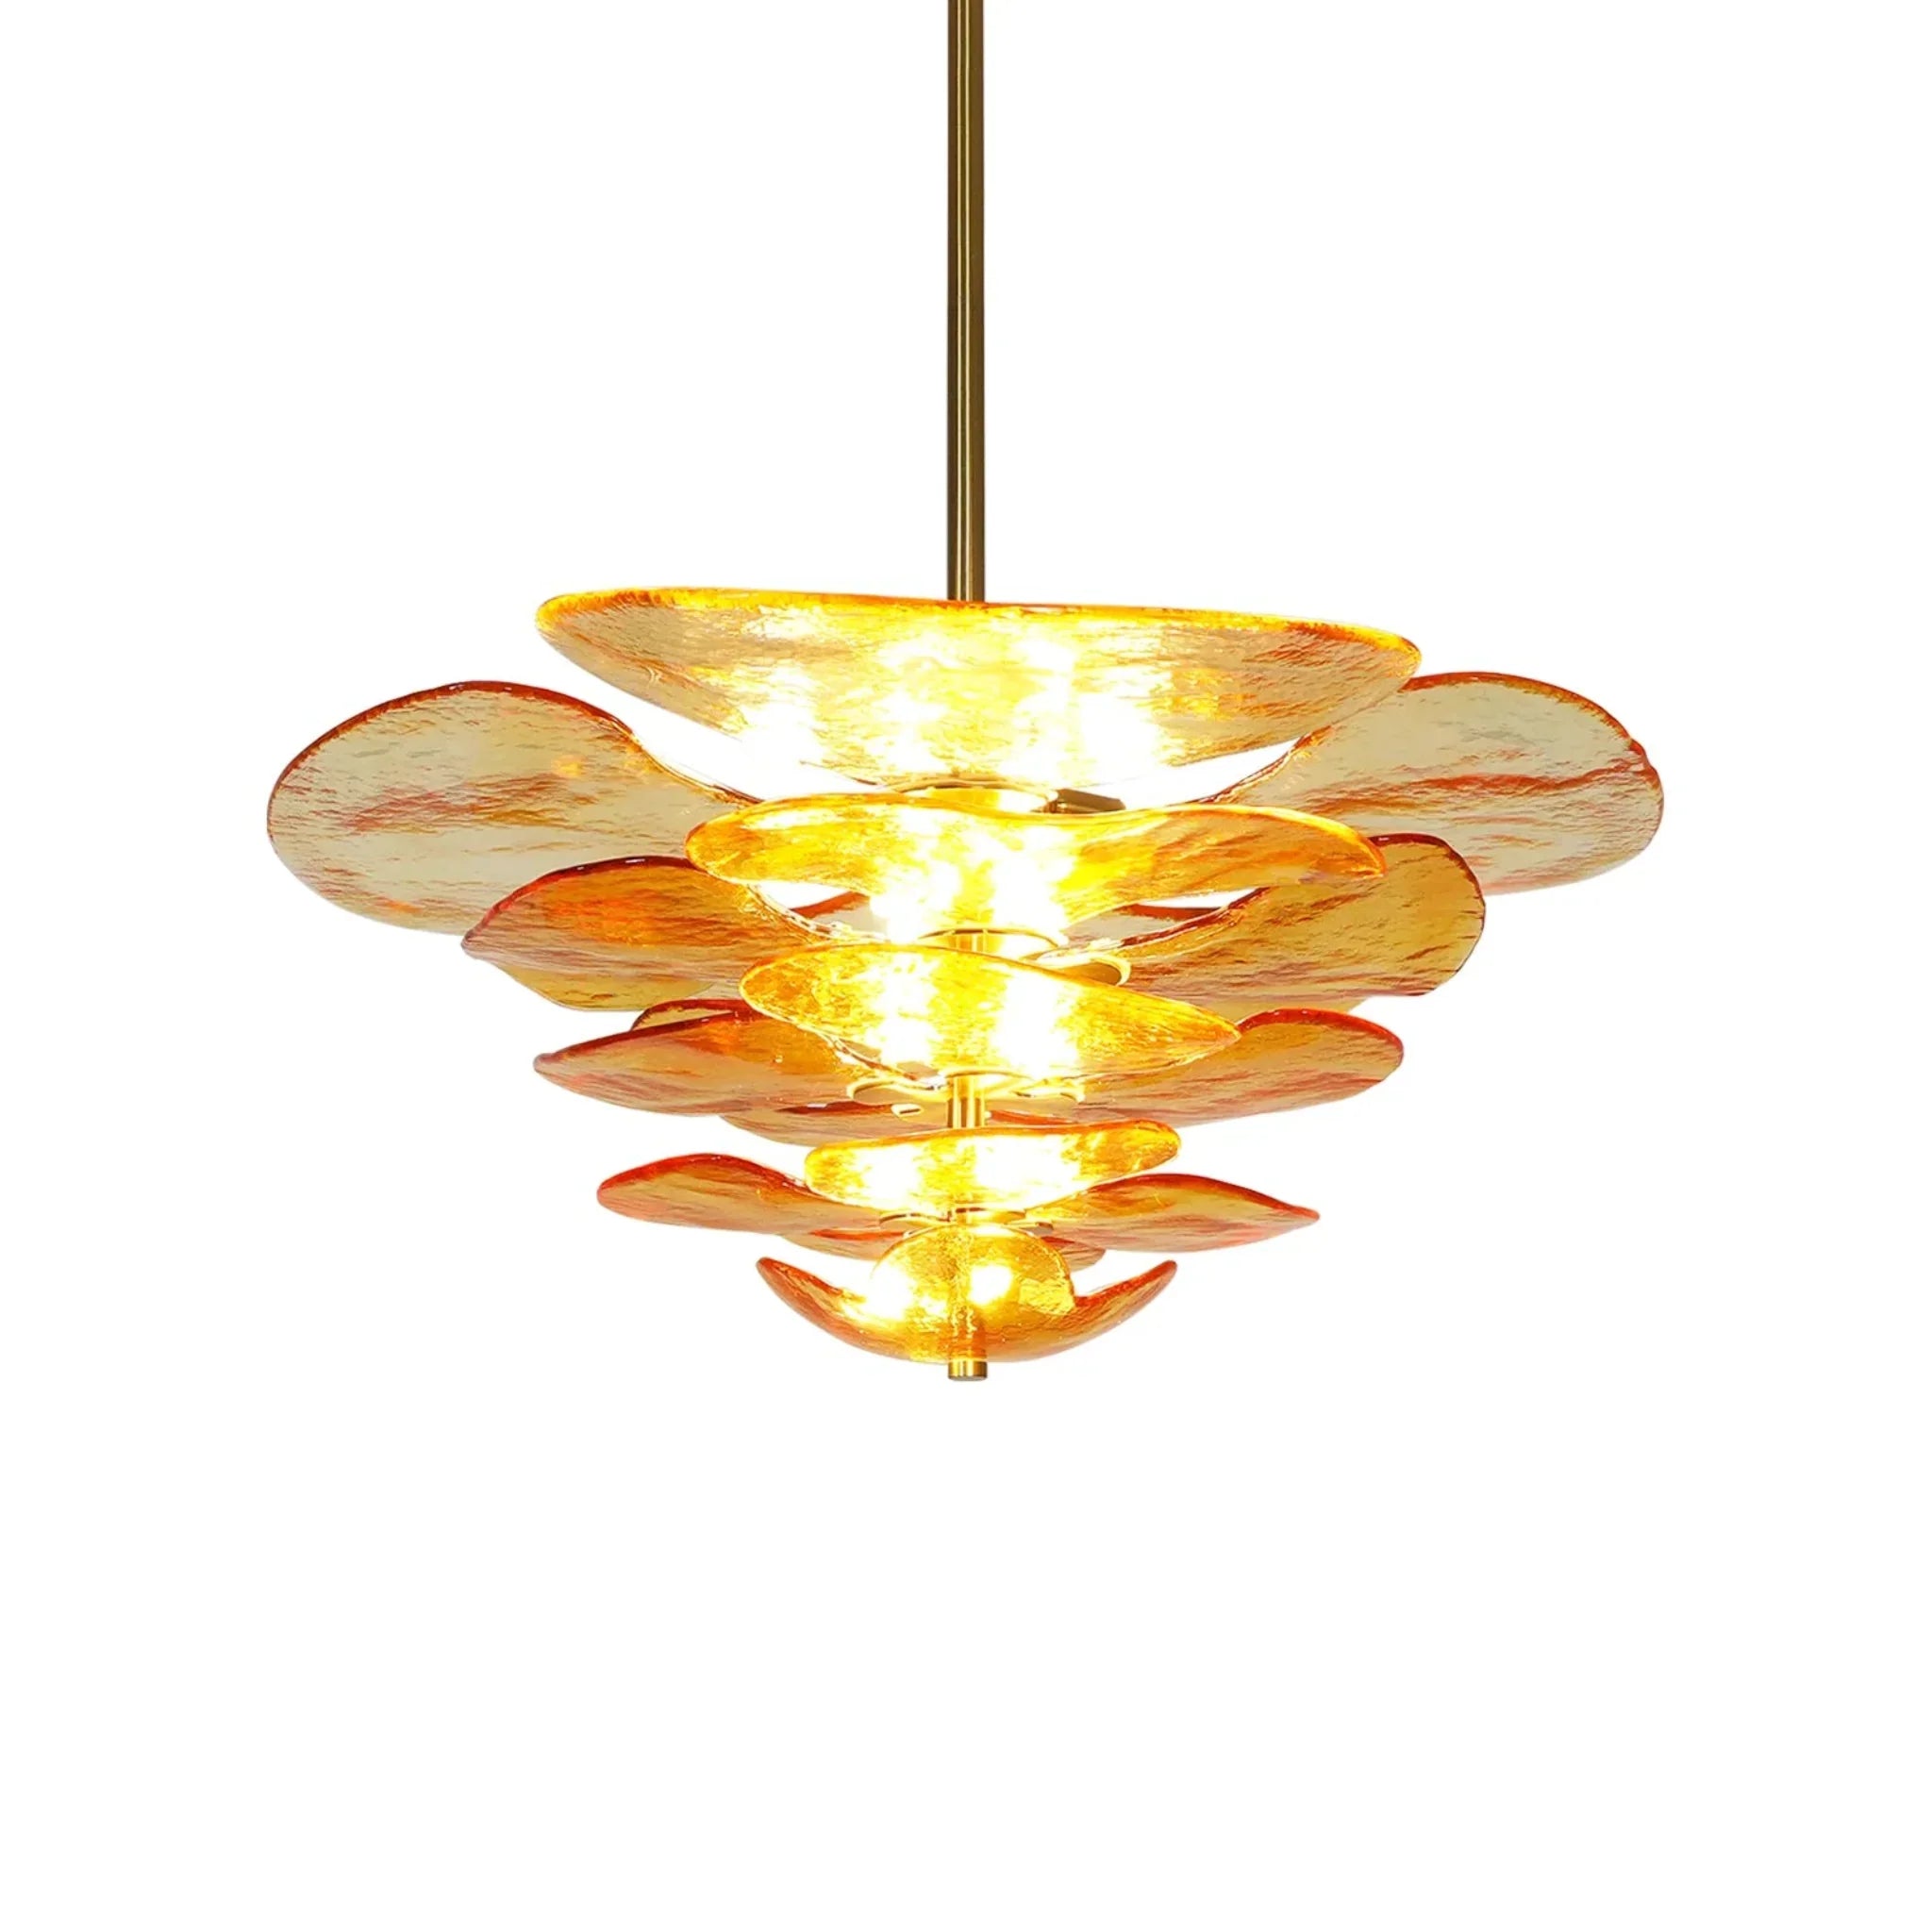
Ravglo Handcrafted Amber Stained Glass Chandelier
$899.00 $1,389.00
Transform your dining room with this handcrafted amber stained glass chandelier featuring vintage European artistry and warm, ambient lighting perfect for any installation project.
Explore ProductThe Ravglo Handcrafted Amber Stained Glass Chandelier exemplifies the perfect balance of visual impact and manageable installation weight. Its vintage European artistry creates an immediate focal point, while the thoughtful engineering ensures it works with standard ceiling boxes rated for moderate weight. The warm amber glass diffuses light beautifully, creating that cozy Scandinavian atmosphere that transforms dinner parties into intimate gatherings.
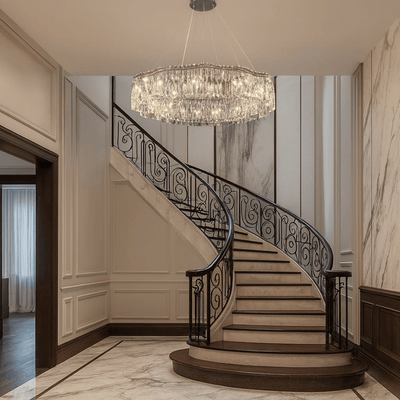
Special Considerations for Staircase and High Ceiling Installations
Staircase chandeliers present unique challenges that require additional planning. These installations often involve working at significant heights and accommodating angular ceiling configurations. Before beginning, ensure you have scaffolding or an extra-tall ladder that provides safe access without overreaching.
For multi-story entryways or stairwells, consider fixtures specifically designed with adjustable cord systems that allow you to customize the drop length during installation. These systems often include locking mechanisms that make height adjustments easier when you're working alone.


Balancing and Final Adjustments
Once your chandelier is physically installed, take time to ensure it hangs perfectly level. Use a small level to check from multiple angles, adjusting the chain or cord lengths as needed. Install bulbs and any decorative elements, then restore power at the breaker to test your work.
If the fixture wobbles or appears crooked, double-check that your mounting bracket is secure and that the ceiling box isn't loose. Sometimes, minor adjustments to the canopy or chain links can make a significant difference in the overall appearance.
Statement Chandeliers for Every Installation Project

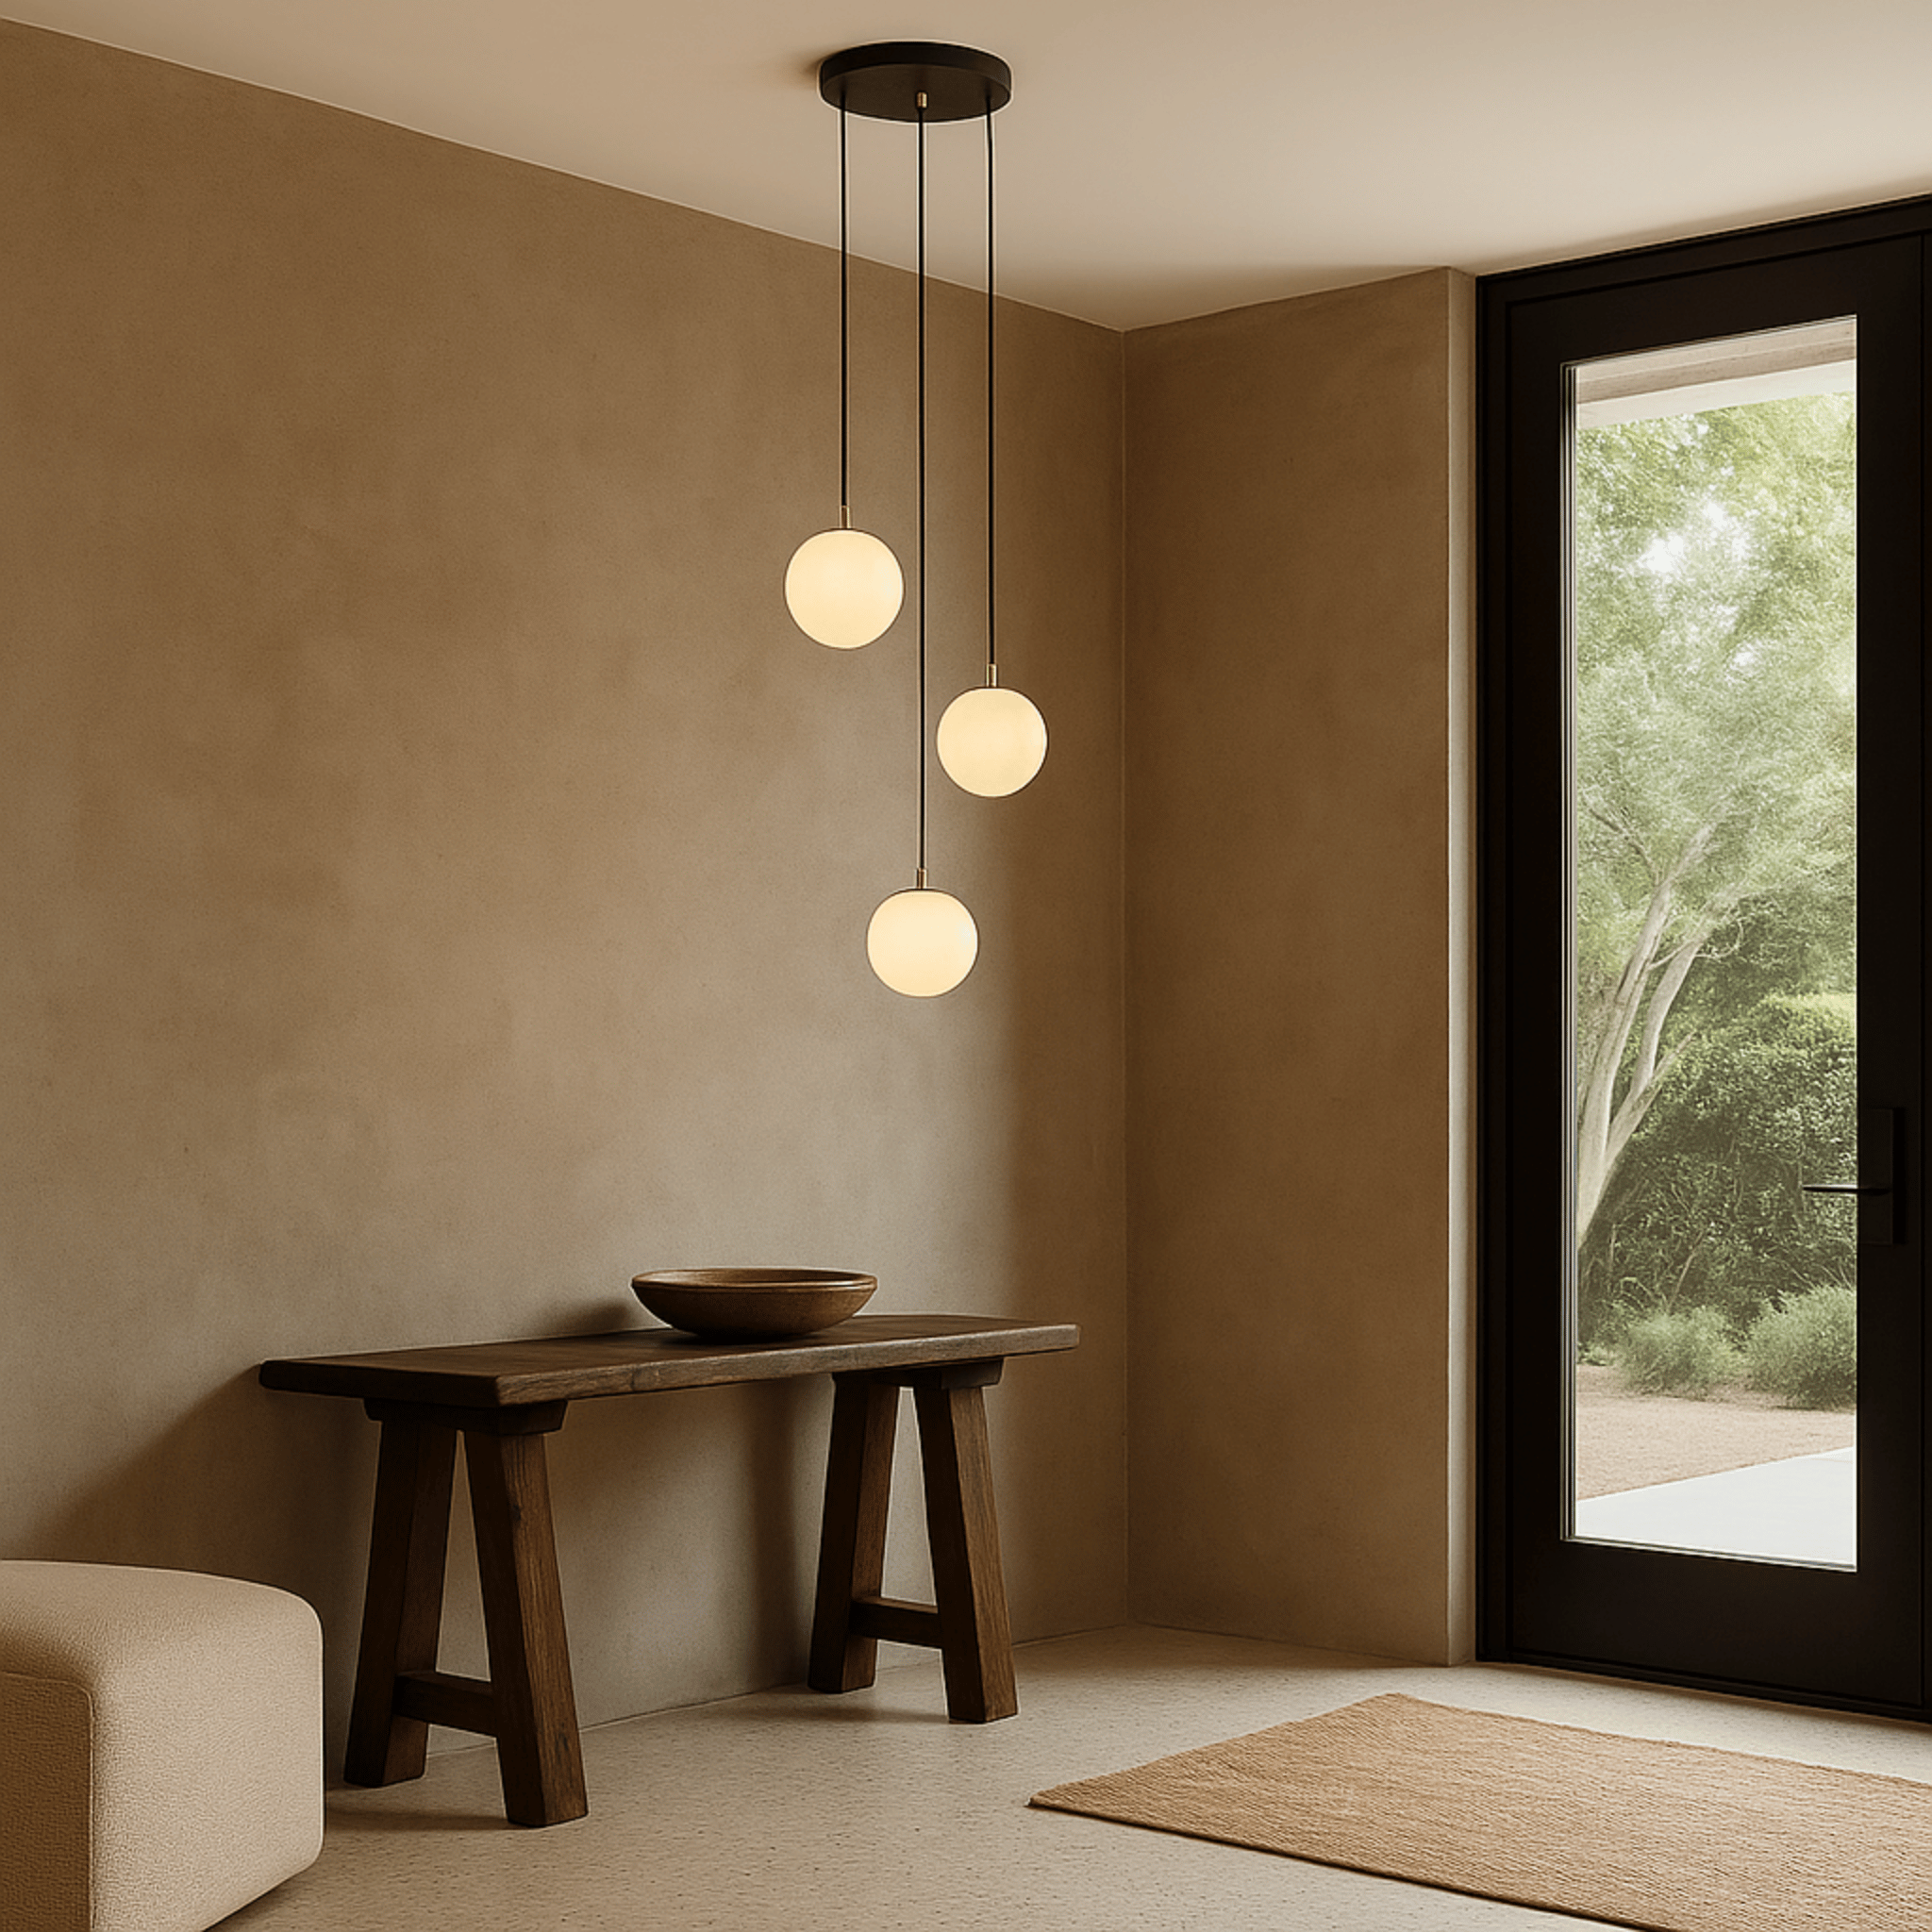
Stigna Acrylic Sphere Modern Stair Chandelier
$299.00
$439.00
Add architectural drama to your entryway with this cascading modern stair chandelier featuring glowing acrylic spheres and adjustable cord lengths for easy installation. Learn more ➔

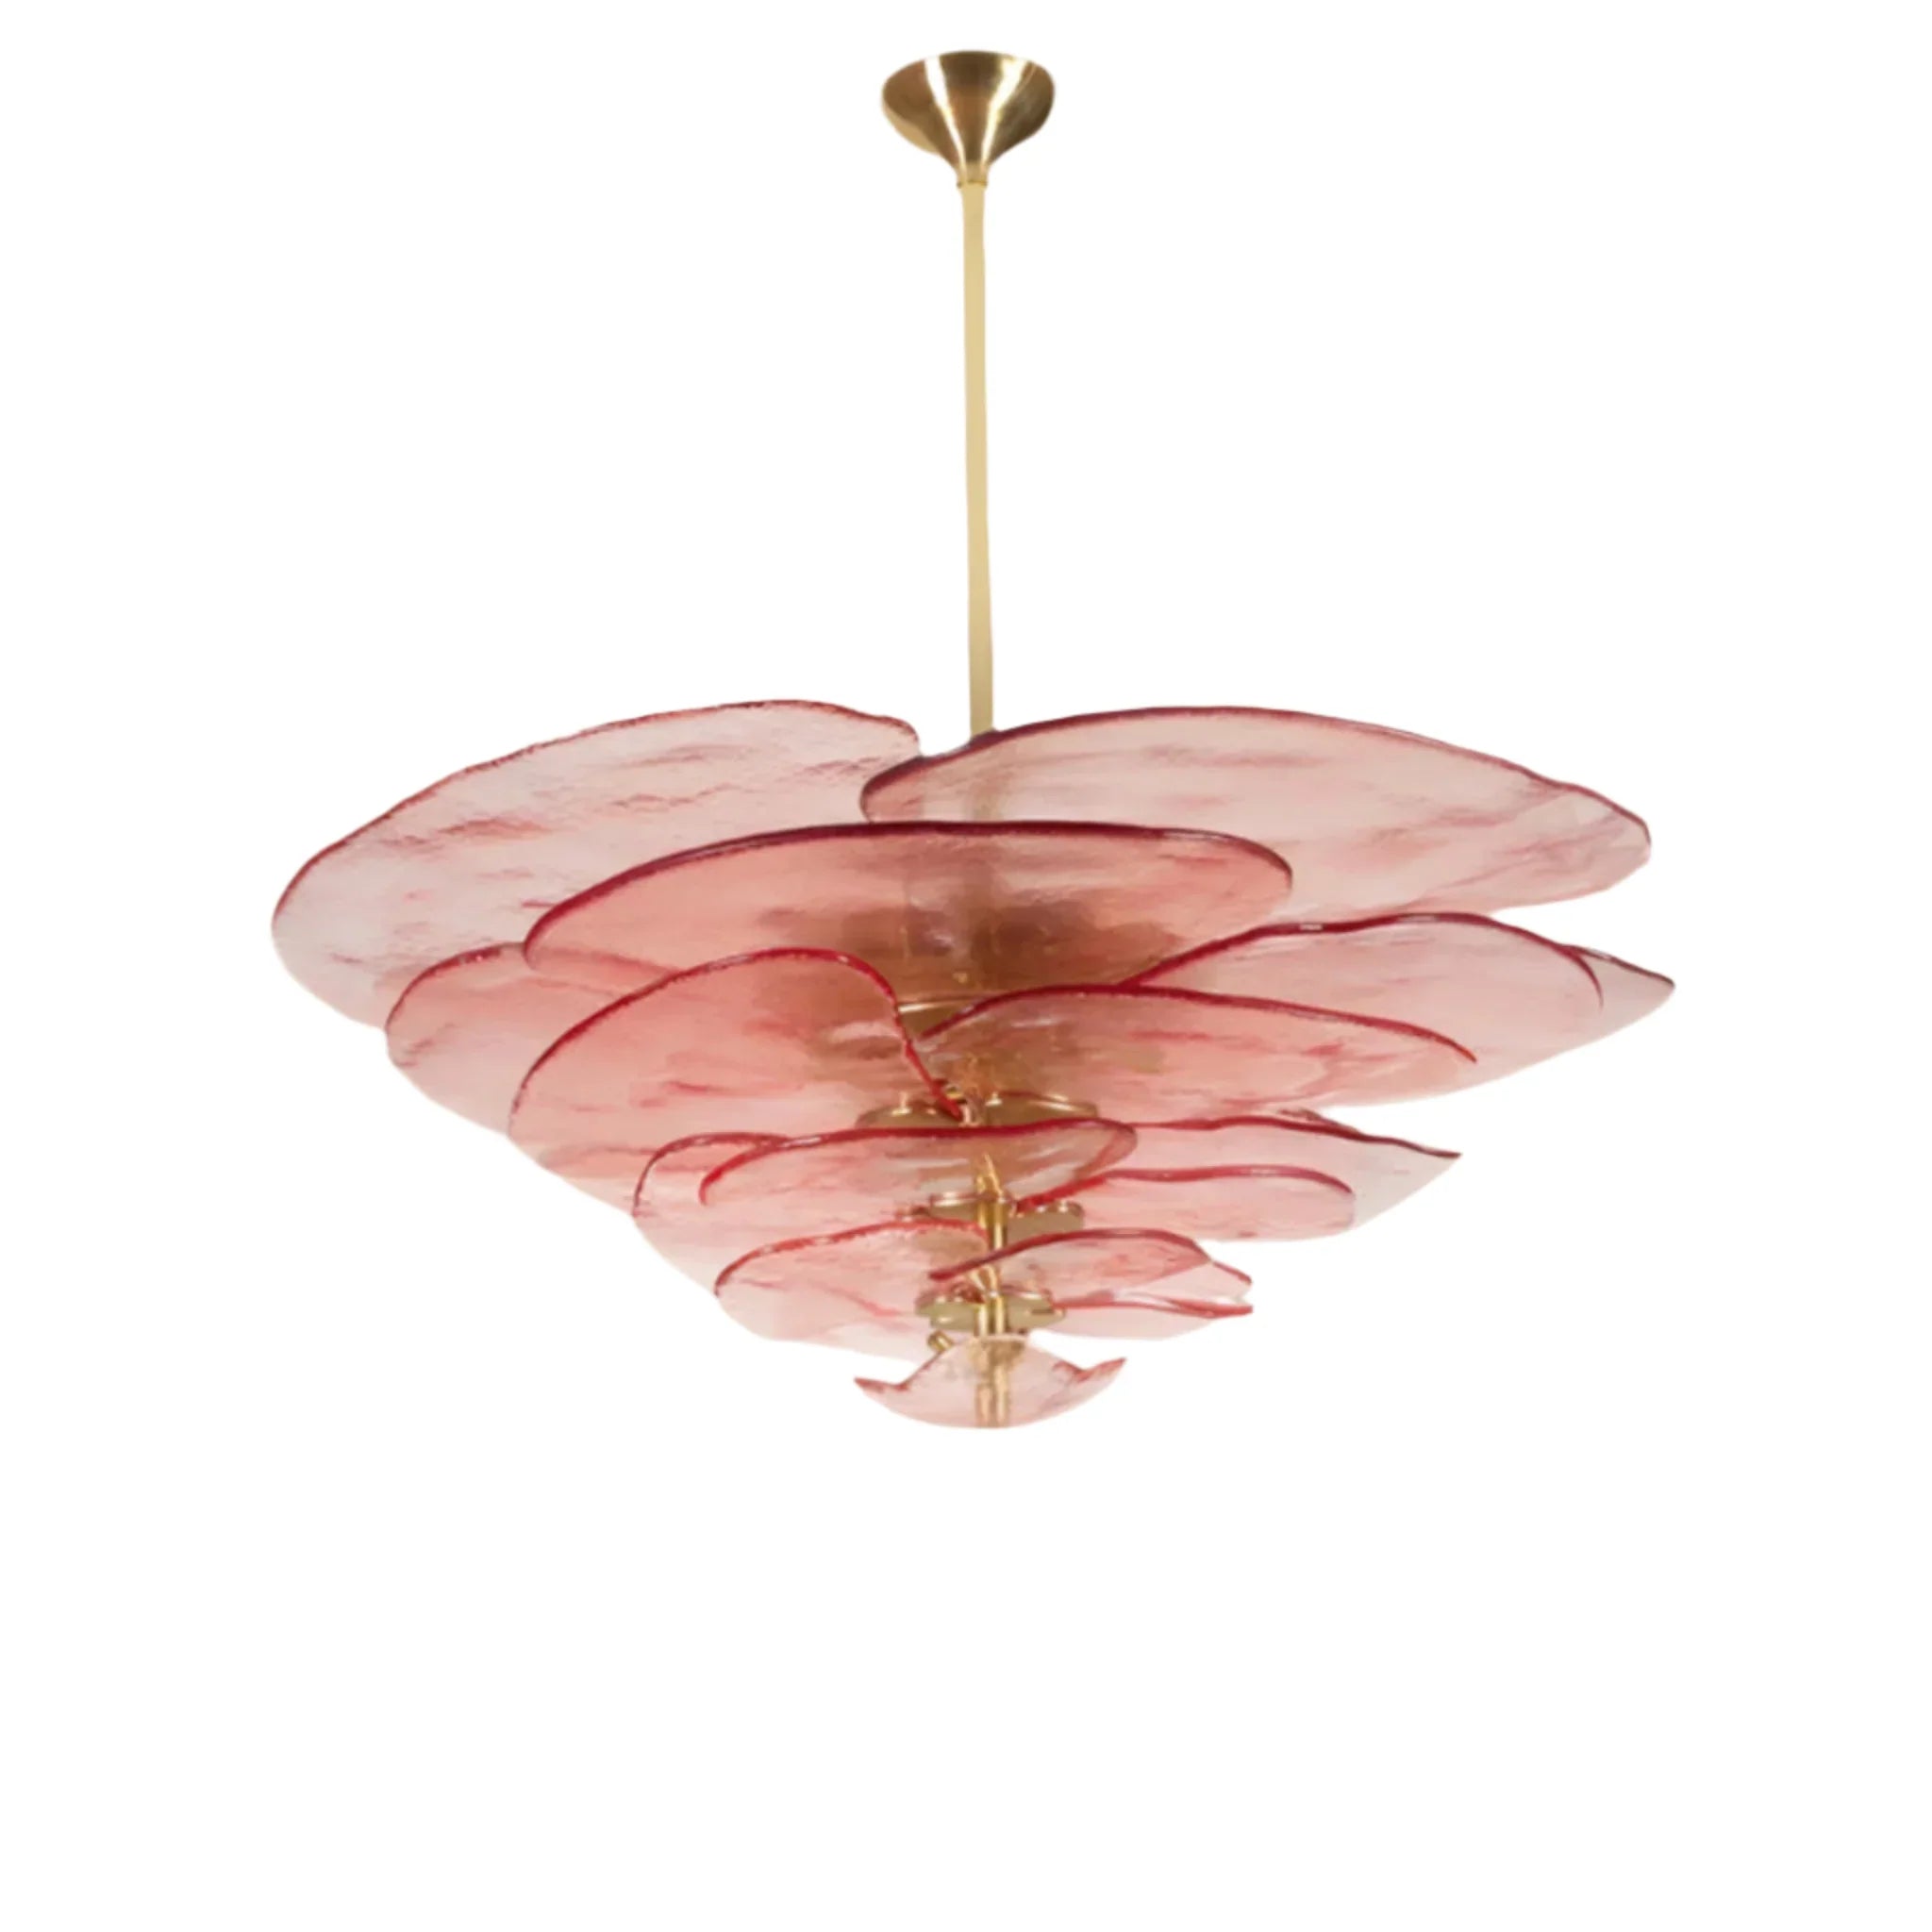
Roslyn Handcrafted Pink Stained Glass Chandelier
$899.00
$1,249.00
Create a statement with this handcrafted pink stained glass chandelier that casts a soft, rose-tinted glow, available in multiple sizes for any room height. Learn more ➔
When selecting fixtures for challenging installations like staircases, the Stigna Acrylic Sphere Modern Stair Chandelier offers architectural drama with its cascading design, while the Roslyn Handcrafted Pink Stained Glass Chandelier provides customizable sizing options perfect for rooms with varying ceiling heights.
Conclusion: Illuminate Your Space with Confidence
Mastering chandelier installation opens up a world of design possibilities for your home. By understanding when to DIY versus when to call a professional, properly assessing your ceiling's capacity, and following methodical installation steps, you've gained the knowledge to safely transform any room with beautiful overhead lighting.
The satisfaction of stepping back to admire a perfectly hung chandelier—knowing you installed it yourself—is matched only by the warm, inviting ambiance it creates. Whether you choose a vintage-inspired amber glass piece for your dining room, a modern acrylic sphere design for your staircase, or a romantic pink stained glass statement for your bedroom, the right fixture becomes an extension of your personal style.
At Skonne, we believe that everyone deserves a home filled with intentional, beautiful lighting that creates that special Scandinavian feeling of hygge. Our curated collections are designed not just for stunning aesthetics, but with installation practicality in mind, ensuring that your journey from unboxing to illumination is as smooth as possible. Browse our complete selection of chandeliers today, and take the first step toward a more luminous, welcoming home.
Frequently Asked Questions about Chandelier Installation
Professional chandelier installation typically costs between $150 and $400, depending on your location, ceiling height, and the complexity of the installation. Standard 8-foot ceiling replacements fall on the lower end, while high ceilings, new wiring installation, or heavy fixtures requiring structural reinforcement can push costs toward $600 or more. For more information on pricing factors, consult HomeAdvisor's cost guide.
You don't necessarily need an electrician for simple chandelier replacements where you're swapping an existing fixture for a new one of similar weight on a properly rated electrical box. However, you should hire a licensed electrician if you need to install new wiring where no fixture existed, if your ceiling requires reinforcement for heavy fixtures, if you're working with high ceilings that require special equipment, or if your home has aluminum wiring. Safety should always be the deciding factor.
Electricians typically charge $50 to $100 per hour for chandelier installation, with most standard installations taking 1-2 hours. The total cost usually ranges from $150 to $400. Additional factors affecting price include ceiling height (cathedral ceilings cost more), whether new wiring is needed (adding $200-$500), and the fixture weight (heavy chandeliers requiring box reinforcement add $100-$300). Always get multiple quotes and verify the electrician is licensed and insured.
Essential tools for chandelier installation include: a voltage tester (both contact and non-contact), wire strippers, wire nuts, flathead and Phillips screwdrivers, adjustable wrench, pliers, step ladder rated for your weight plus the fixture, circuit breaker finder, measuring tape, and electrical tape. You may also need a chandelier mounting bracket if your existing ceiling box isn't rated for the weight of your new fixture. Having an assistant to help support the fixture during wiring makes the process significantly easier and safer.
To determine if your ceiling can support a chandelier, first check your electrical box for weight rating markings—fan-rated boxes typically support 50+ pounds while standard boxes may only support 10-15 pounds. If installing a heavy fixture, ensure the mounting bracket attaches directly to ceiling joists, not just drywall. Use a stud finder to locate joists, and consider consulting a professional if you're unsure about your ceiling's structural integrity. For fixtures over 50 pounds, professional installation with proper structural reinforcement is strongly recommended.