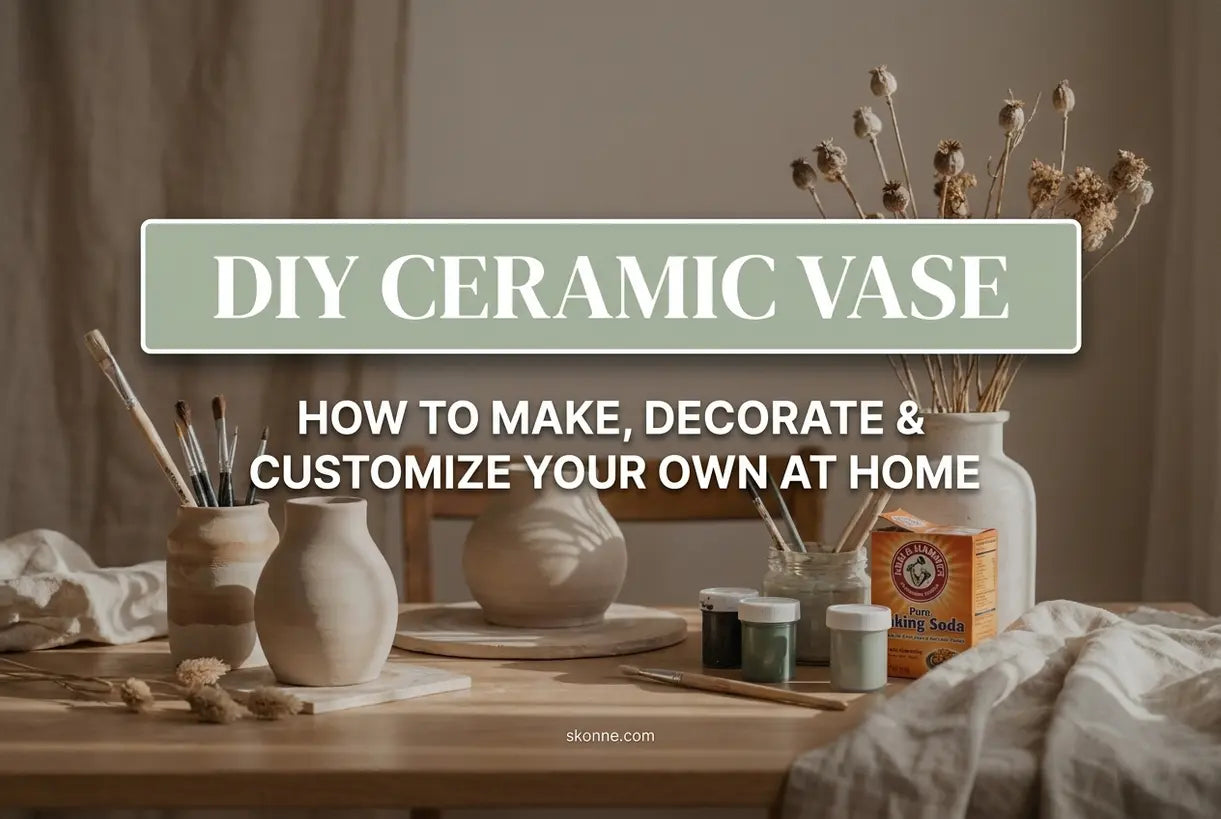
Creating your own ceramic vase diy projects at home has become one of the most satisfying trends in interior design. You don't need a pottery wheel, kiln, or years of experience to achieve that coveted handmade ceramic aesthetic. Whether you're a renter looking to personalize your space or a homeowner craving that warm, intentional Scandinavian feel, transforming ordinary objects into artisan-style vases is surprisingly accessible.
In this guide, you'll discover how to create stunning faux ceramic vases using simple materials like baking soda and paint, learn professional decorating techniques, and explore ways to customize pieces that reflect your unique style. We'll also show you how pairing your DIY creations with thoughtfully curated pieces from our collection can elevate your entire interior.
Understanding Faux Ceramic Techniques
The beauty of modern DIY pottery vase projects lies in their accessibility. Faux ceramic techniques allow you to mimic the texture, finish, and organic feel of hand-thrown pottery without firing clay or investing in expensive equipment. These methods have gained popularity among design enthusiasts who appreciate the wabi-sabi aesthetic—embracing imperfection and celebrating handmade character.
The most popular approach involves creating a textured paint mixture that dries to resemble clay. This baking soda paint technique has revolutionized home crafting, making it possible to upcycle glass containers, thrift store finds, or plain ceramic pieces into stunning home decor. The result is a tactile, matte finish that catches light beautifully and adds depth to your shelves and tables.
Essential Materials for Your Project
Before diving into your ceramic vase painting journey, gather these supplies. The beauty of this approach is its affordability—you likely have several items already:
- Base vase or container (glass, ceramic, or plastic)
- Flat interior paint in your chosen color
- Baking soda for texture
- Paint brushes and foam applicators
- Sandpaper (fine grit)
- Sealant (optional, for durability)
- Protective drop cloth and gloves
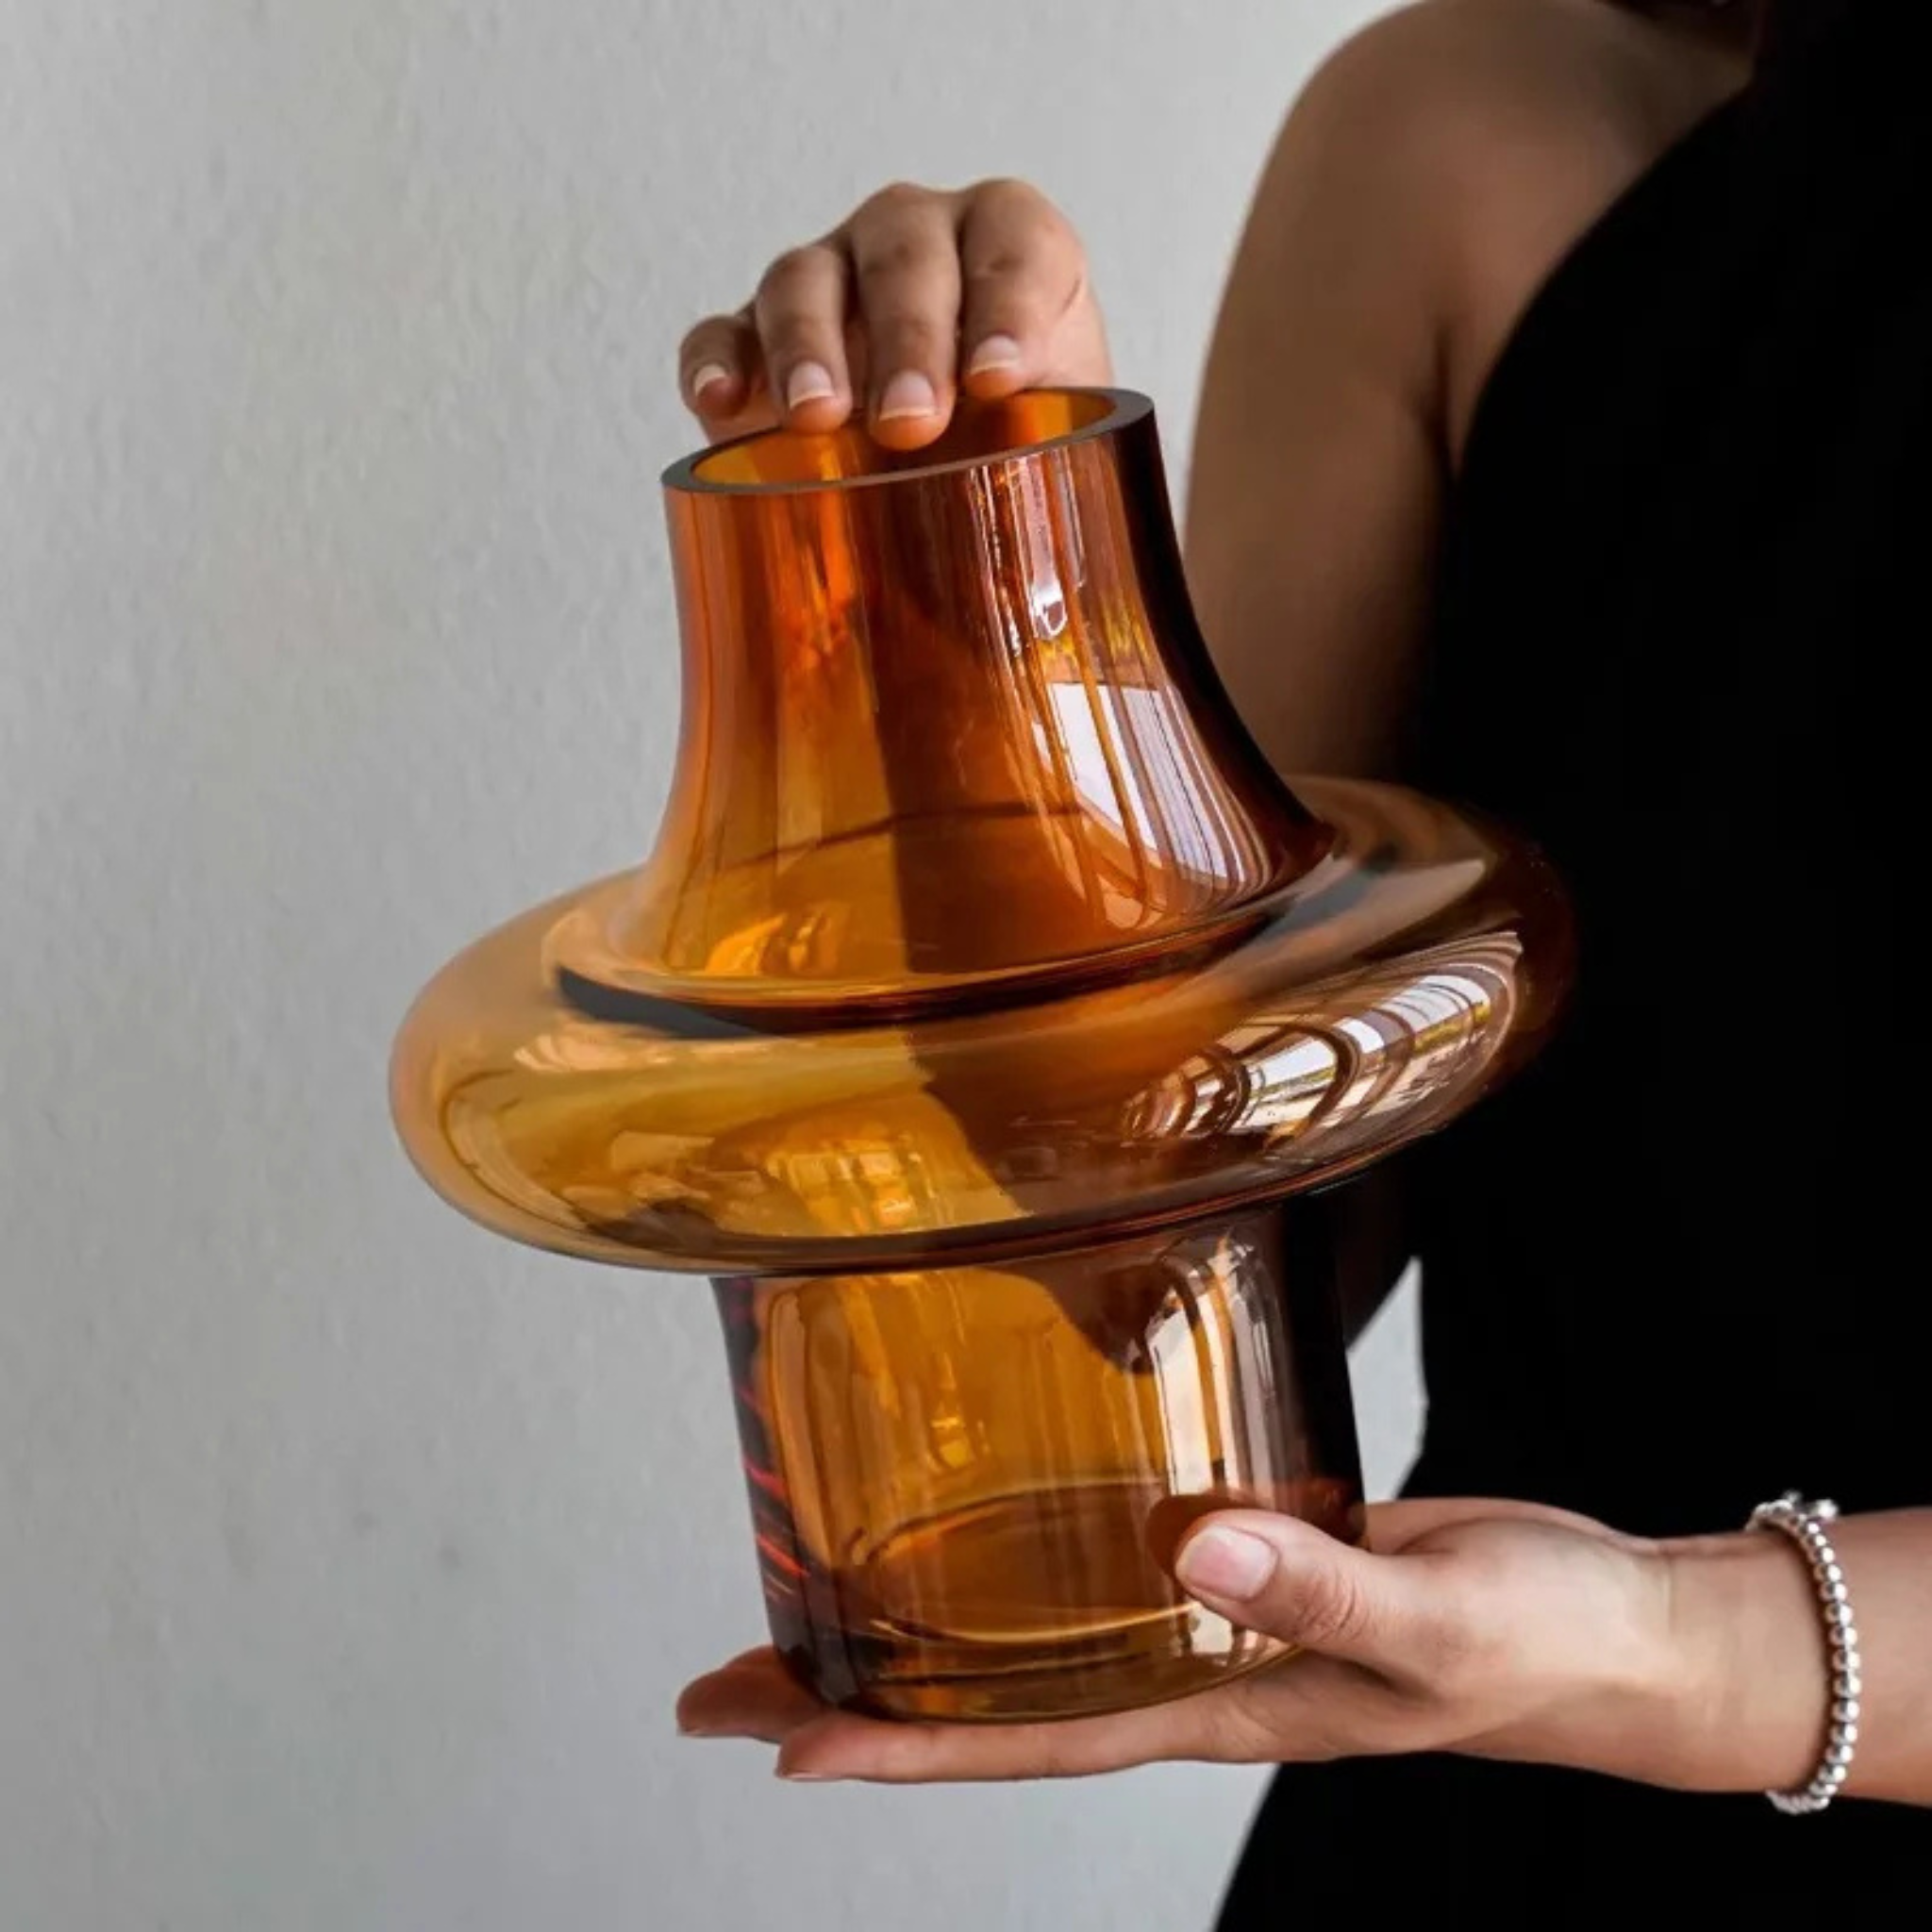
When selecting your base vase, consider shapes that complement Scandinavian design principles—clean lines, organic curves, and balanced proportions. The Glovik Amber Geometric Glass Sculptural Vase exemplifies this aesthetic with its warm amber tones and geometric form, serving as both a potential canvas for your faux ceramic transformation and inspiration for your DIY projects.


Step-by-Step: The Baking Soda Paint Method
This clay vase tutorial technique creates authentic-looking texture that feels substantial and looks professionally crafted. The process transforms smooth surfaces into pieces that appear hand-formed and artisanal.
- Prepare your surface: Clean your vase thoroughly with soap and water, removing any labels or residue. Dry completely.
- Mix your paint: Combine one cup of flat interior paint with two tablespoons of baking soda. Stir until smooth—the mixture should have a slightly gritty consistency.
- Apply base coat: Using a foam brush, apply your first coat evenly. The baking soda creates tiny particles that dry to resemble ceramic texture.
- Build texture: For deeper texture, apply additional coats while previous layers are still slightly tacky. Vary your brush strokes to mimic hand-thrown irregularities.
- Distress (optional): Once dry, lightly sand edges and raised areas to reveal layers beneath, creating an aged, timeworn appearance.
- Seal: Apply a matte sealant if you plan to use your vase with water or want extra durability.

Video Tutorial: Aged Vase Techniques
Sometimes watching the process brings clarity that words cannot capture. This video demonstrates advanced aging techniques that pair beautifully with the baking soda method, showing you how to achieve that coveted Old World charm.
Notice how the video demonstrates layering techniques that create depth—similar principles apply when working with your textured paint mixtures. The key is patience and building up thin layers rather than applying one thick coat.

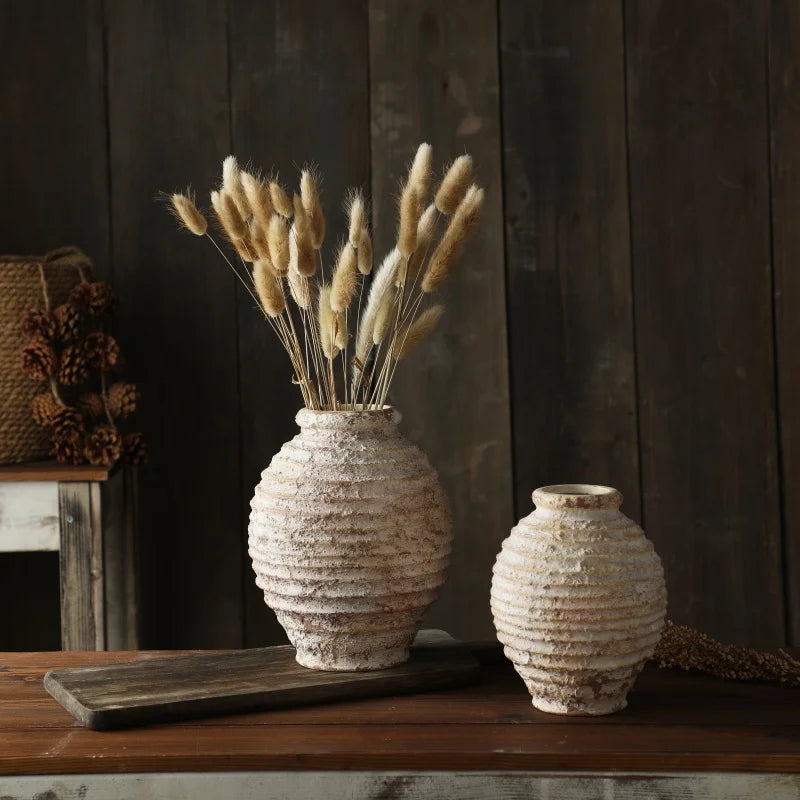
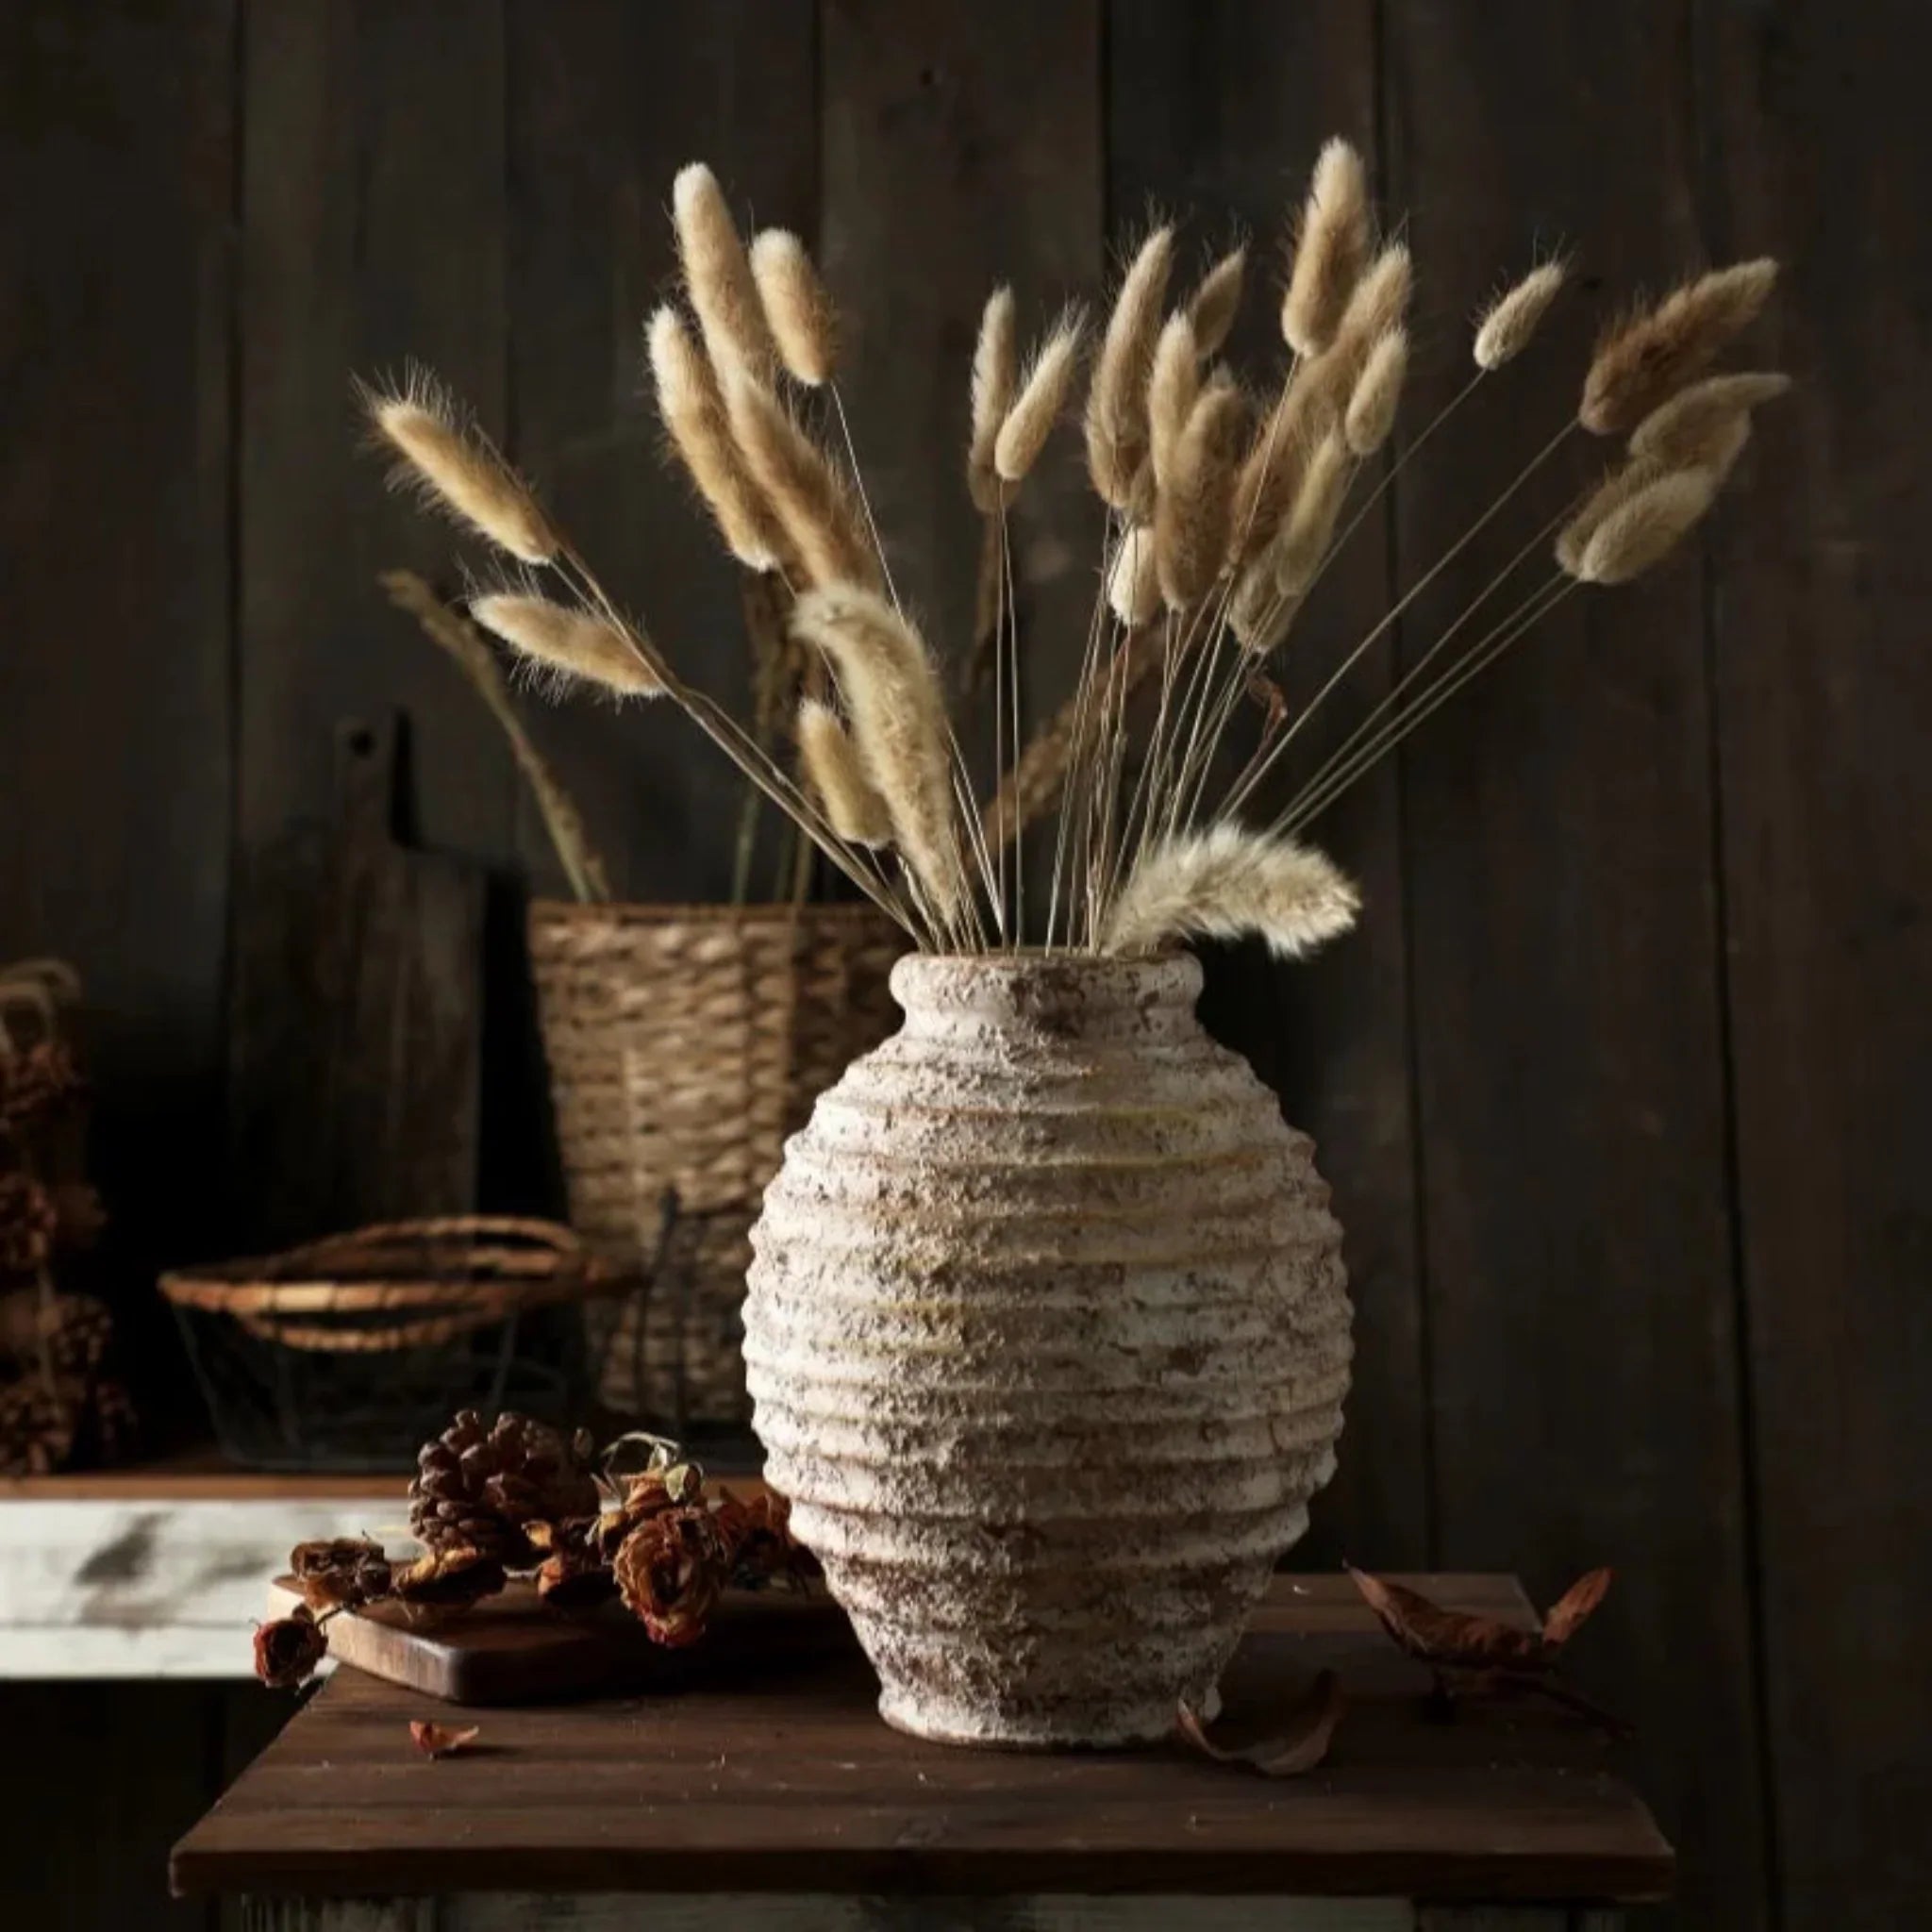
Stille Rustic Handmade Ceramic Vase Earth Tone
$99.00 $169.00
Bring rustic Nordic charm to your space with this hand-poured ceramic vase finished in earth-toned reactive glaze, perfect for displaying your DIY creations.
Explore ProductCreative Decoration and Customization Ideas
Once you've mastered the basic DIY textured vase technique, the real fun begins. Customization allows you to create pieces that perfectly complement your existing decor while expressing your personal aesthetic.
Color Palettes for Scandinavian Interiors
For that authentic Nordic hygge feeling, consider these proven color directions:
- Earth tones: Warm terracotta, sandy beige, and soft ochre create grounding pieces that connect to nature
- Cool greys and whites: Minimalist palettes that emphasize texture over color
- Sage and forest greens: Organic hues that bring the outdoors in
- Charcoal and slate: Sophisticated dark tones that anchor lighter spaces
Advanced Texturing Techniques
Beyond baking soda, experiment with these additives for unique finishes:

- Joint compound: Creates heavier texture perfect for rustic, primitive styles
- Unsanded tile grout: Provides fine, consistent texture similar to stone
- Coffee grounds: Adds organic speckling and subtle color variation
When displaying your finished pieces, consider pairing them with complementary decor items. Our Decorative Trays & Bowls collection offers curated pieces that beautifully frame and elevate handmade vases, creating cohesive vignettes throughout your home.
Artisan Vases to Inspire Your DIY Journey

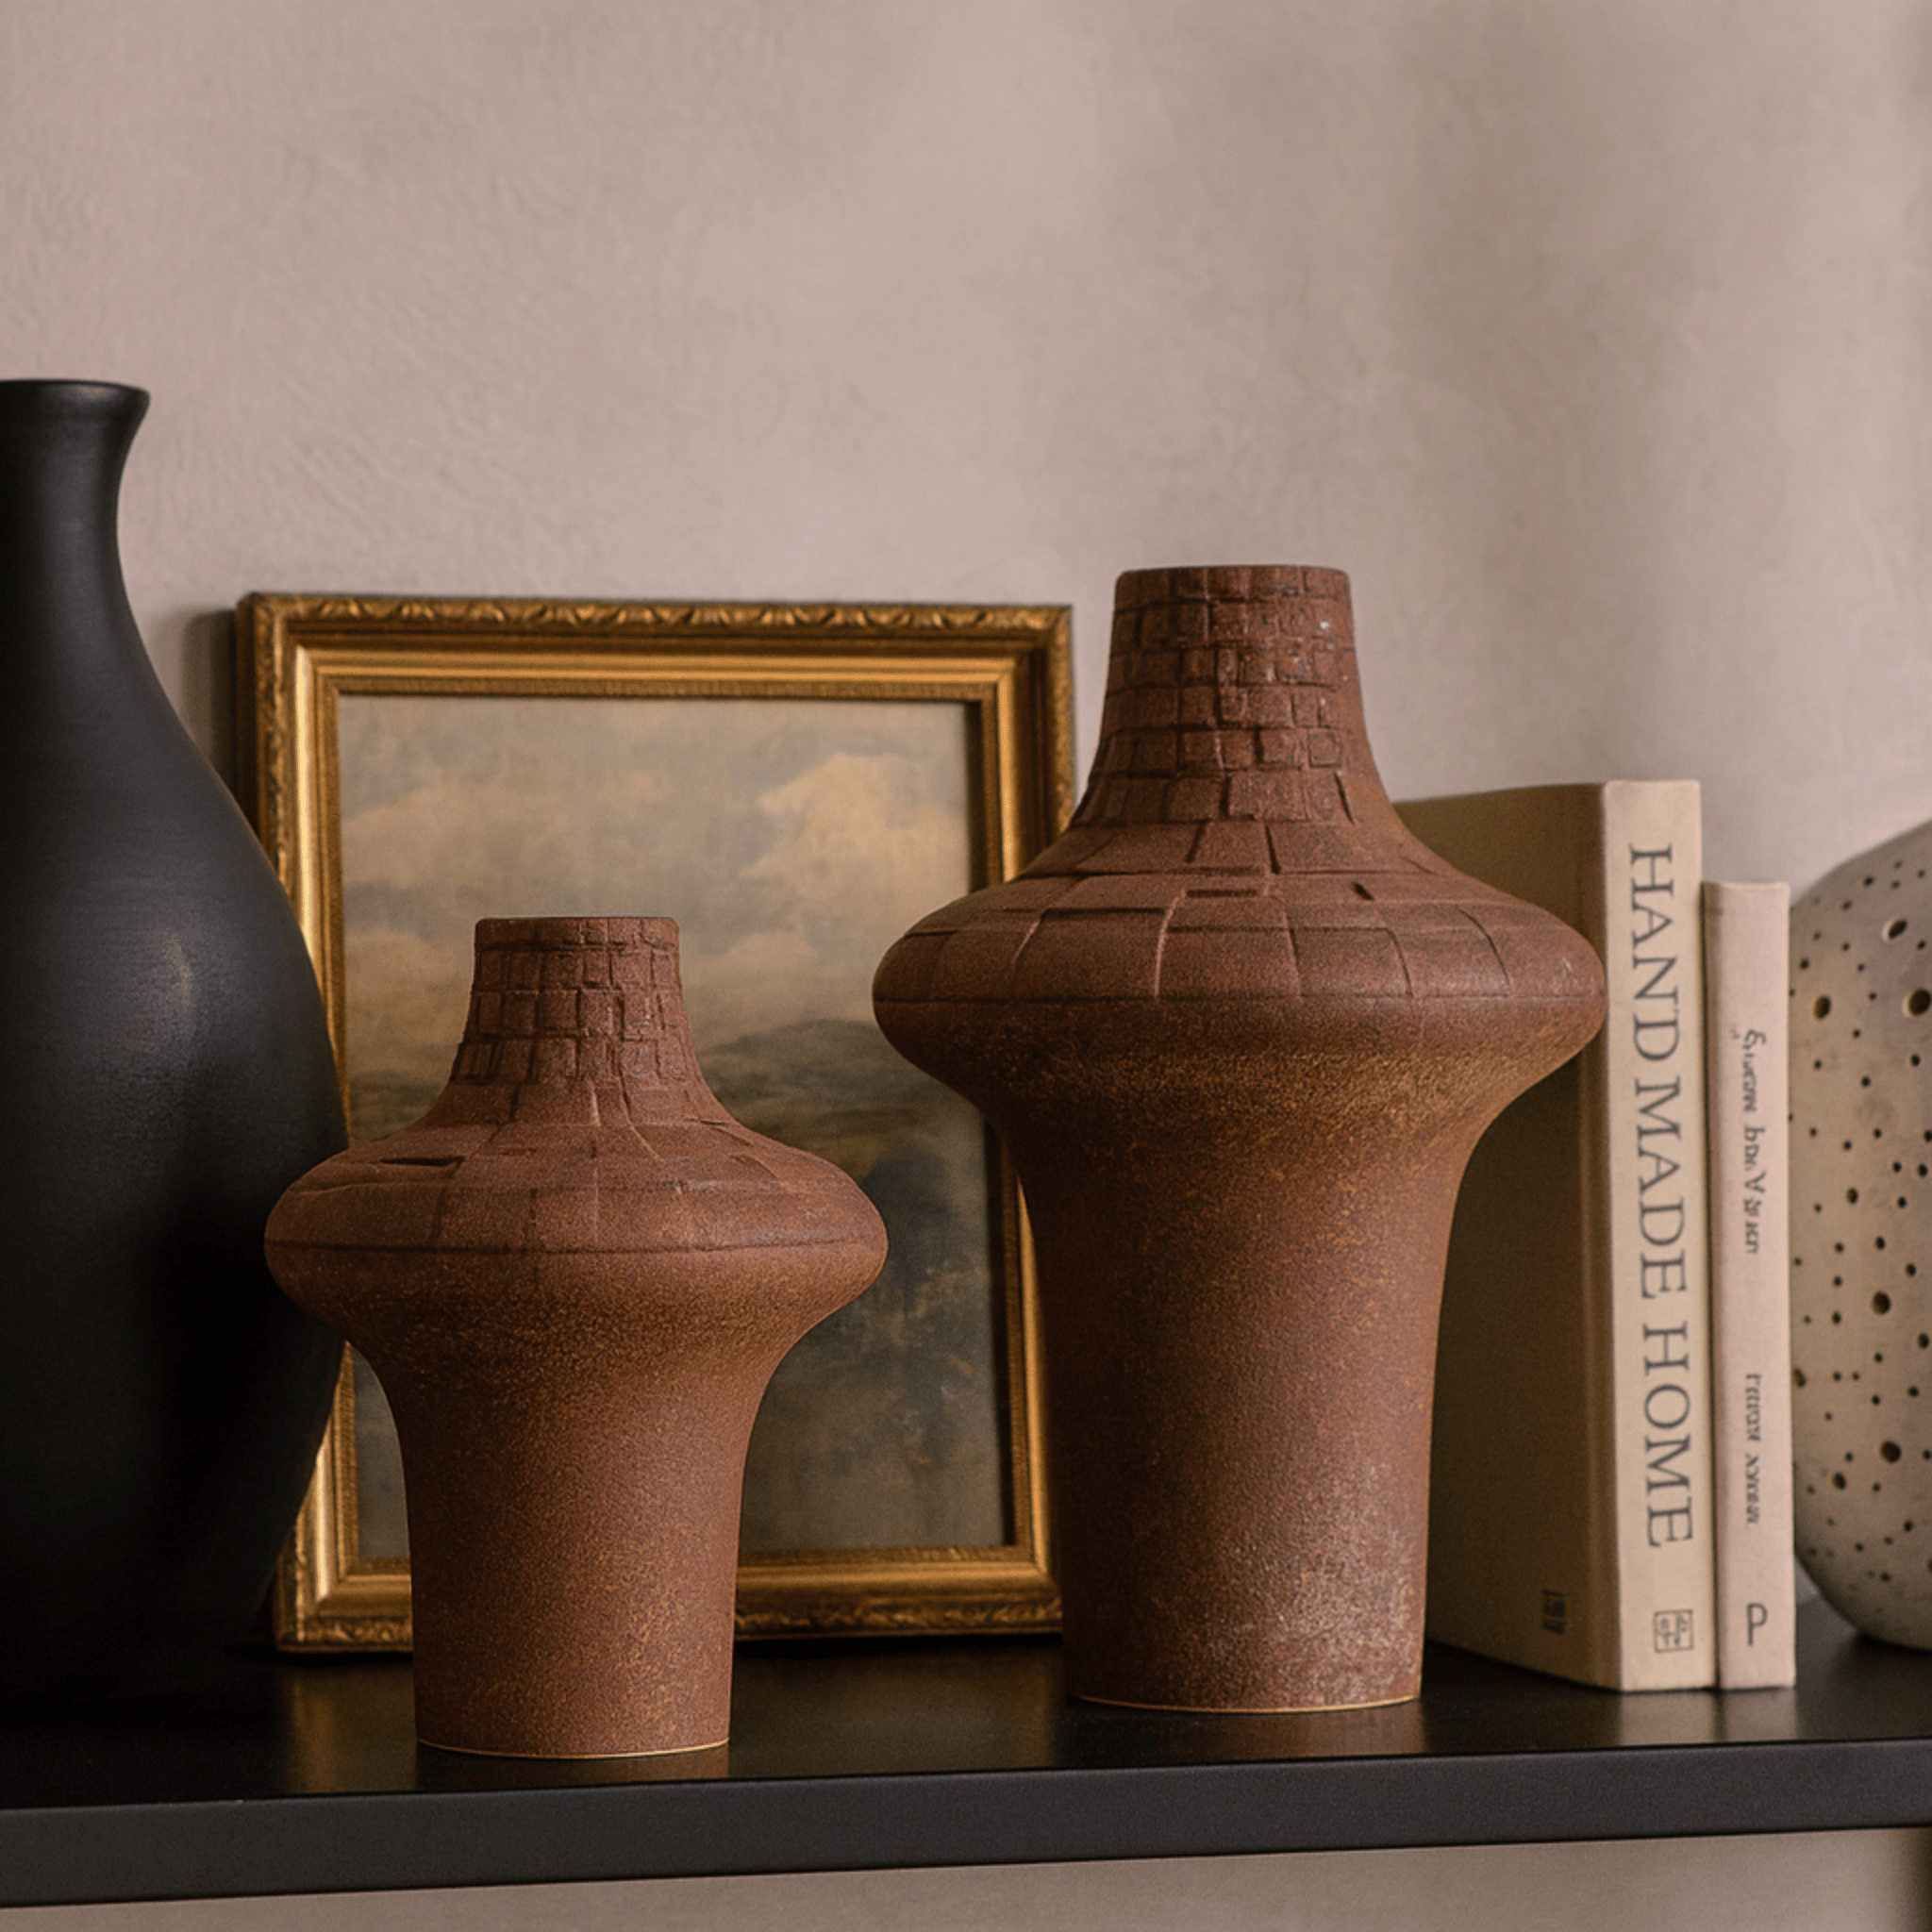
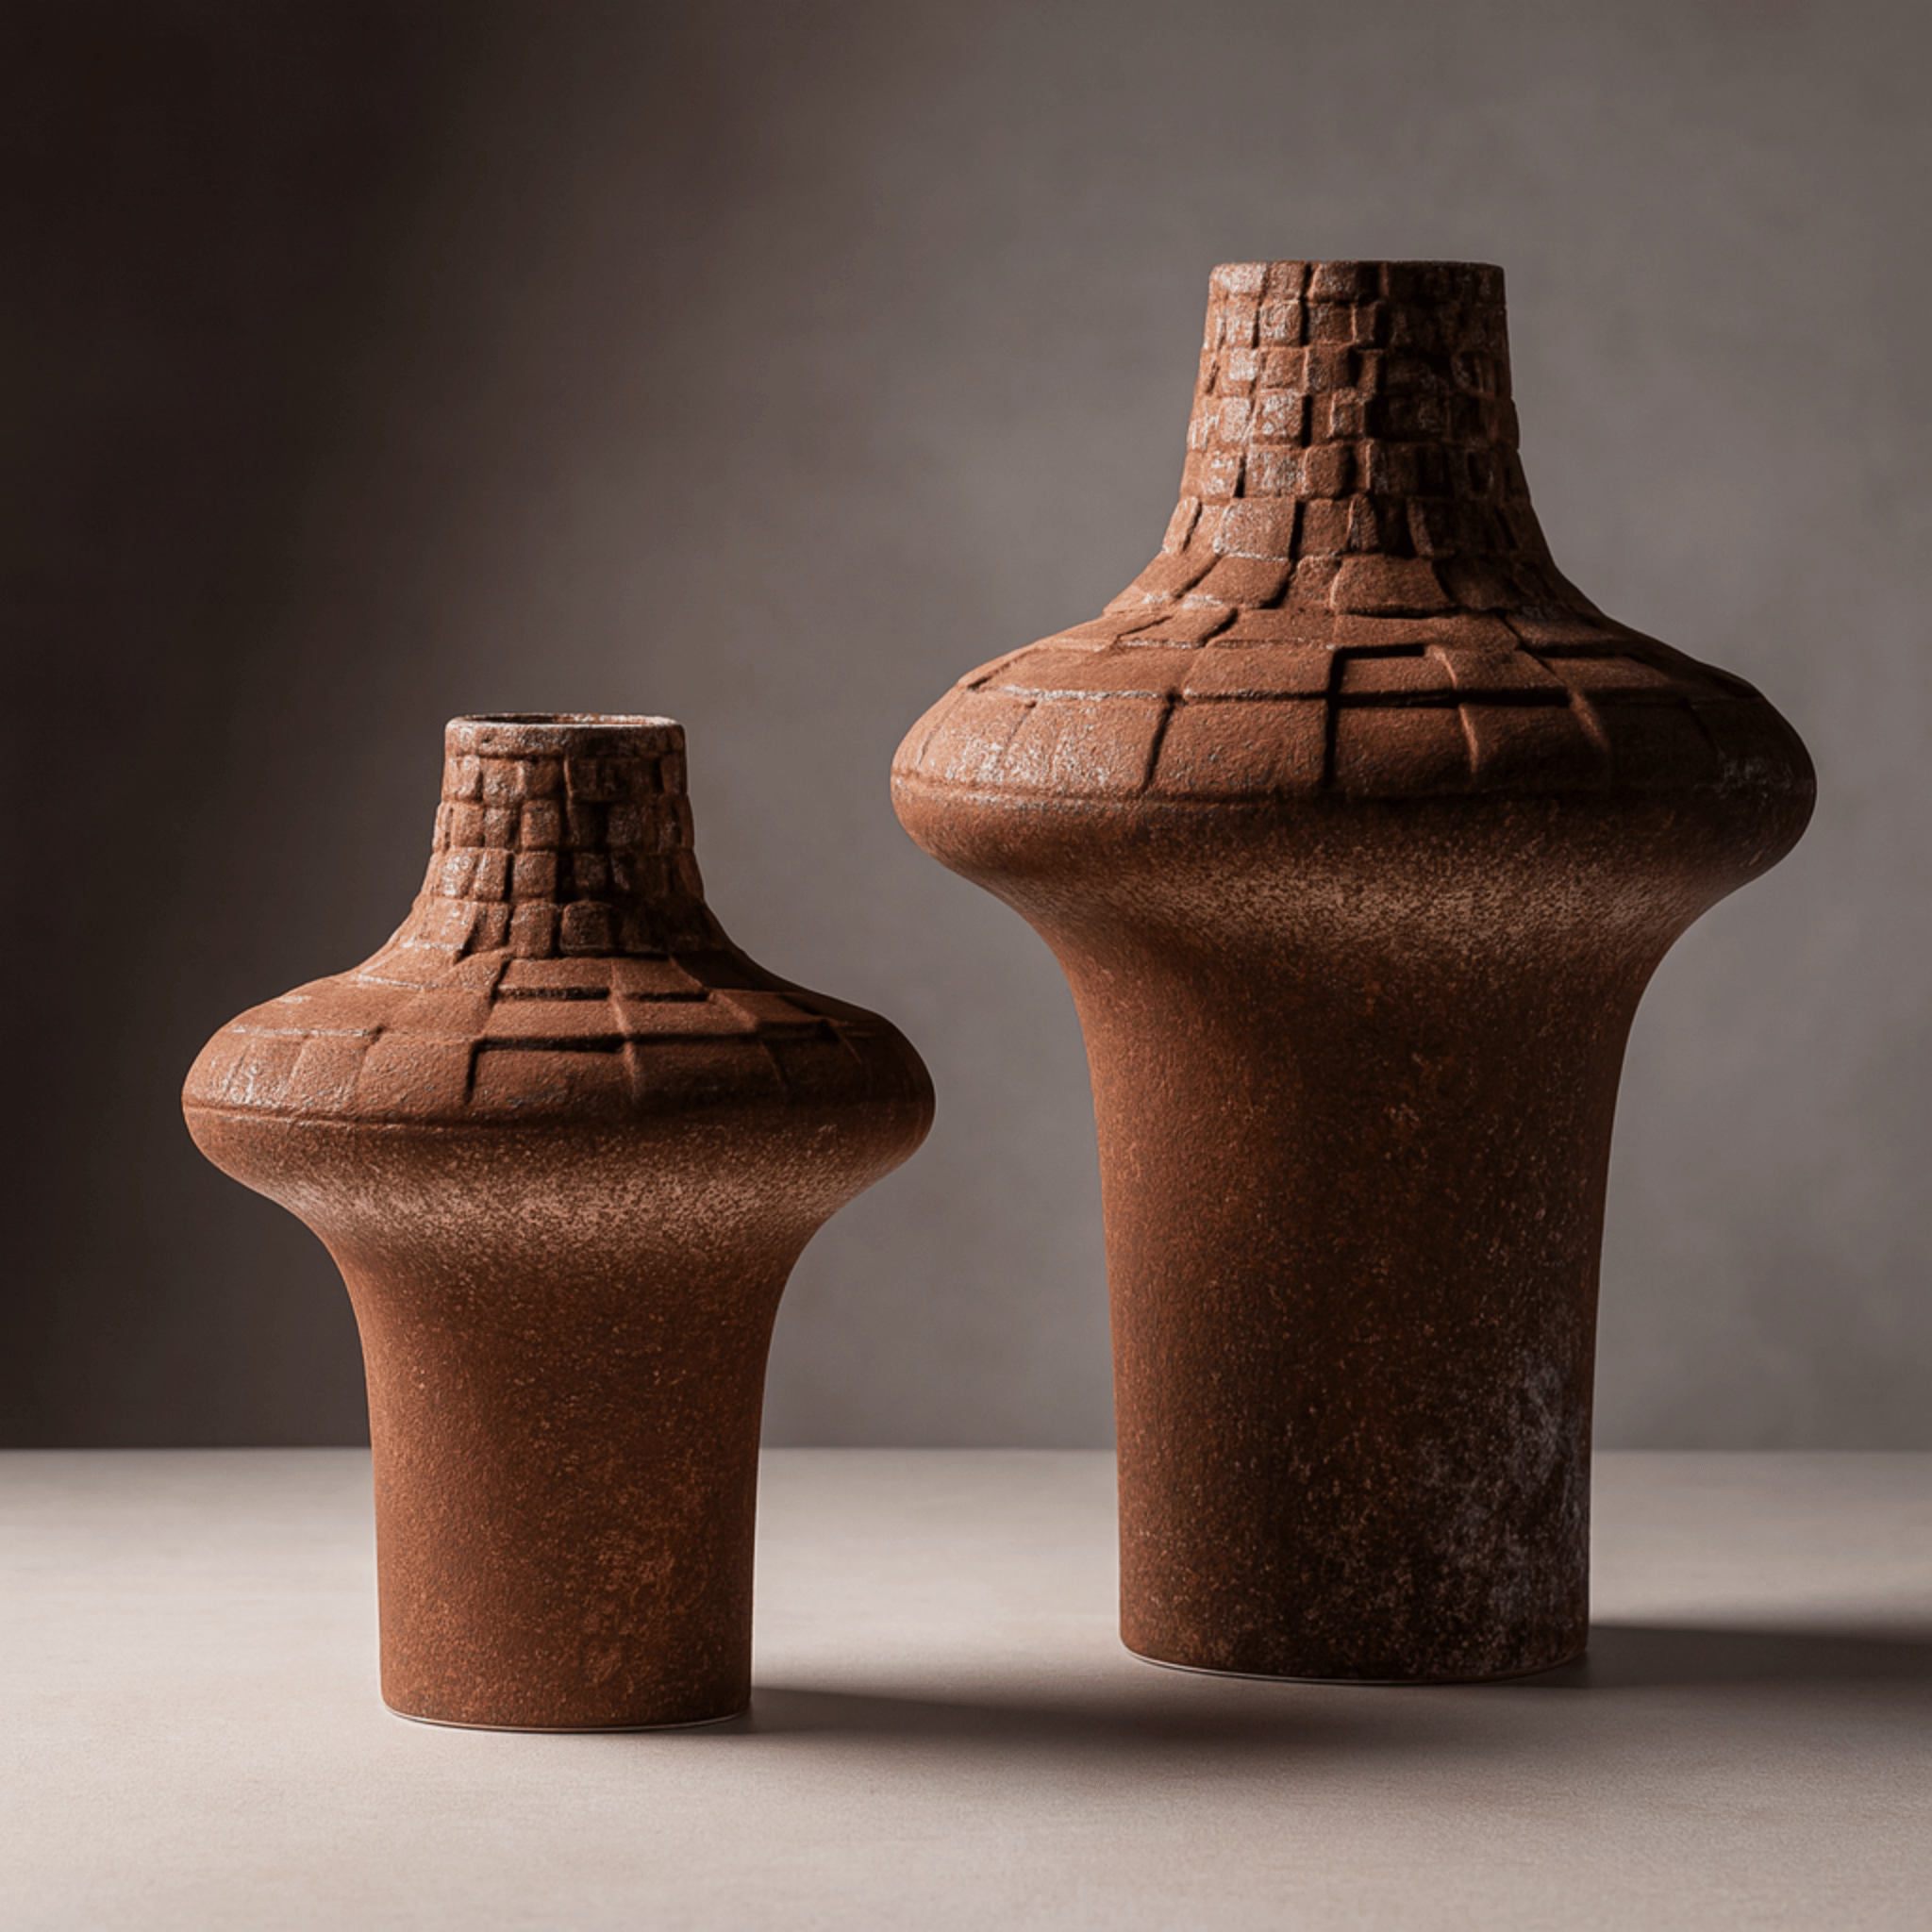
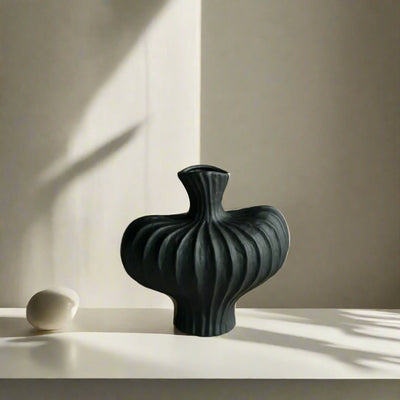
Torva Rustic Plaid Ceramic Vase Artisan Decor
$149.00
$219.00
Handcrafted ceramic vase with distinctive plaid texture, ideal for adding artisan character to any shelf or table alongside your homemade pieces. Learn more ➔

Warm amber glass geometric vase that doubles as sculptural art, ready for your faux ceramic transformation or as inspiration for your DIY projects. Learn more ➔
Styling Your DIY Ceramic Collection
The way you display your homemade ceramic vase creations significantly impacts their visual impact. Scandinavian design favors intentional placement—each piece should have breathing room and purpose.
Consider grouping vases in odd numbers, varying heights and textures while maintaining a cohesive color story. Place your DIY pieces alongside artisan ceramics like the Stille Rustic Handmade Ceramic Vase Earth Tone or the Torva Rustic Plaid Ceramic Vase Artisan Decor to create curated collections that blur the line between handmade and professional.

When arranging your thrift flip vase transformations, consider these styling principles:
- Natural light: Position vases where morning or afternoon light can highlight textural details
- Organic pairings: Add dried grasses, pampas plumes, or bare branches for authentic Scandinavian appeal
- Elevated surfaces: Use stacked books or wooden risers to create visual interest at varying heights
- Negative space: Resist overfilling surfaces—Scandinavian design celebrates simplicity

Troubleshooting Common DIY Challenges
Even experienced crafters encounter hurdles. Here are solutions to frequent faux pottery DIY obstacles:
Texture Too Rough or Uneven
If your finish appears too gritty, reduce the baking soda ratio in future batches. For current projects, lightly sand with fine-grit paper and apply a thin glaze coat to smooth the surface while preserving dimension.
Paint Not Adhering Properly
This typically indicates surface contamination. Glass and glazed ceramics need thorough degreasing with rubbing alcohol before painting. For upcycled ceramic vase projects, scuffing the original glaze with sandpaper helps new paint grip.
Cracking or Flaking
Applying paint too thickly causes cracking as it dries. Always work in thin, even coats, allowing proper drying time between layers. This patience pays off in professional-looking durability.
Pro Tip: When working with drywall compound for texture, apply it in small sections—it's much easier to control than paint mixtures and creates dramatically authentic pottery effects.
Conclusion: Embracing Handmade Beauty
Creating your own ceramic vase diy projects opens endless possibilities for personalizing your space with intention and warmth. The techniques we've explored—from simple baking soda paint methods to advanced texturing—empower you to craft pieces that rival expensive artisan ceramics at a fraction of the cost.
As you build your collection of handmade vase ideas, remember that the most beautiful interiors combine personal creativity with curated quality. Your DIY discoveries tell your unique story, while thoughtfully selected pieces from Skonne's collection provide the elevated foundation that pulls everything together. Whether you're styling a single shelf or reimagining an entire room, the marriage of homemade character and Scandinavian design principles creates spaces that feel genuinely like home.
Frequently Asked Questions about Ceramic Vase DIY
Yes, real flowers and water work perfectly in authentic ceramic vases, as traditional ceramics are fired and glazed to create waterproof surfaces. However, if you've created a faux ceramic vase using paint techniques like the baking soda method, you should use a glass insert or waterproof liner to protect the painted finish from water damage. For DIY painted vases intended for fresh flowers, always apply a waterproof sealant to the interior or use them solely for dried botanicals.
To make a vase look like ceramic, mix flat interior paint with baking soda (approximately 2 tablespoons per cup of paint) and apply in thin layers. The baking soda creates a textured, matte finish that mimics clay's natural surface. For added authenticity, apply multiple coats and lightly sand edges to reveal subtle color variations. You can also use drywall compound for heavier texture, or mix coffee grounds into paint for organic speckling. Finish with a matte sealant for durability and that authentic ceramic feel.
Common mistakes in DIY vase projects include applying paint too thickly (causing cracks), skipping surface preparation (leading to peeling), using glossy paints instead of flat finishes (which won't look authentic), and rushing between coats. Another frequent error is not considering the interior—if you plan to use water, you must either seal the inside properly or use a glass insert. Finally, neglecting proper ventilation and protective gear when sanding or sealing can create health hazards.
Yes, drywall compound adheres well to glass when the surface is properly prepared. Clean the glass thoroughly with rubbing alcohol to remove oils and residue, then roughen the surface slightly with fine-grit sandpaper for better grip. Apply a thin layer of drywall compound using a putty knife or textured tools to create your desired pattern. Let it dry completely before painting. This technique creates substantial, authentic-looking texture perfect for rustic or primitive ceramic vase styles.
Making a vase from actual clay requires air-dry clay or oven-bake clay for beginners, as these don't require pottery kilns. Roll your clay to consistent thickness, form it around a cylindrical mold or shape it freehand, and join pieces using the score-and-slip method (scratching surfaces and applying water before pressing together). For air-dry clay, let it cure for 24-48 hours, then sand smooth and seal. Oven-bake clay follows package instructions for temperature and timing. Without firing in a kiln, these vases are decorative-only and cannot hold water unless sealed with a waterproof coating.