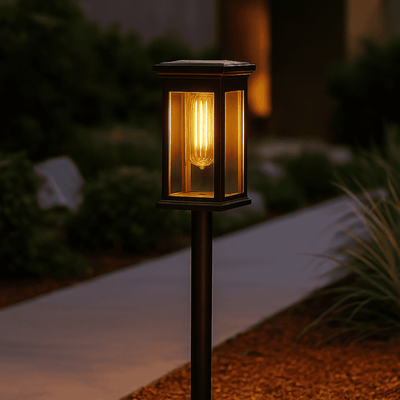
Creating a beautifully lit outdoor space transforms your garden from overlooked to unforgettable. Low voltage outdoor lighting offers the perfect balance of safety, efficiency, and ambiance for homeowners ready to elevate their exterior spaces. Whether you're illuminating winding pathways, highlighting architectural features, or crafting intimate patio settings, a well-designed 12V system delivers professional results without the risks of high-voltage installations.
This comprehensive guide walks you through everything you need to know about low voltage outdoor lighting installation — from selecting the right transformer to understanding wire gauge requirements and proper burial techniques. We'll also explore elegant alternatives that eliminate wiring entirely, because achieving stunning outdoor illumination shouldn't always require weekend-long digging projects. By the end, you'll understand exactly how to bring warm, Scandinavian-inspired ambiance to your outdoor spaces — with or without the wire strippers.
Understanding Low Voltage Outdoor Lighting Systems
Before diving into installation specifics, let's clarify what makes these systems unique. Low voltage landscape lighting operates at 12 volts rather than the standard 120 volts found in household outlets. This dramatic voltage reduction creates three immediate advantages for DIY enthusiasts: enhanced safety during installation and operation, significantly reduced energy consumption, and simplified wiring requirements that don't demand licensed electricians in most jurisdictions.
The heart of any 12V outdoor lighting system is the transformer — a device that converts standard household current to the lower voltage your fixtures require. Modern LED fixtures have revolutionized these systems, drawing minimal wattage while delivering impressive luminosity. Where older halogen systems might require 20-50 watts per fixture, contemporary LED path lights often operate efficiently at just 2-4 watts each.
This efficiency matters because your transformer's capacity directly limits how many fixtures you can run. Understanding this relationship between voltage, wattage, and load capacity forms the foundation of successful low voltage outdoor lighting wiring projects.
Planning Your Lighting Layout
Successful installations begin with thoughtful planning. Start by walking your property during evening hours, identifying the features worth illuminating: specimen trees, garden beds, architectural details, pathways, and gathering areas. Mark these locations with temporary flags or stakes, then measure distances between your intended transformer location and each fixture position.
Consider dividing your landscape into lighting zones based on function:
- Pathway illumination: Fixtures spaced 6-10 feet apart for safe navigation
- Accent lighting: Uplights positioned 12-24 inches from trees or architectural features
- Security lighting: Motion-activated fixtures near entry points
- Ambient lighting: Diffused washes for patios and seating areas
Calculate your total wattage load by adding each fixture's consumption. Always include a 20% buffer above this total when selecting your transformer — this prevents overloading and accommodates future expansion.


Choosing the Right Transformer
Transformers represent the most critical component selection in your low voltage outdoor lighting project. These devices come in various capacities, typically ranging from 100 to 900 watts. For most residential installations, a 300-watt transformer handles modest landscapes beautifully, while larger properties may require 600 watts or more.
When evaluating transformers, prioritize these features:
- Multi-tap configurations: 12V, 13V, 14V, and 15V outputs compensate for voltage drop over long wire runs
- Photocell compatibility: Automatic dusk-to-dawn operation
- Timer functionality: Programmable scheduling for energy savings
- Weatherproof housing: NEMA 3R rating minimum for outdoor mounting
- Resettable circuit breakers: Protection against overload conditions
Mount your transformer near a grounded outdoor outlet, ideally on the house exterior where it remains accessible yet protected. The mounting location should be within reach of your longest wire run while maintaining the burial depth requirements we'll discuss shortly.
Wire Gauge Selection and Voltage Drop
Wire gauge selection perplexes many first-time installers, yet this decision directly impacts system performance. Low voltage outdoor lighting wiring typically uses 12, 14, or 16 gauge wire, with smaller numbers indicating thicker conductors. Thicker wire carries current more efficiently over distance, minimizing voltage drop — the gradual reduction in power that occurs as electricity travels through wire.
Voltage drop manifests as dimming lights at the far end of your run. To prevent this, follow these gauge guidelines:
| Total Wire Run | Recommended Gauge | Maximum Fixtures (LED) |
|---|---|---|
| Up to 50 feet | 16 gauge | 5-6 fixtures |
| 50-100 feet | 14 gauge | 8-10 fixtures |
| 100-150 feet | 12 gauge | 12-15 fixtures |
| 150+ feet | 12 gauge + multi-tap transformer | 15+ fixtures |
For runs exceeding 100 feet, consider using your transformer's higher voltage taps (13V or 14V) at the source. This proactive compensation ensures fixtures at the run's end receive adequate power.
Step-by-Step Installation Guide
With planning complete and materials gathered, you're ready for installation. This DIY outdoor lighting installation process requires basic tools: a trenching shovel, wire strippers, waterproof wire connectors, and a voltage tester.
Step 1: Lay Out Your Fixtures
Position all fixtures according to your plan, but don't install them permanently yet. This dry run allows visual confirmation of spacing and beam angles before committing to wire placement.
Step 2: Install the Transformer
Mount your transformer to the house exterior using appropriate hardware for your siding material. Ensure the mounting location is within reach of a GFCI-protected outlet. Leave enough slack in the power cord for future maintenance access.
Step 3: Run the Main Line
From the transformer, run your primary low voltage cable along the intended path. For pathways, position the wire approximately 6-12 inches from the walk's edge — close enough for fixture connections, far enough to avoid edging damage.

Step 4: Make Fixture Connections
At each fixture location, strip approximately 1/2 inch of insulation from the main line and the fixture lead wires. Connect using waterproof wire nuts or specialized low voltage outdoor lighting connectors. These create moisture-resistant seals essential for longevity.
Step 5: Test Before Burying
With all connections made, power on the system after dark. Verify each fixture illuminates properly and adjust positioning for optimal effect. This testing phase prevents the frustration of discovering issues after burial.

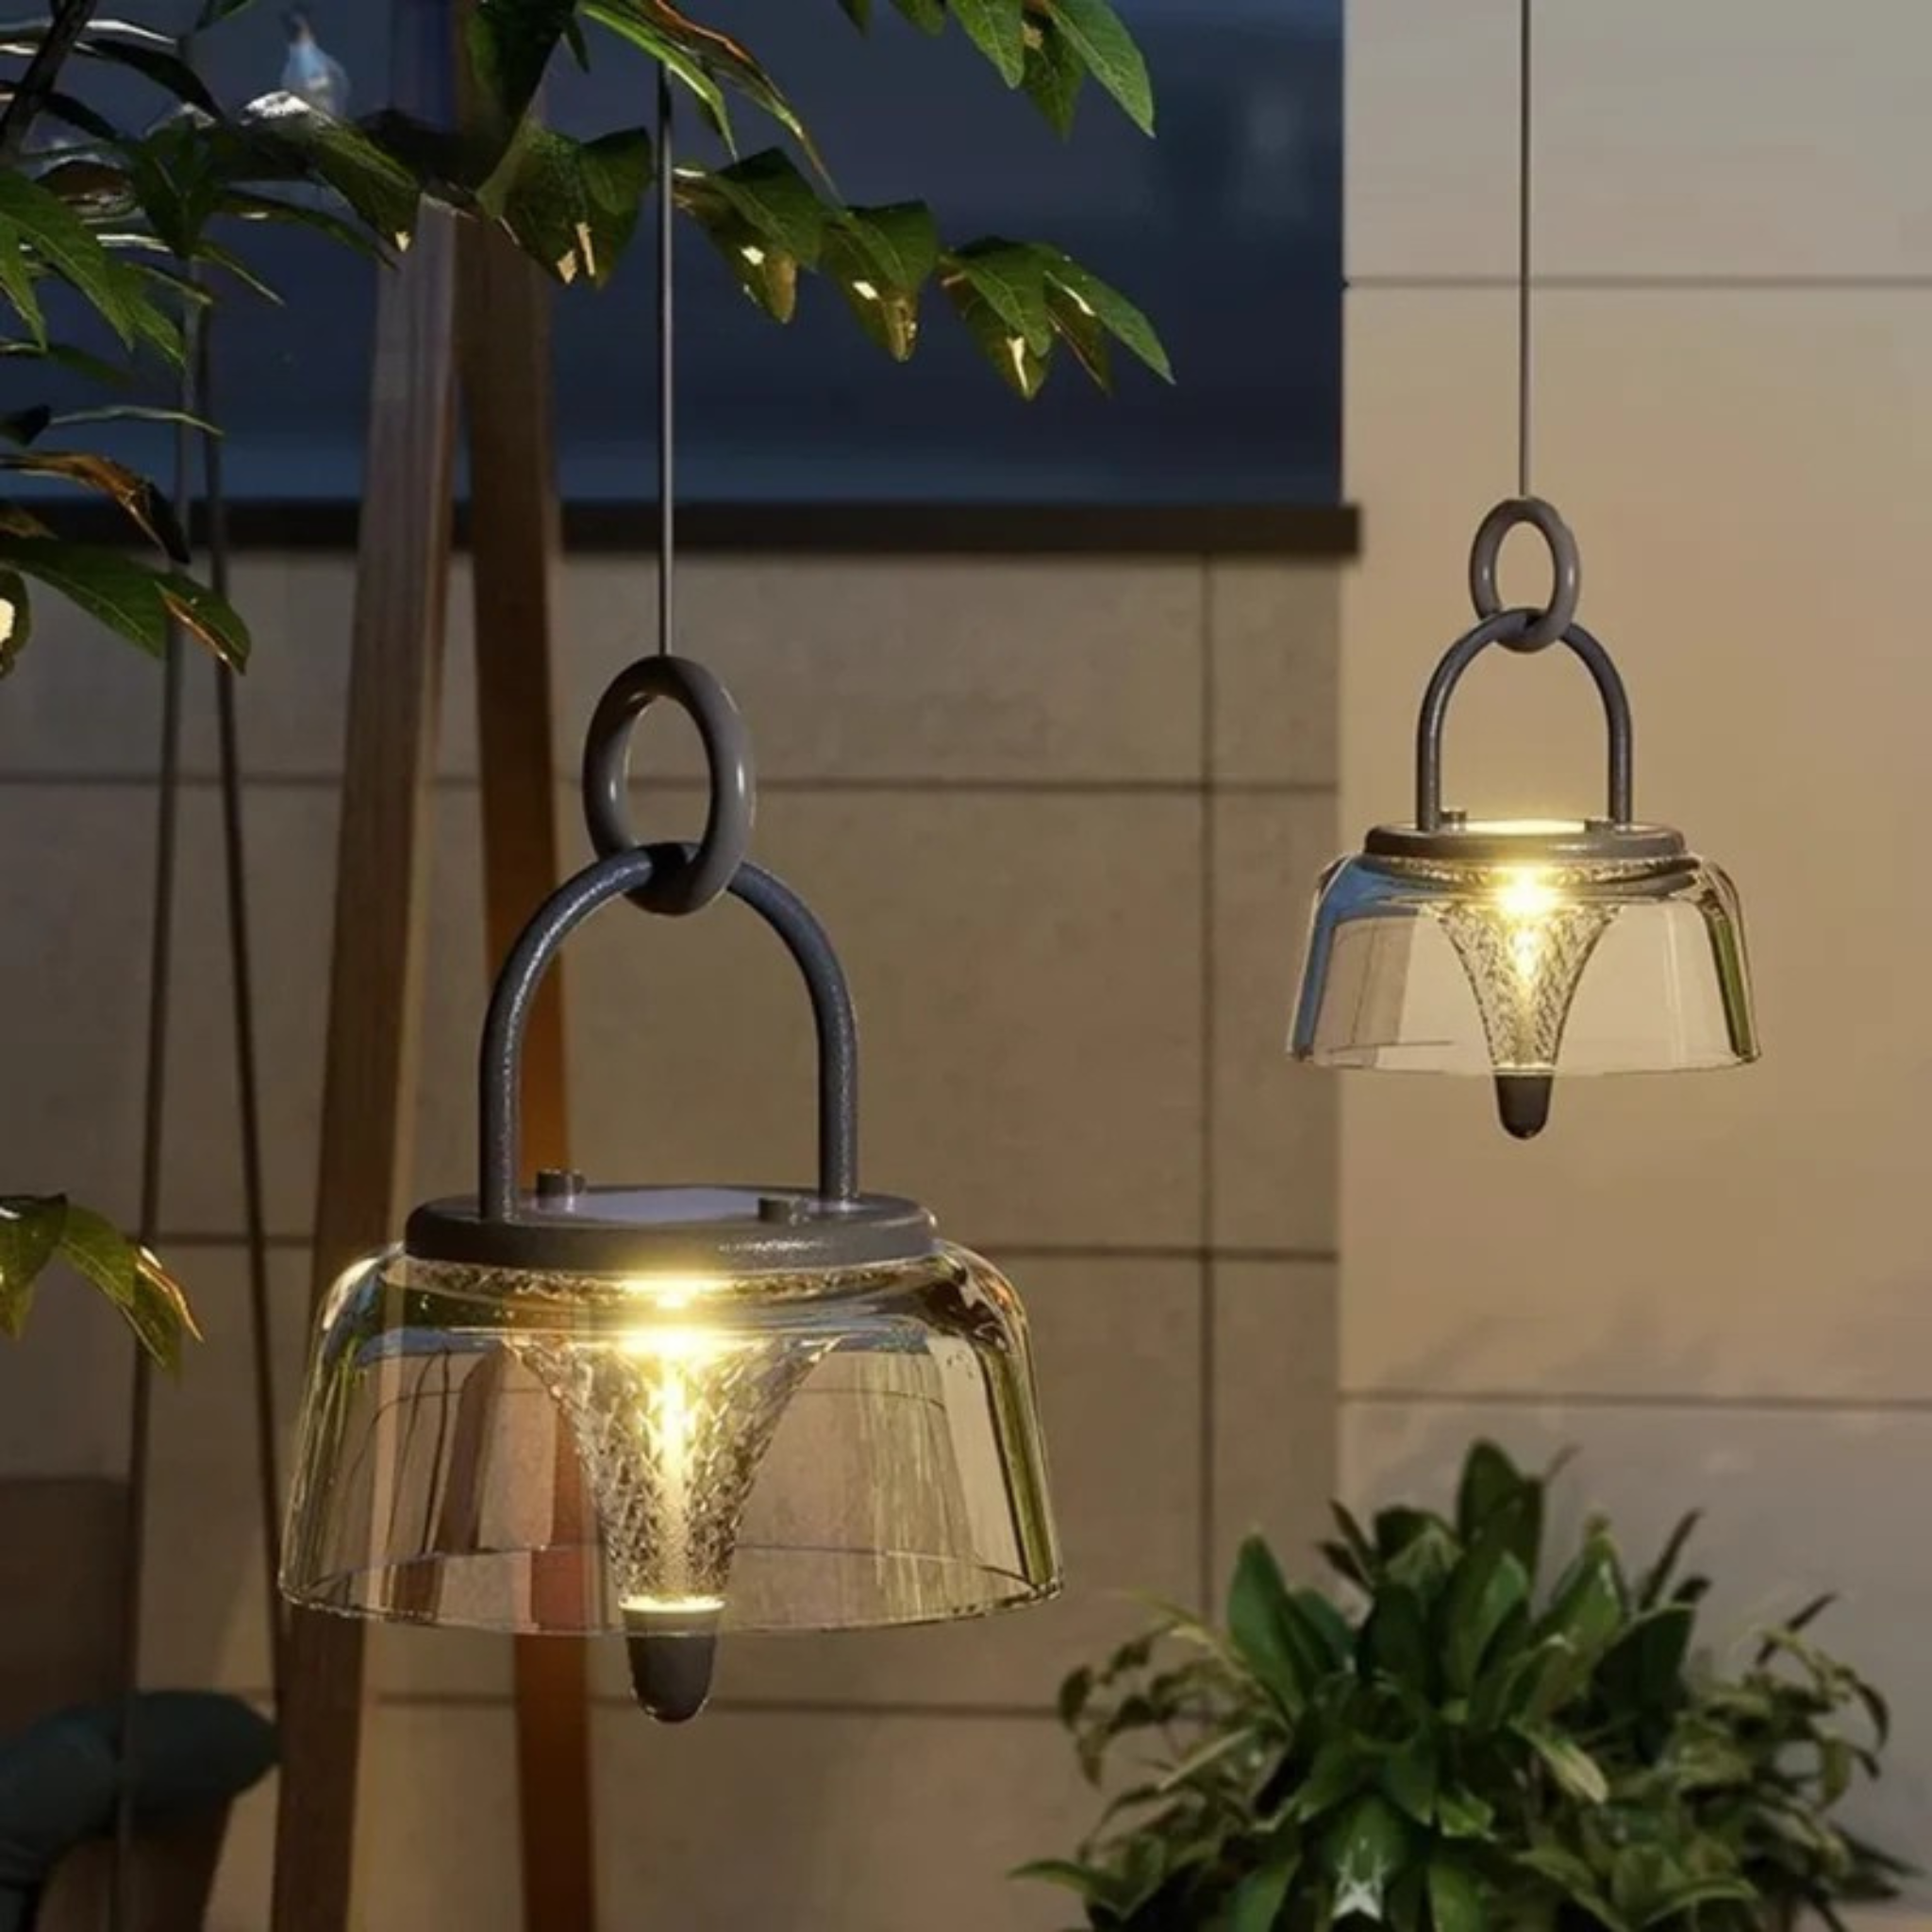
Kvelda Solar Outdoor LED Lantern IP65 Waterproof
$219.00 $459.00
Solar and USB rechargeable outdoor lantern with IP65 waterproof rating, perfect for ambient lighting on patios and gardens without wiring.
Explore ProductSolar and Wireless Alternatives: Skip the Wiring Entirely
After reviewing the complexities of low voltage outdoor lighting installation — trench digging, voltage calculations, wire gauge decisions, and waterproof connections — you might wonder if there's a simpler path to beautiful outdoor illumination. For many homeowners, especially renters or those seeking temporary solutions, the answer is absolutely yes.
Modern solar and rechargeable lighting technology has evolved dramatically. Today's high-quality solar fixtures deliver consistent, warm illumination that rivals wired systems for ambient and accent applications. The key advantages are immediate: zero wiring, zero trenching, zero transformer calculations, and complete portability.
Consider this scenario: instead of spending a weekend calculating voltage drop and burying cable, you place elegant fixtures exactly where desired, enjoying instant ambiance. When seasons change or entertaining needs shift, simply relocate your lighting. This flexibility transforms how we think about outdoor illumination — from permanent infrastructure to adaptable design elements.
For those seeking the Scandinavian aesthetic of intentional, warm lighting without the technical complexity, Portable Lamps offer an inspired alternative. These rechargeable solutions bring the same design consciousness as wired systems, with the freedom to position light precisely where the moment demands.


Elegant Wireless Outdoor Lighting Solutions

Solkveld Solar Powered LED Outdoor Garden Table
$399.00
$469.00
Solar-powered LED garden table that illuminates automatically at dusk - no wiring required for beautiful outdoor ambiance. Learn more ➔

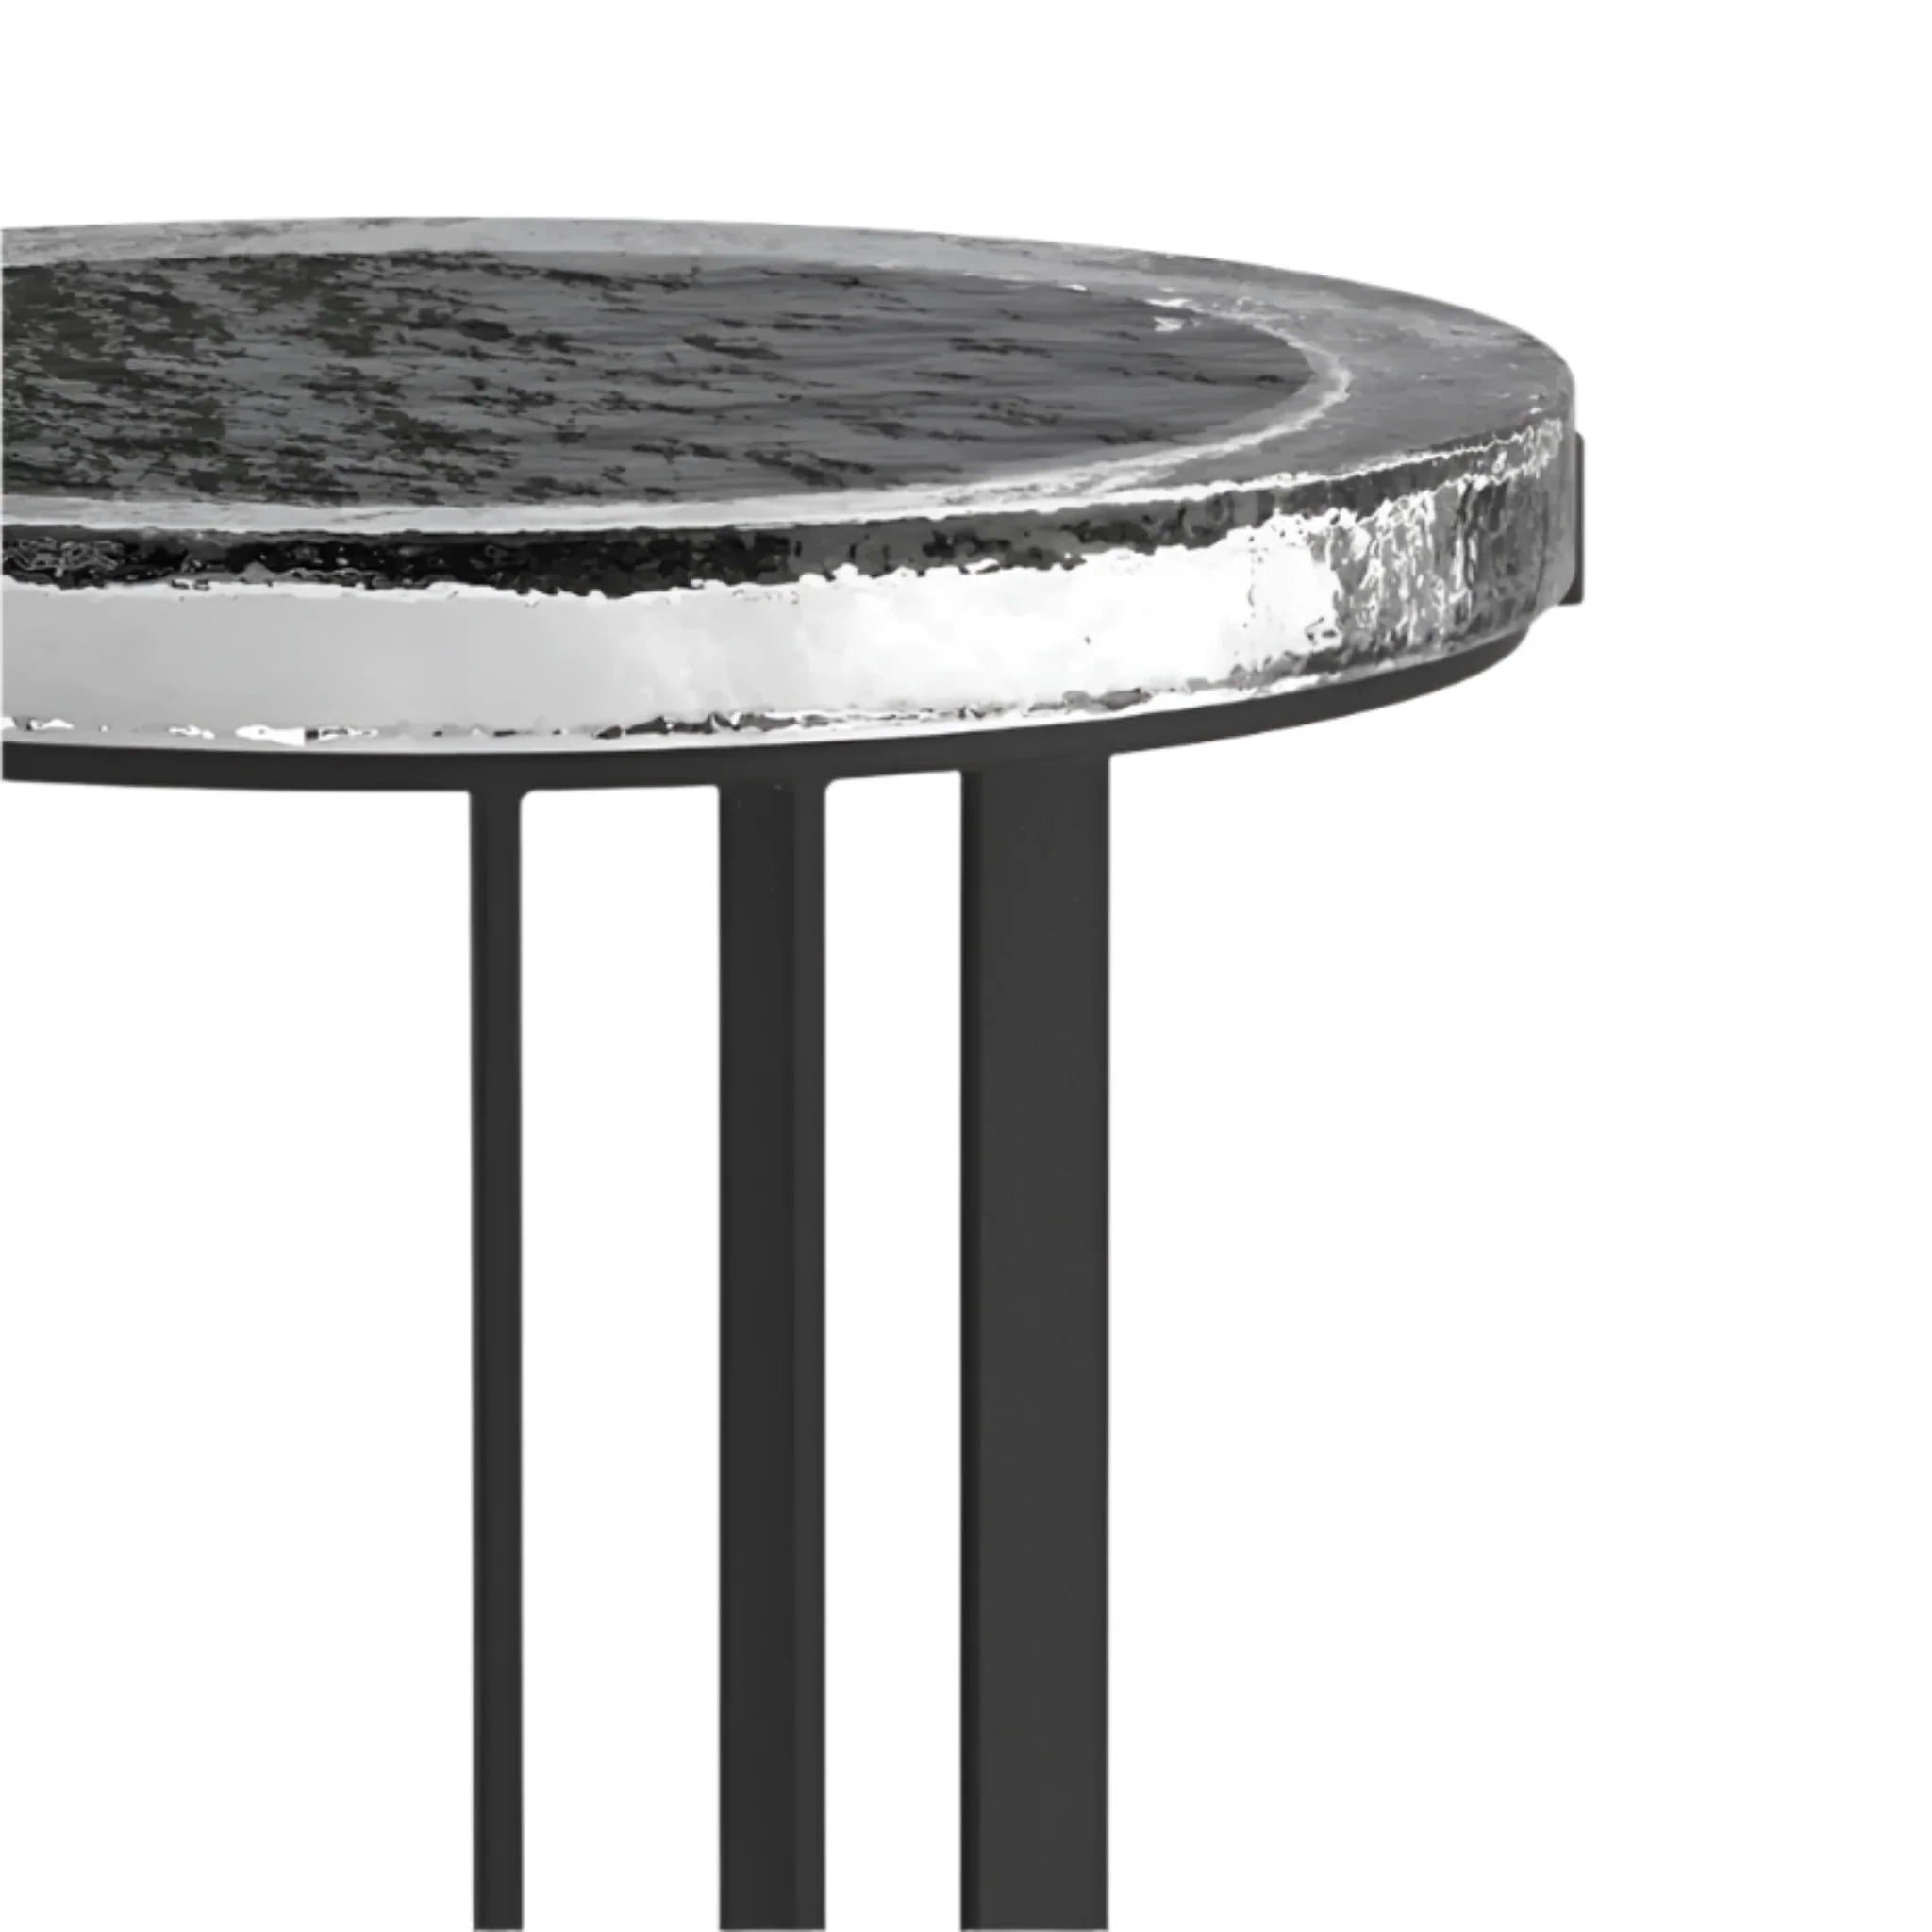
Stenglo Rechargeable Marble Table Lamp Dimmable
$289.00
$369.00
Portable rechargeable table lamp with genuine marble base and touch dimming - bring elegant lighting anywhere without outlets. Learn more ➔
Troubleshooting Common Installation Issues
Even carefully planned low voltage outdoor lighting systems occasionally present challenges. Understanding common problems and their solutions saves hours of frustration.
Dim or Flickering Fixtures
This typically indicates voltage drop or connection issues. First, verify your wire gauge matches the run length. Then inspect all wire nuts for corrosion or loose connections. If the problem affects only distant fixtures, switch to a higher transformer tap or consider splitting your layout into multiple shorter runs.
Complete System Failure
Check the transformer's circuit breaker — overload conditions trip these protective devices. Calculate your actual load and ensure it doesn't exceed 80% of transformer capacity. Also verify the photocell isn't obstructed by vegetation or debris, preventing automatic operation.
Short Lifespan in Individual Fixtures
Water intrusion destroys LED fixtures prematurely. Verify all wire connections use waterproof connectors rated for direct burial. Even small amounts of moisture corrode connections and damage internal components over time.
Inconsistent Operation
Intermittent problems often trace to loose connections that contact and separate with temperature changes or ground settling. Revisit each connection point, ensuring wire nuts are tight and fully seated.

Maintenance and Seasonal Care
Wired 12V outdoor lighting systems require minimal ongoing maintenance, but seasonal attention preserves performance and appearance. Each spring, clear debris from fixtures, clean lenses for maximum light transmission, and verify all connections remain secure after winter ground movement.
For solar and rechargeable alternatives, maintenance is even simpler. Wipe solar panels periodically to maintain charging efficiency, and store rechargeable fixtures indoors during harsh winter months if recommended by the manufacturer.
Both approaches benefit from occasional repositioning as your landscape matures. Trees grow, shrubs expand, and design preferences evolve — the most beautiful outdoor lighting adapts alongside these changes. Whether you've invested in a comprehensive wired system or curated a collection of portable pieces, treat your lighting as a dynamic design element rather than a static installation.
For inspiration on flexible, beautiful lighting that moves with your life, explore our Portable Lamps collection — designed for those who believe light should serve the moment, not constrain it.
Conclusion: Choosing Your Path to Outdoor Ambiance
Low voltage outdoor lighting opens remarkable possibilities for transforming your exterior spaces. The 12V approach offers DIY-friendly installation, enhanced safety, and energy-efficient operation that permanent high-voltage systems simply cannot match. For homeowners committed to comprehensive landscape illumination — extensive pathway systems, architectural uplighting, and security coverage — the wired approach delivers unmatched reliability and control.
However, the landscape lighting world extends far beyond buried cables and transformer calculations. Today's solar and rechargeable solutions offer Scandinavian-inspired design, warm ambient illumination, and complete flexibility without weekend-long installation projects. The Solkveld Solar Powered LED Outdoor Garden Table, SolarisPro Outdoor LED Lantern, and Stenglo Rechargeable Marble Table Lamp represent this new paradigm — where elegant lighting moves with your life rather than anchoring you to infrastructure.
At Skonne, we believe outdoor lighting should create the warm, intentional atmosphere that defines Scandinavian hygge — that sense of contentment and comfortable conviviality. Whether you choose the permanence of wired systems or the freedom of wireless solutions, the goal remains identical: transforming your outdoor spaces into extensions of your home's welcoming embrace.
Ready to illuminate your exterior with intention? Explore our curated collections of Scandinavian-inspired lighting and discover how the right fixtures create moments worth savoring, from summer twilights to autumn gatherings.
Frequently Asked Questions about Low Voltage Outdoor Lighting
Installing low voltage outdoor lighting involves several key steps: planning your layout and calculating total wattage, selecting an appropriately sized transformer, choosing the correct wire gauge for your run lengths, laying out fixtures in their intended positions, running low voltage cable from the transformer, making waterproof connections at each fixture, testing the system before burial, and finally burying cables 6 inches deep. The 12V nature of these systems makes them DIY-friendly and safe for homeowners to install without licensed electricians in most areas.
To determine transformer size, add the wattage of all fixtures in your system, then multiply by 1.2 to create a 20% safety buffer. For example, if you have ten 4-watt LED path lights, your total load is 40 watts — you'd want a transformer rated for at least 50 watts, though a 100-watt unit provides room for expansion. Common residential transformers range from 100 to 300 watts for modest installations, while larger landscapes may require 600+ watt units with multiple circuits.
Low voltage outdoor lighting wire should be buried 6 inches deep in normal lawn and garden areas. This depth protects the cable from gardening tools, lawn equipment, and foot traffic while remaining accessible for future maintenance. In areas subject to heavy foot traffic or where edging occurs frequently, consider 8-10 inches. Always call 811 before digging to locate underground utilities, even for shallow low voltage installations.
The best wire gauge depends on your total run length. For runs under 50 feet, 16 gauge wire suffices for 5-6 LED fixtures. Runs between 50-100 feet require 14 gauge for 8-10 fixtures. For 100-150 foot runs with 12-15 fixtures, use 12 gauge wire. Longer runs should use 12 gauge combined with multi-tap transformers (13V or 14V taps) to compensate for voltage drop. When in doubt, choose thicker wire — it provides better performance and future expansion flexibility.
Yes, low voltage outdoor lighting is specifically designed for DIY installation. The 12V power levels are safe to work with, and most jurisdictions don't require licensed electricians for low voltage landscape lighting. You'll need basic tools: a trenching shovel, wire strippers, waterproof connectors, and a voltage tester. However, if you're uncomfortable with electrical work, unsure about local codes, or planning extensive systems, consulting a professional ensures optimal results. Alternatively, solar and rechargeable lighting options eliminate wiring entirely for true plug-and-play simplicity.