Before you commit to a single nail, consider browsing our Gift Ideas collection, where you might discover the perfect Scandinavian timepiece to showcase on your newly prepared wall.
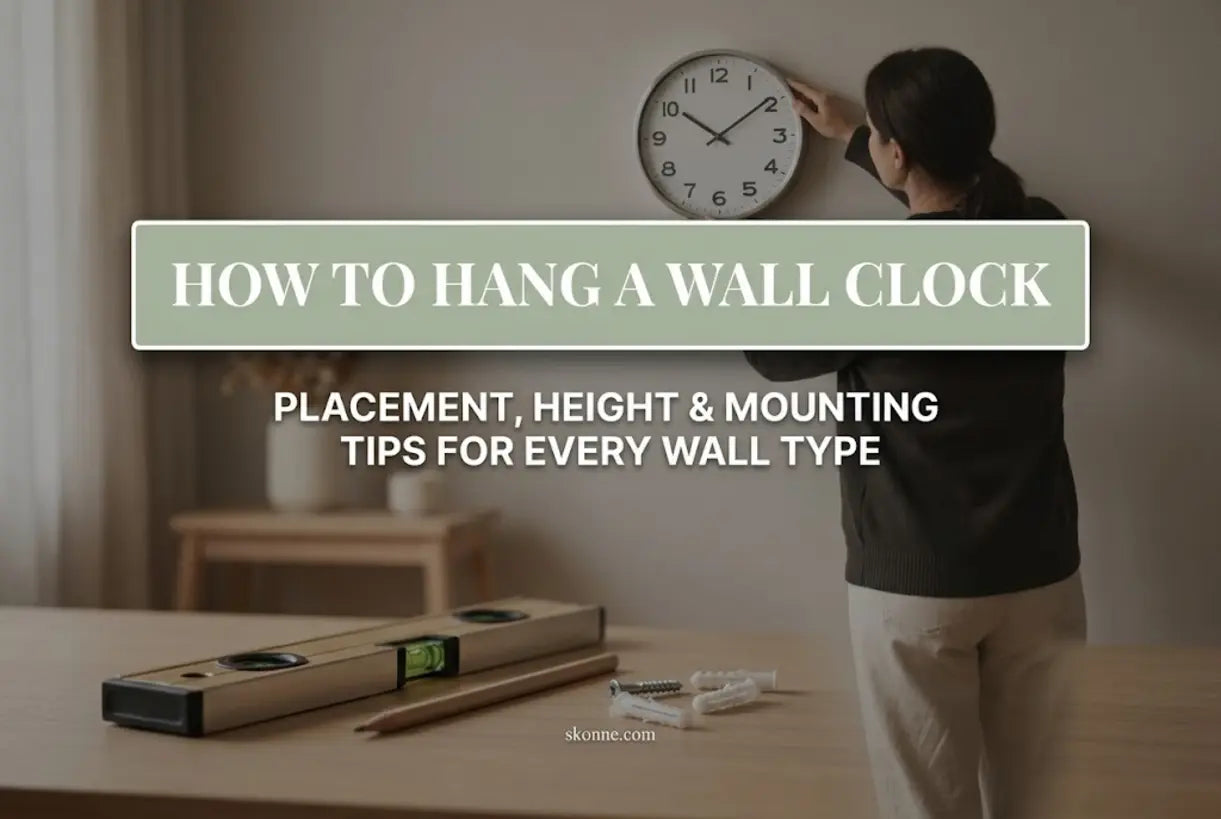
Finding the Ideal Height for Your Wall Clock
Getting the height right is perhaps the most common stumbling block in wall clock installation. Hang it too high, and you'll develop a crick in your neck every time you check the time. Too low, and it disrupts the visual flow of your room, potentially blocked by furniture or creating an awkward focal point.
The sweet spot for most rooms? Between 57 and 60 inches from the floor to the center of the clock. This aligns with gallery mounting standards and ensures comfortable viewing for most adults. However, context matters:
- In living rooms over sofas: Position approximately 8 to 12 inches above the top of the furniture back
- In dining rooms: Consider slightly higher placement since viewers are typically seated
- In hallways and entryways: Around 57 inches remains ideal for standing viewers
- With statement oversized clocks: The centerpoint still matters—treat them as art anchors
When determining clock placement, never ignore what surrounds your timepiece. A beautiful clock competing with a window, significant artwork, or built-in shelving loses its impact. Create breathing room—typically 12 to 24 inches of clear space on all sides allows your clock to command attention naturally.
Assessing Your Wall Type: The Foundation of Success
Before you touch a drill, identify what you're working with. Different wall materials demand different approaches, and using the wrong hardware is the fastest route to uneven clocks—or worse, damaged walls.
Drywall & Plaster Walls
Most interior walls in modern homes are drywall over wooden studs. These present two mounting paths:
Mounting into studs provides maximum security for heavier clocks. Use a stud finder to locate the wooden framework behind your drywall. When you find that solid backing, a simple picture hanger or screw can support significant weight—often 50 pounds or more.
Mounting between studs requires a drywall anchor clock solution. Plastic expansion anchors work for lighter clocks (under 10 pounds). Toggle bolts or heavy-duty self-drilling anchors handle medium weights up to 50 pounds. Always match your anchor rating to your clock's actual weight, not an estimate.
Brick & Masonry Surfaces
Masonry walls—brick, concrete, or stone—offer incredible strength but require specialized hardware. Masonry bits for your drill, along with plastic anchors or lead shields, create secure mounting points. Be prepared: drilling into masonry takes patience, steady pressure, and often a hammer drill for older or harder materials.
Tiled Bathroom or Kitchen Walls
These present unique challenges. Porcelain, ceramic, or glass tile cracks easily under pressure, and the hollow space behind tile can complicate anchoring. Diamond-tipped drill bits and careful speed control prevent cracking. In some cases, a secure adhesive mount or professional consultation becomes the wiser choice.

The Step-by-Step Mounting Process
Once you've determined your wall type and gathered appropriate hardware, the actual wall clock installation follows a consistent pattern. This video demonstrates the fundamentals clearly:
Now let's break down what you'll need to know:
Step 1: Measure Twice, Hang Once
Mark your intended centerpoint with a light pencil mark. Measure from nearby furniture, architectural features, or adjacent walls to ensure balanced placement. For adjacent pieces of art or existing clocks, maintain consistent spacing—typically 3 to 6 inches between the edges of separate items works beautifully.
Step 2: Prepare Your Hanging Point
Hold the clock against the wall in your intended position. Most wall clocks have a keyhole, sawtooth hanger, or wire on the back. Mark exactly where this hardware meets the wall—this is your target, not the clock's center.
Step 3: Install Correct Hardware
For stud mounting: Drill a pilot hole slightly smaller than your screw diameter. Secure your hanger or bracket.
For drywall without studs: Drill a hole appropriate for your anchor type (consult packaging). Insert the anchor flush with the wall surface, then insert your screw into the anchored position.
For masonry: Drill with a masonry bit, insert your anchor, and proceed with mounting hardware installation.
Step 4: Hang and Level
Once mounted, hang your clock and use a level to ensure perfect alignment. Most quality wall clocks include an adjustable hanger or minute adjustments can be made by loosening and repositioning slightly.


How to Attach a Clock to a Wall Without Nails
Not everyone wants to—or can—drill into walls. Renters, those with delicate wall treatments, or anyone seeking damage-free alternatives have options. Understanding how to attach a clock to a wall without nails opens possibilities while preserving your security deposit.
Command Strips and Adhesive Hooks
Damage-free hanging strips work beautifully for clocks weighing under 5 pounds. The key is thorough surface cleaning before application and allowing the adhesive to cure according to package directions—typically 24 hours. Never rush this step; premature hanging results in falling clocks and damaged timepieces.
Picture Rail Systems
Found in older homes and increasingly in modern renovations, picture rails allow wire suspension from molding-mounted tracks. Simply attach wire to your clock's back and hook into the rail—a classic, adjustable, nail-free solution.
Leaning and Shelf Display
Large decorative clocks can lean against walls, particularly on mantels, console tables, or built-in shelving. Alternatively, a narrow floating shelf provides a stable mounting surface without permanent wall attachment. This approach, while unconventional, creates lovely layered vignettes when combined with vases or candle holders.

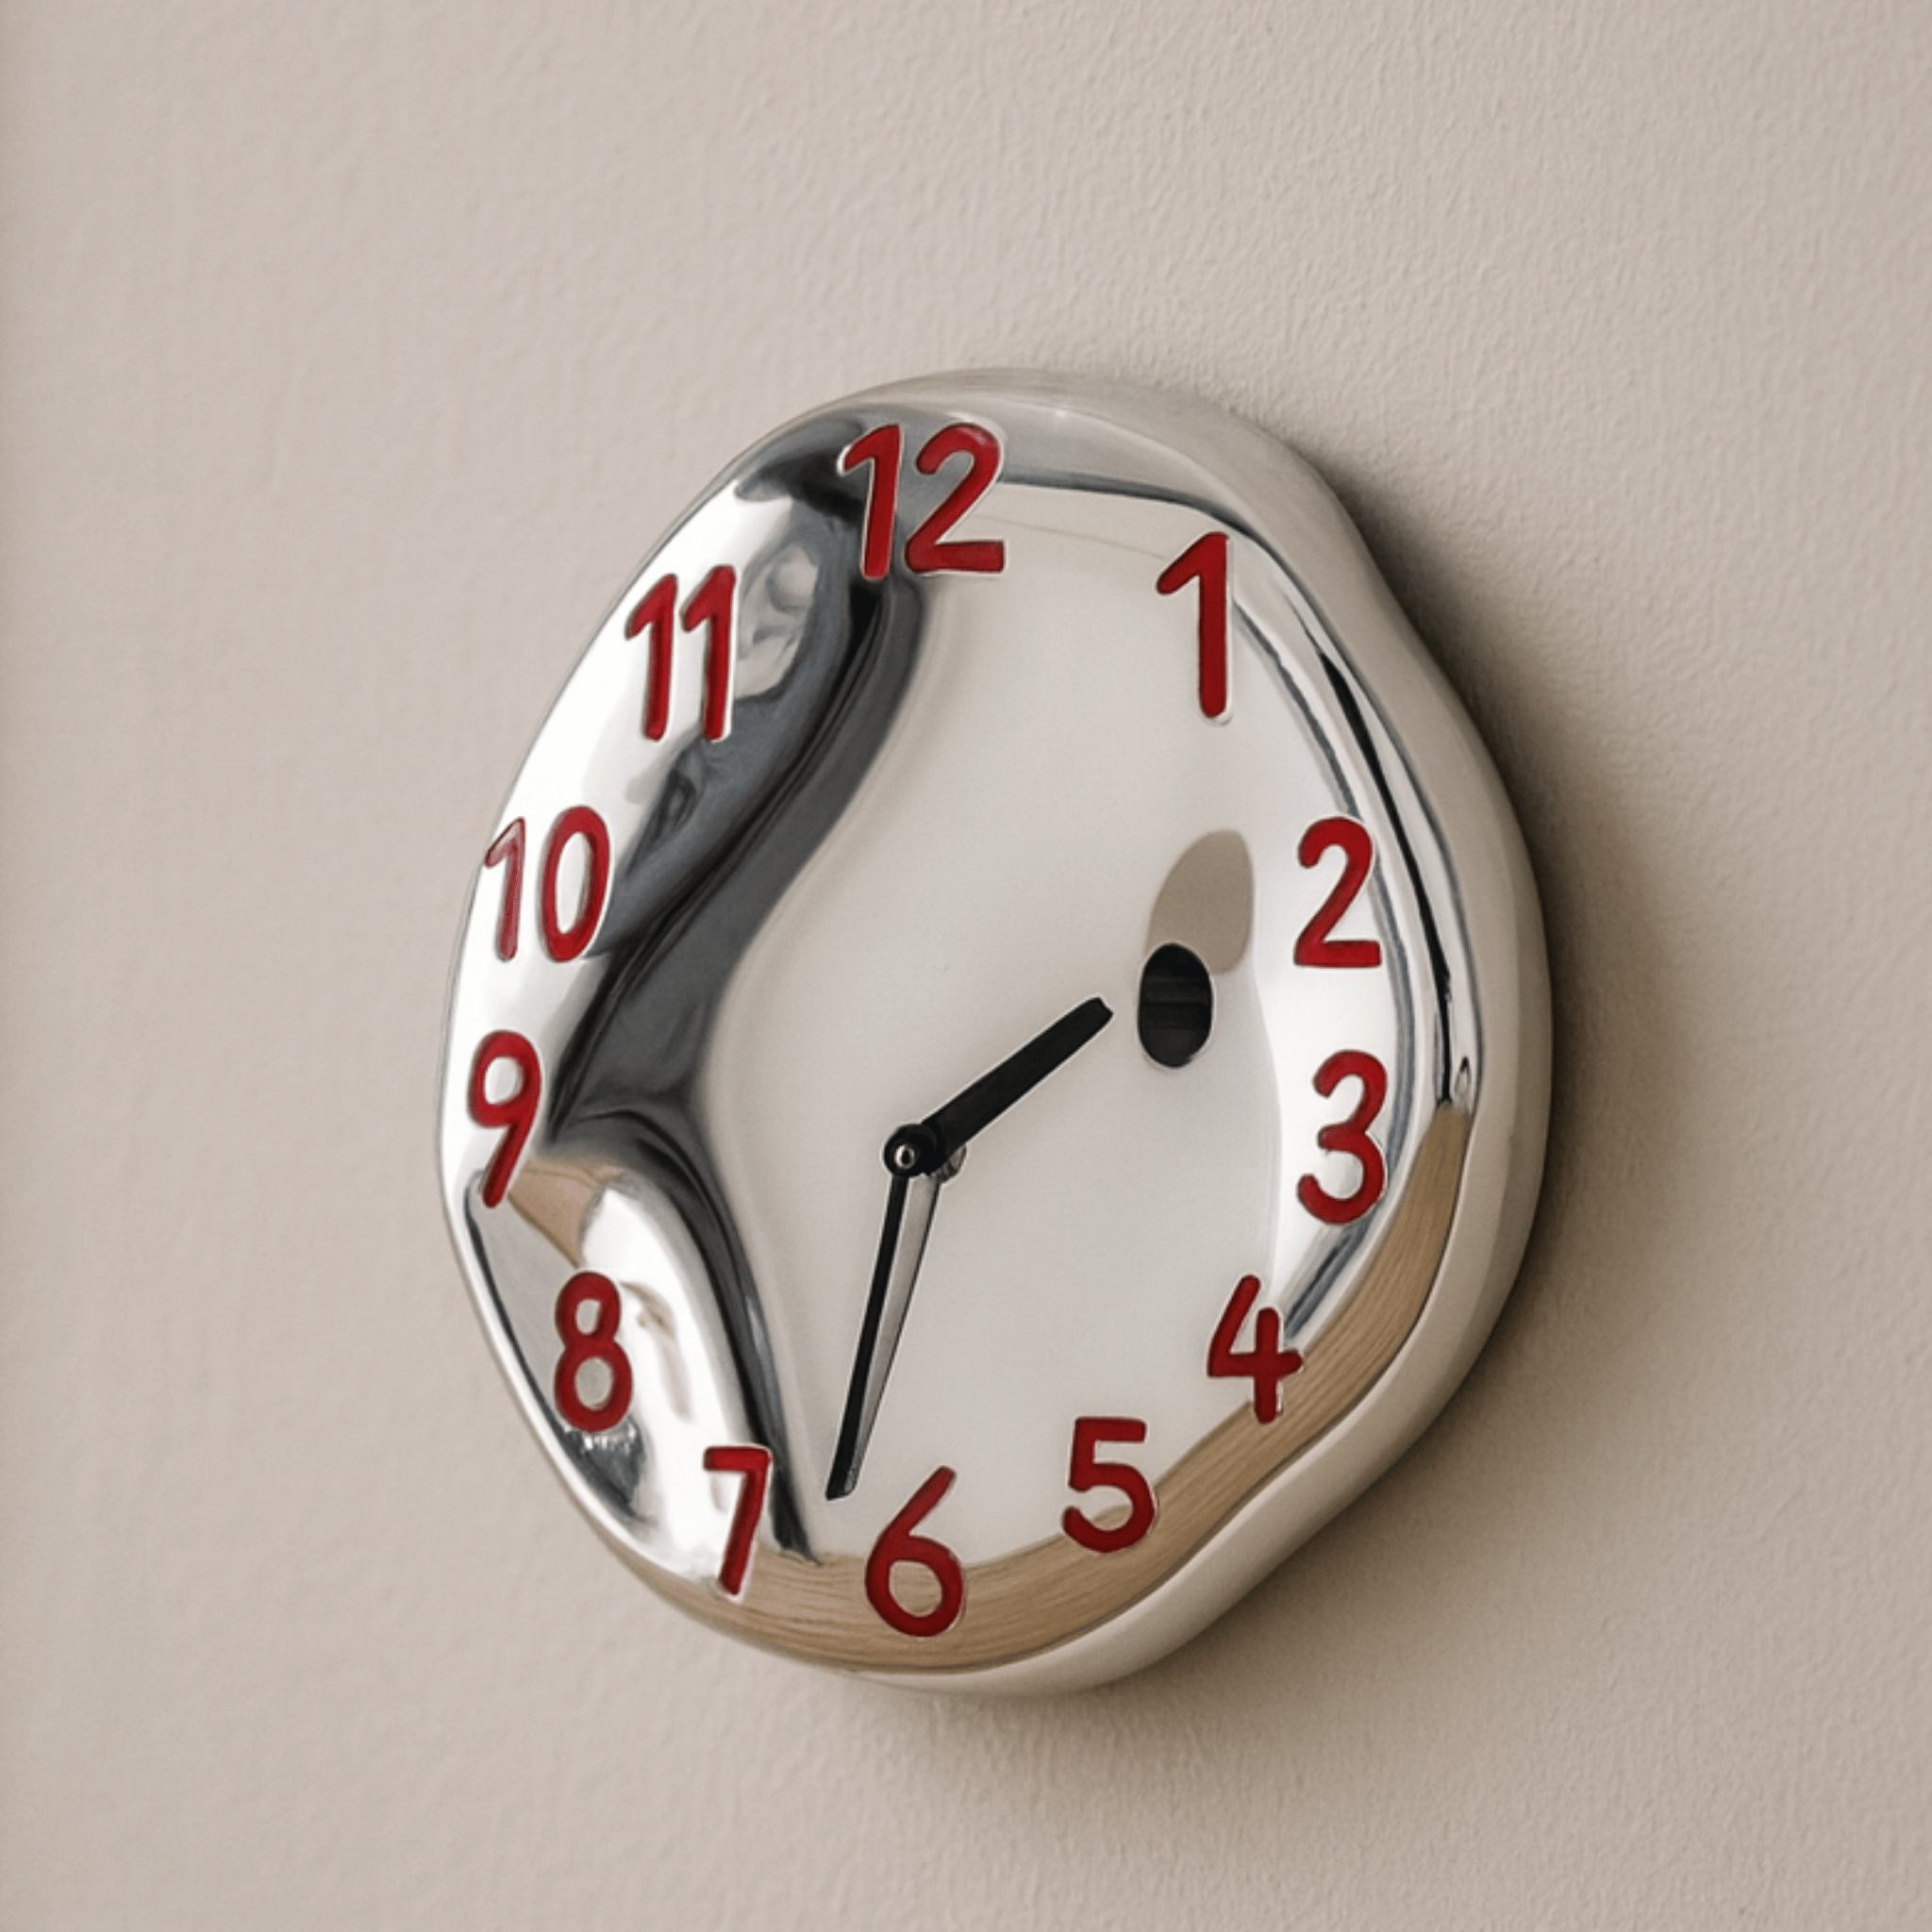
Glansa Chrome Ceramic Wall Clock Silent Quartz
$329.00 $479.00
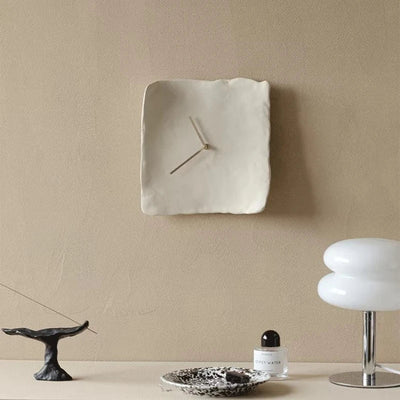
A sculptural ceramic wall clock that reads as wall art first, timepiece second. Its chrome electroplated finish catches light beautifully. Perfect for practicing your new wall mounting skills.
Explore ProductWhen you invest in a piece like the Glansa Chrome Ceramic Wall Clock, proper mounting becomes even more important. This sculptural ceramic clock reads as wall art first, timepiece second. Its chrome electroplated finish catches light beautifully, demanding a position where it can shine—literally. The lightweight ceramic construction makes it compatible with various mounting methods, from secure drywall anchors to damage-free adhesive options for lighter applications.
Troubleshooting Common Mounting Challenges
Even with careful planning, hiccups happen. Here are solutions to the most frequent clock hanging tips seekers encounter:
Hollow Sounds Behind Tile: If drilling into tile produces an echo, you're facing hollow wall construction. Switch to toggle bolts that expand behind the surface, or consider adhesive mounting for lighter pieces.
Old Plaster Crumbling: Pre-drill with a small bit, then use molly bolts designed for plaster. Alternatively, adhesive strips specifically rated for textured surfaces can work for lighter decorative clocks.
The Anchor Spins Freely: You've likely stripped the drywall cavity. Remove it and move to a fresh location, or switch to a toggle bolt system that doesn't rely on tight friction fit.
Where to Hang Wall Clock in Living Room: Design Considerations
Beyond technical execution, thoughtful wall clock positioning transforms a functional object into an intentional design element. Scandinavian design philosophy emphasizes restraint, balance, and harmony with your environment.
Create a Visual Anchor: When arranging your living room, clocks often serve as the punctuation mark in a composition. Hang your Glansa Chrome Ceramic Wall Clock at the end of a gallery wall, or centered above a console table, to create visual rest points amid surrounding decor.
Consider Daily Routines: Position clocks where you'll actually use them. Kitchen-adjacent living spaces benefit from clock placement visible from both cooking and lounging areas. Reading nooks call for clocks positioned at seated eye level.
Balance Scale and Proportion: A small clock on a vast empty wall feels lost. A massive timepiece in a compact alcove overwhelms. Follow the rule of thirds mentally—your clock should occupy approximately one-third of the visual space available in its zone.

The Role of Wall Clocks in Scandinavian Interiors
In Scandinavian design, every object earns its place through both form and function. A clock isn't merely a time-telling device—it's an opportunity to introduce material warmth, sculptural interest, or visual rhythm to your walls.
Clean lines, natural materials, and muted palettes characterize Skonne's approach to timekeeping. When you mount a clock from our collection, you're not just installing hardware—you're curating an experience. The silent sweep of hands, the play of light on textured surfaces, the quiet confidence of well-made objects these are the details that elevate daily life.

Pairing Your Wall Clock with Complementary Lighting
The relationship between your how to hang a wall clock achievement and your lighting scheme deserves attention. A well-positioned clock should catch light beautifully without creating glare that makes time-reading difficult.
Consider how natural light moves through your space throughout the day. Position clocks where morning or afternoon light enhances their features without producing harsh reflections. For evening hours, ensure your ambient lighting provides sufficient illumination for easy reading.
Often, the most harmonious arrangements pair a wall clock with thoughtfully chosen pendant lighting. When you elevate your entire room's lighting design alongside your timepiece, you create cohesive, intentional spaces.
Thoughtful Timing & Lighting Pairings

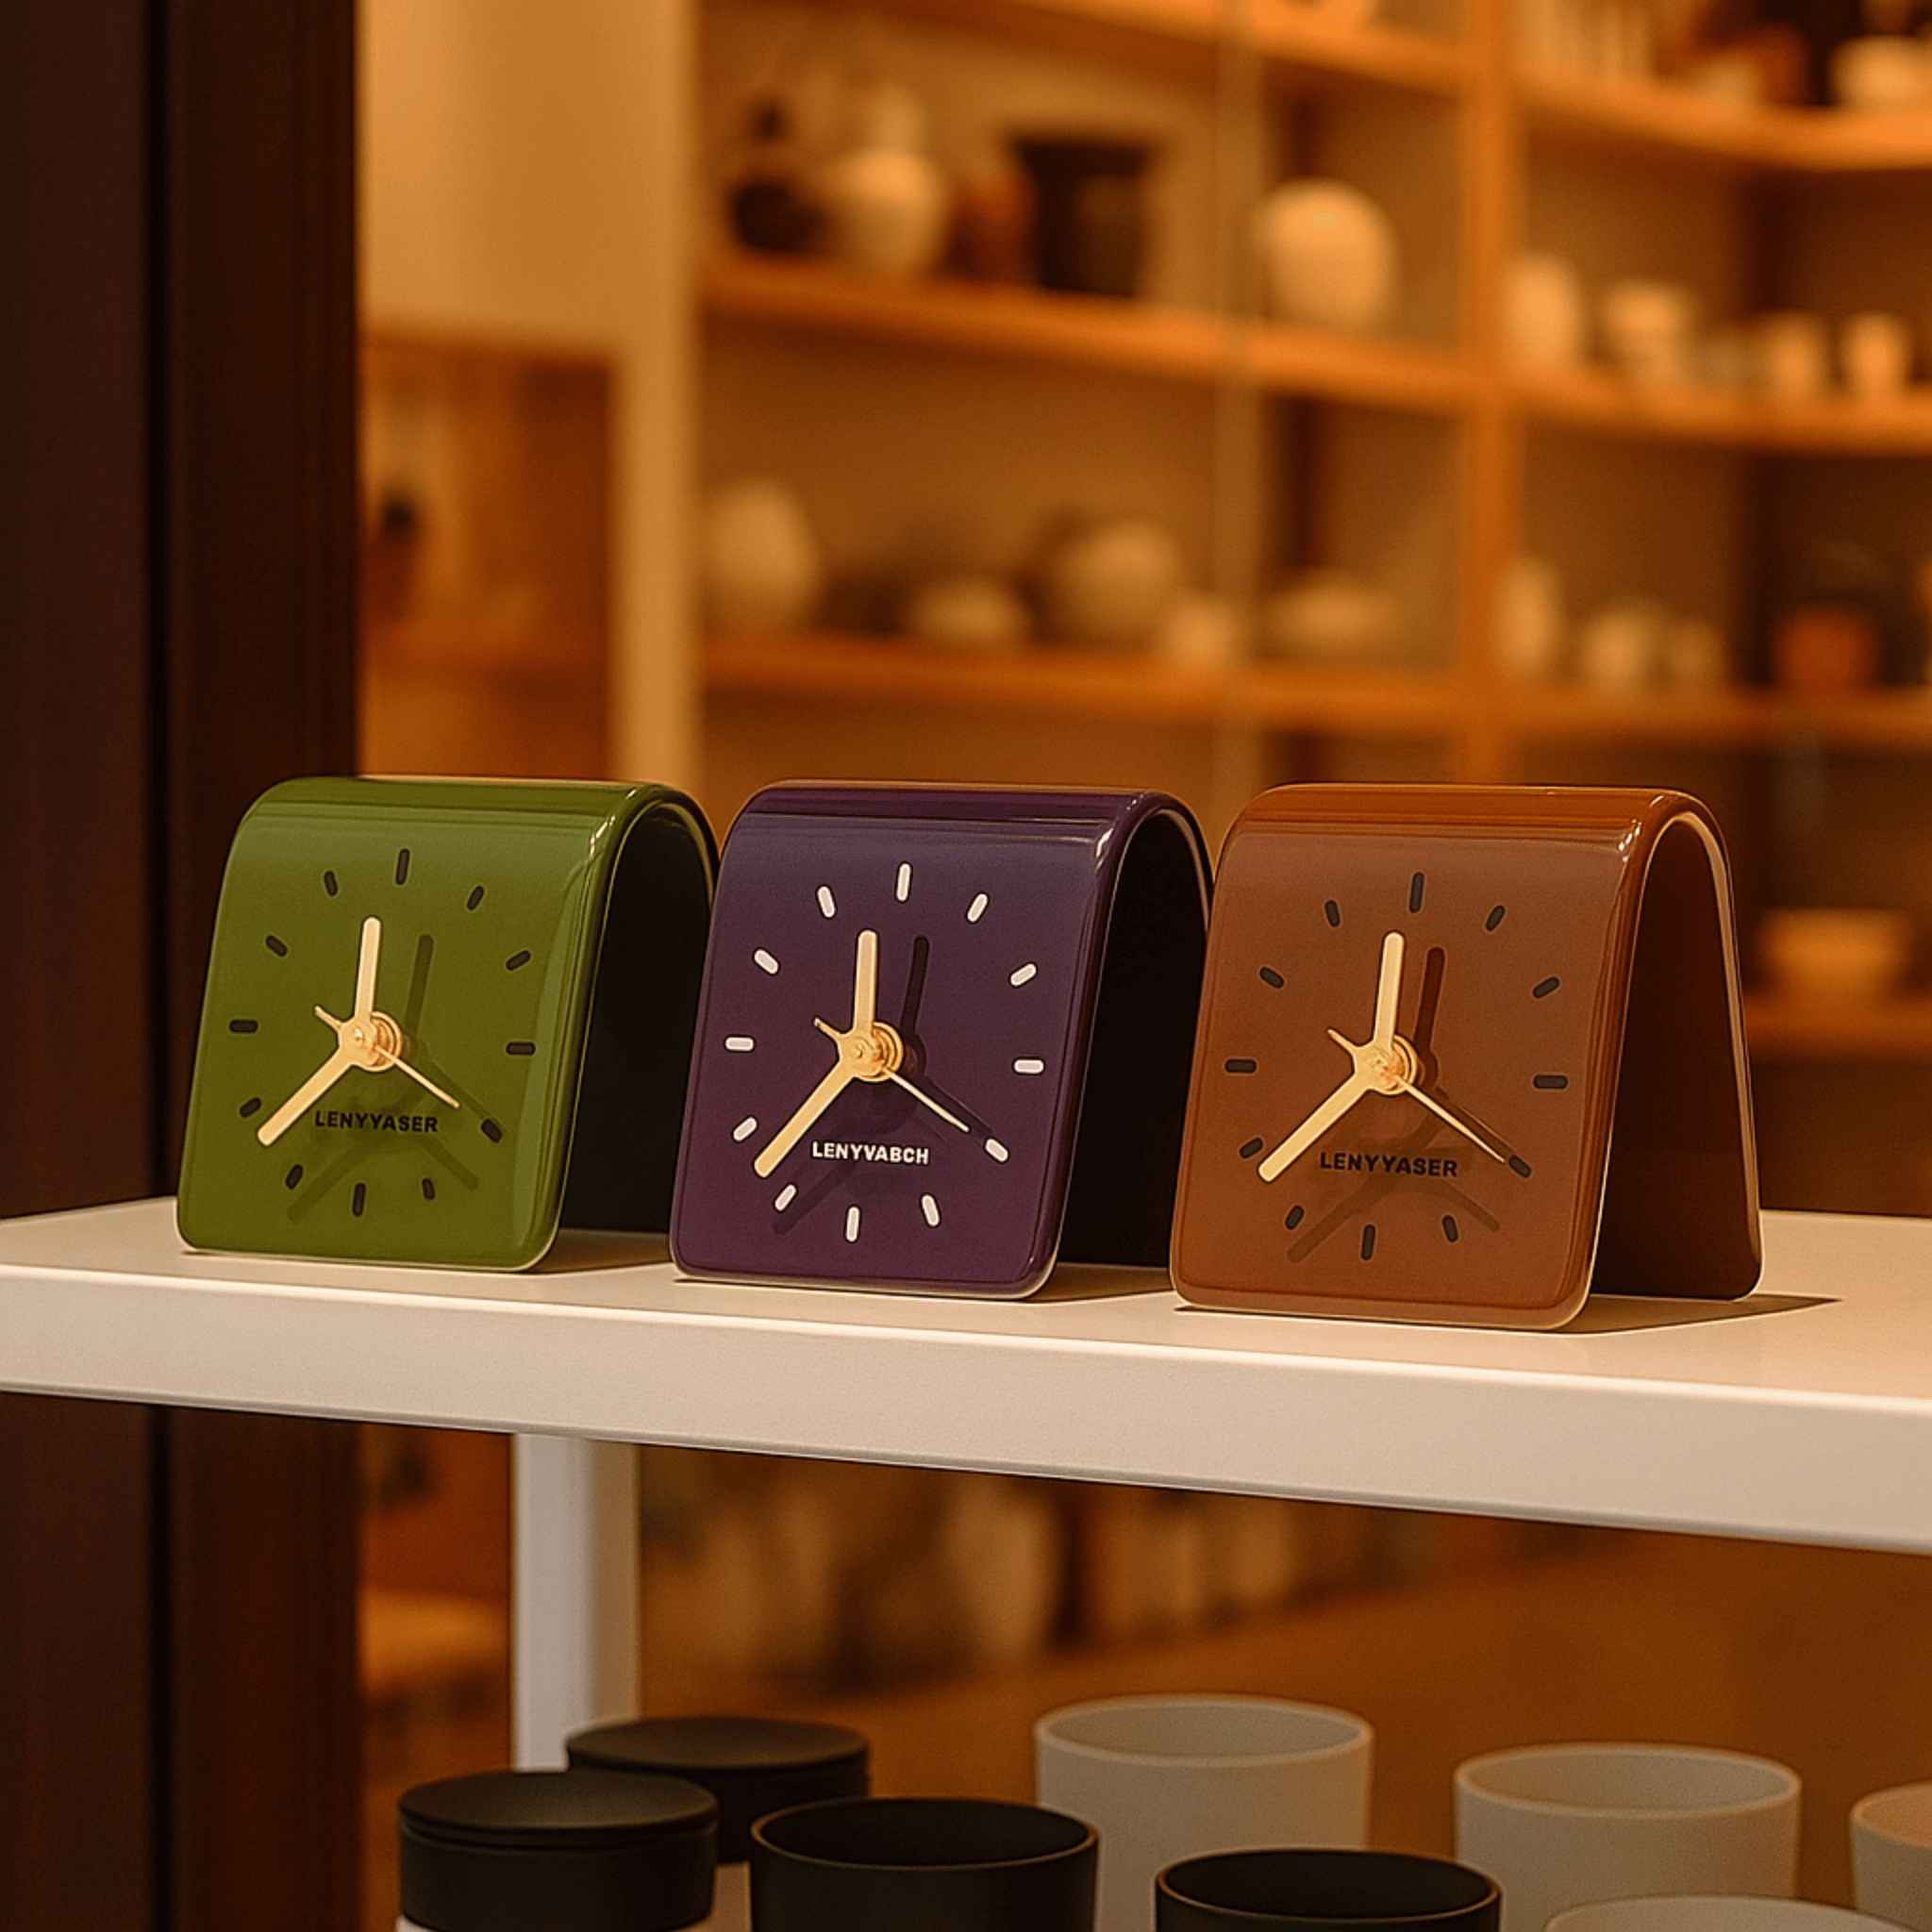
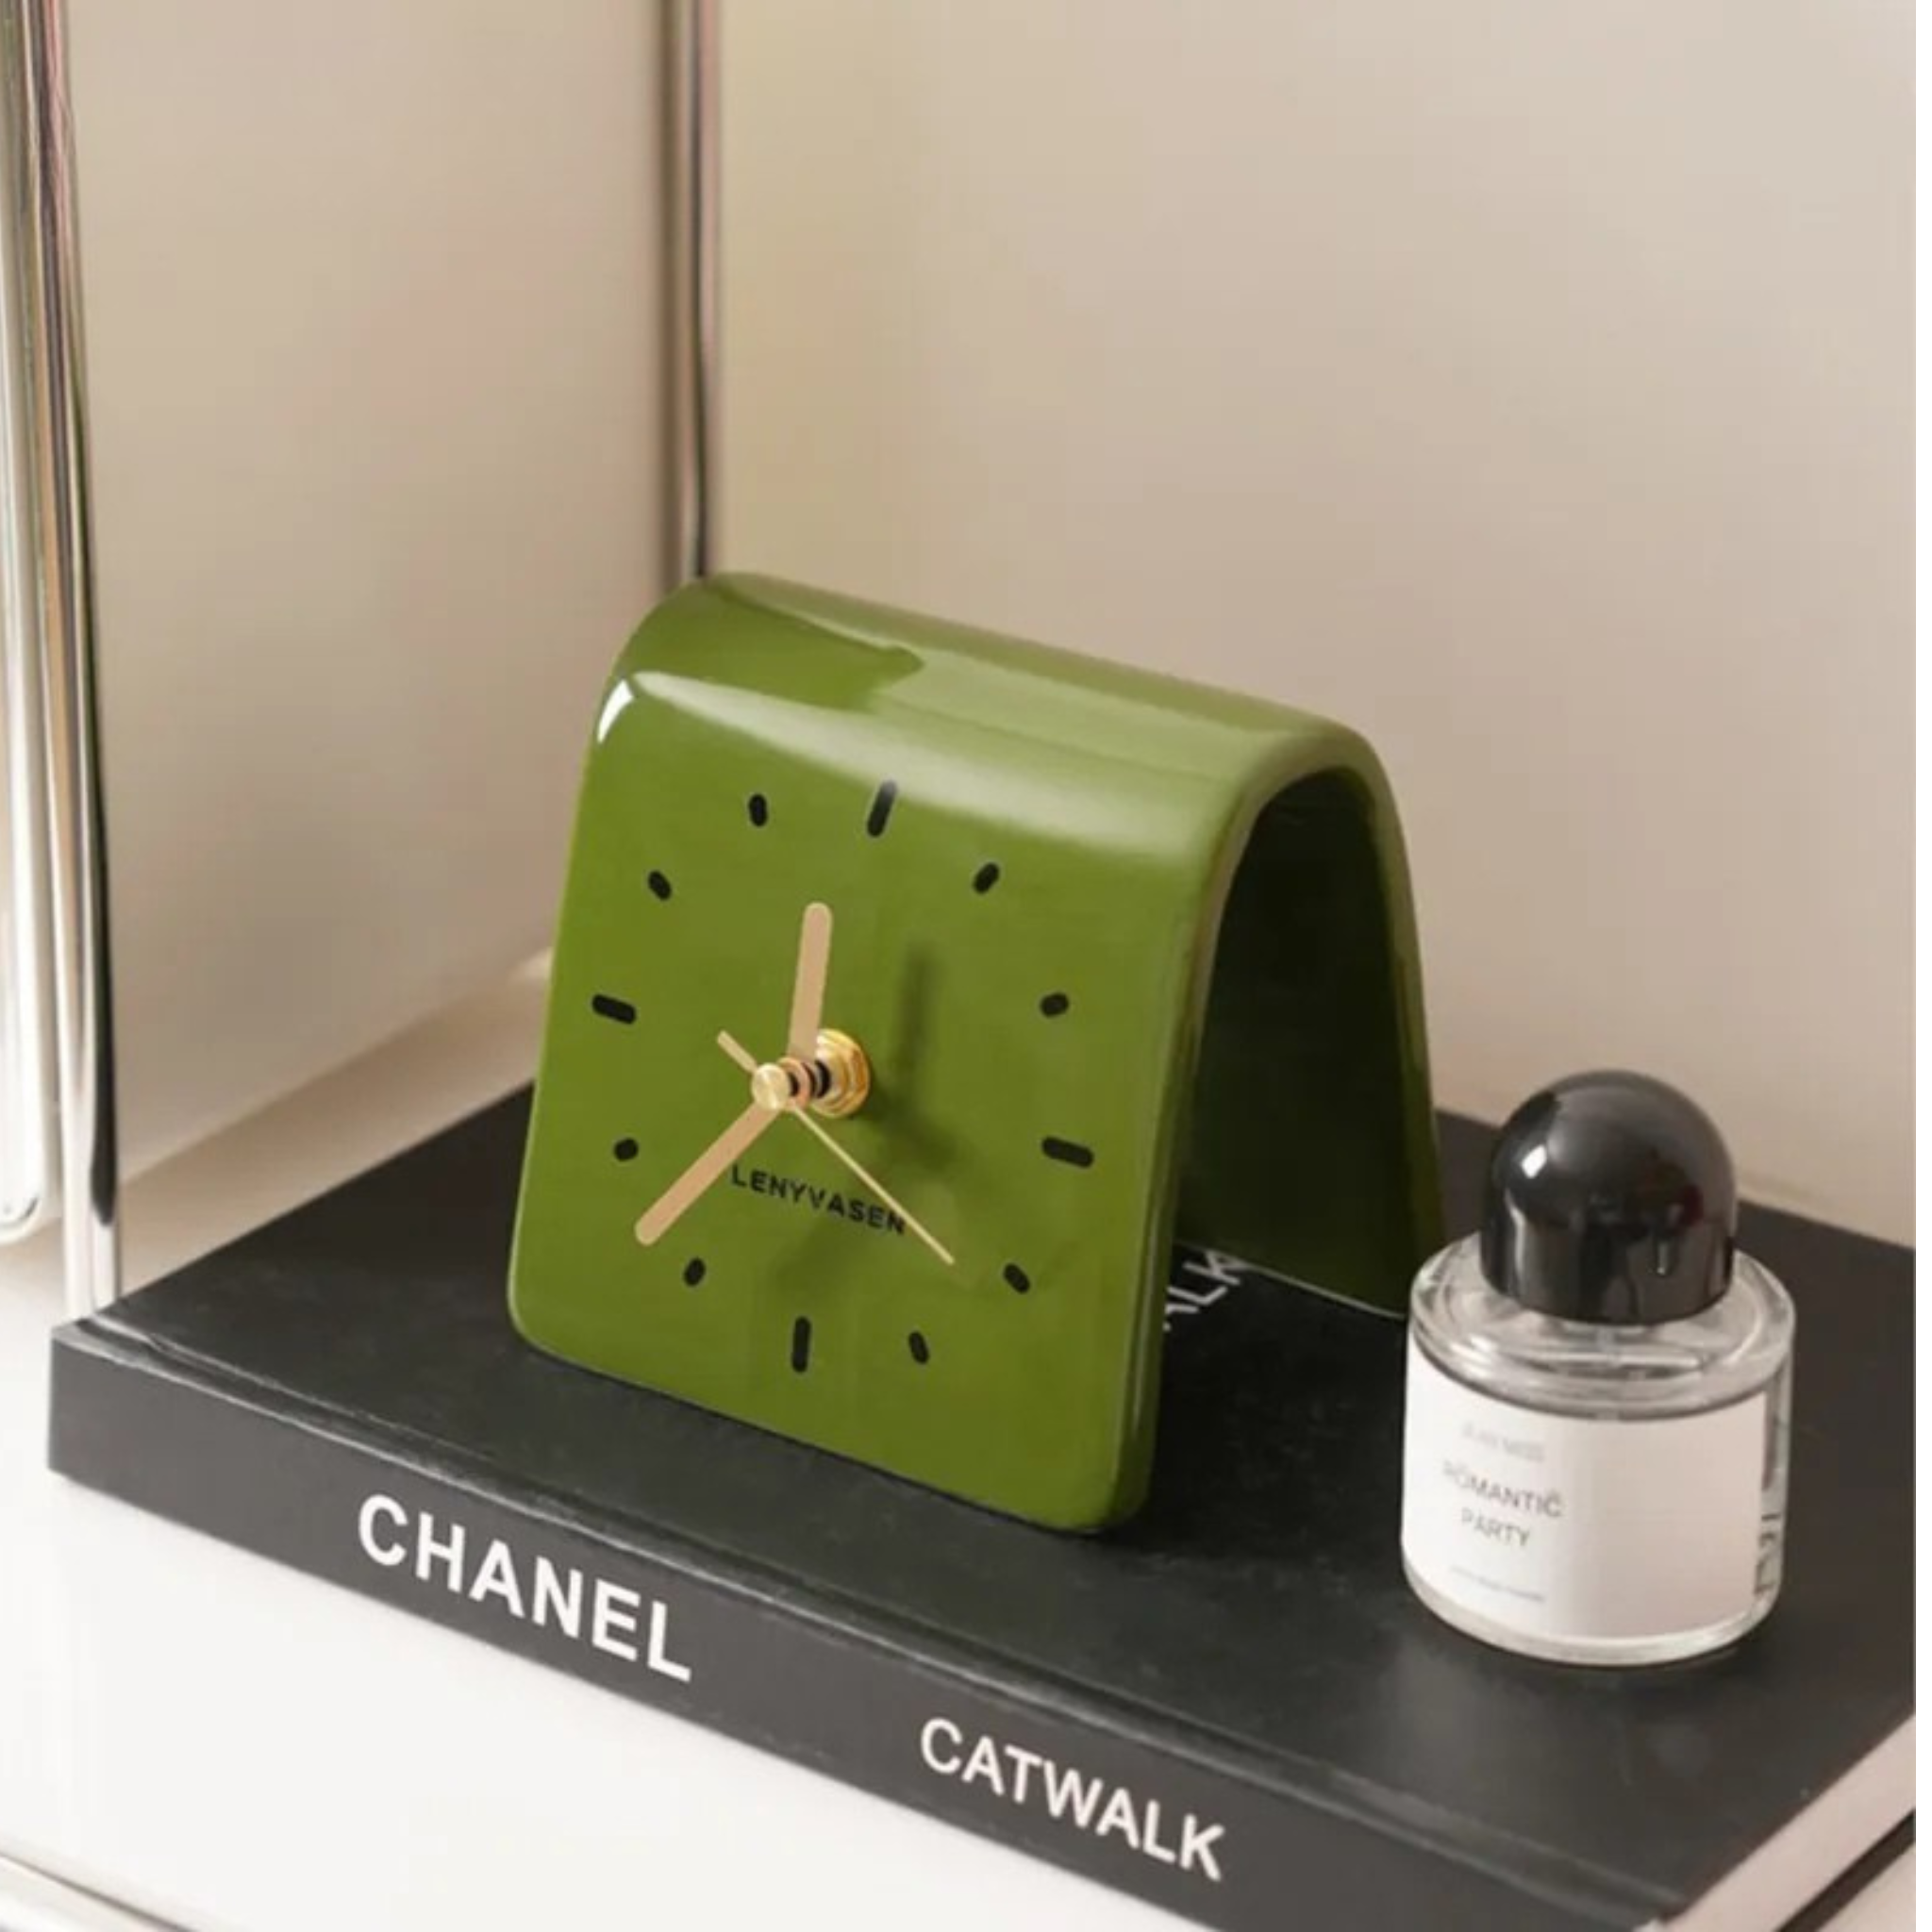
Tilje Silent Ceramic Desk Clock for Modern Homes
$89.00
$139.00
A compact ceramic clock for desks and nightstands. When you prefer tabletop timekeeping over wall mounting, this silent quartz clock brings Nordic calm to any surface. Learn more ➔

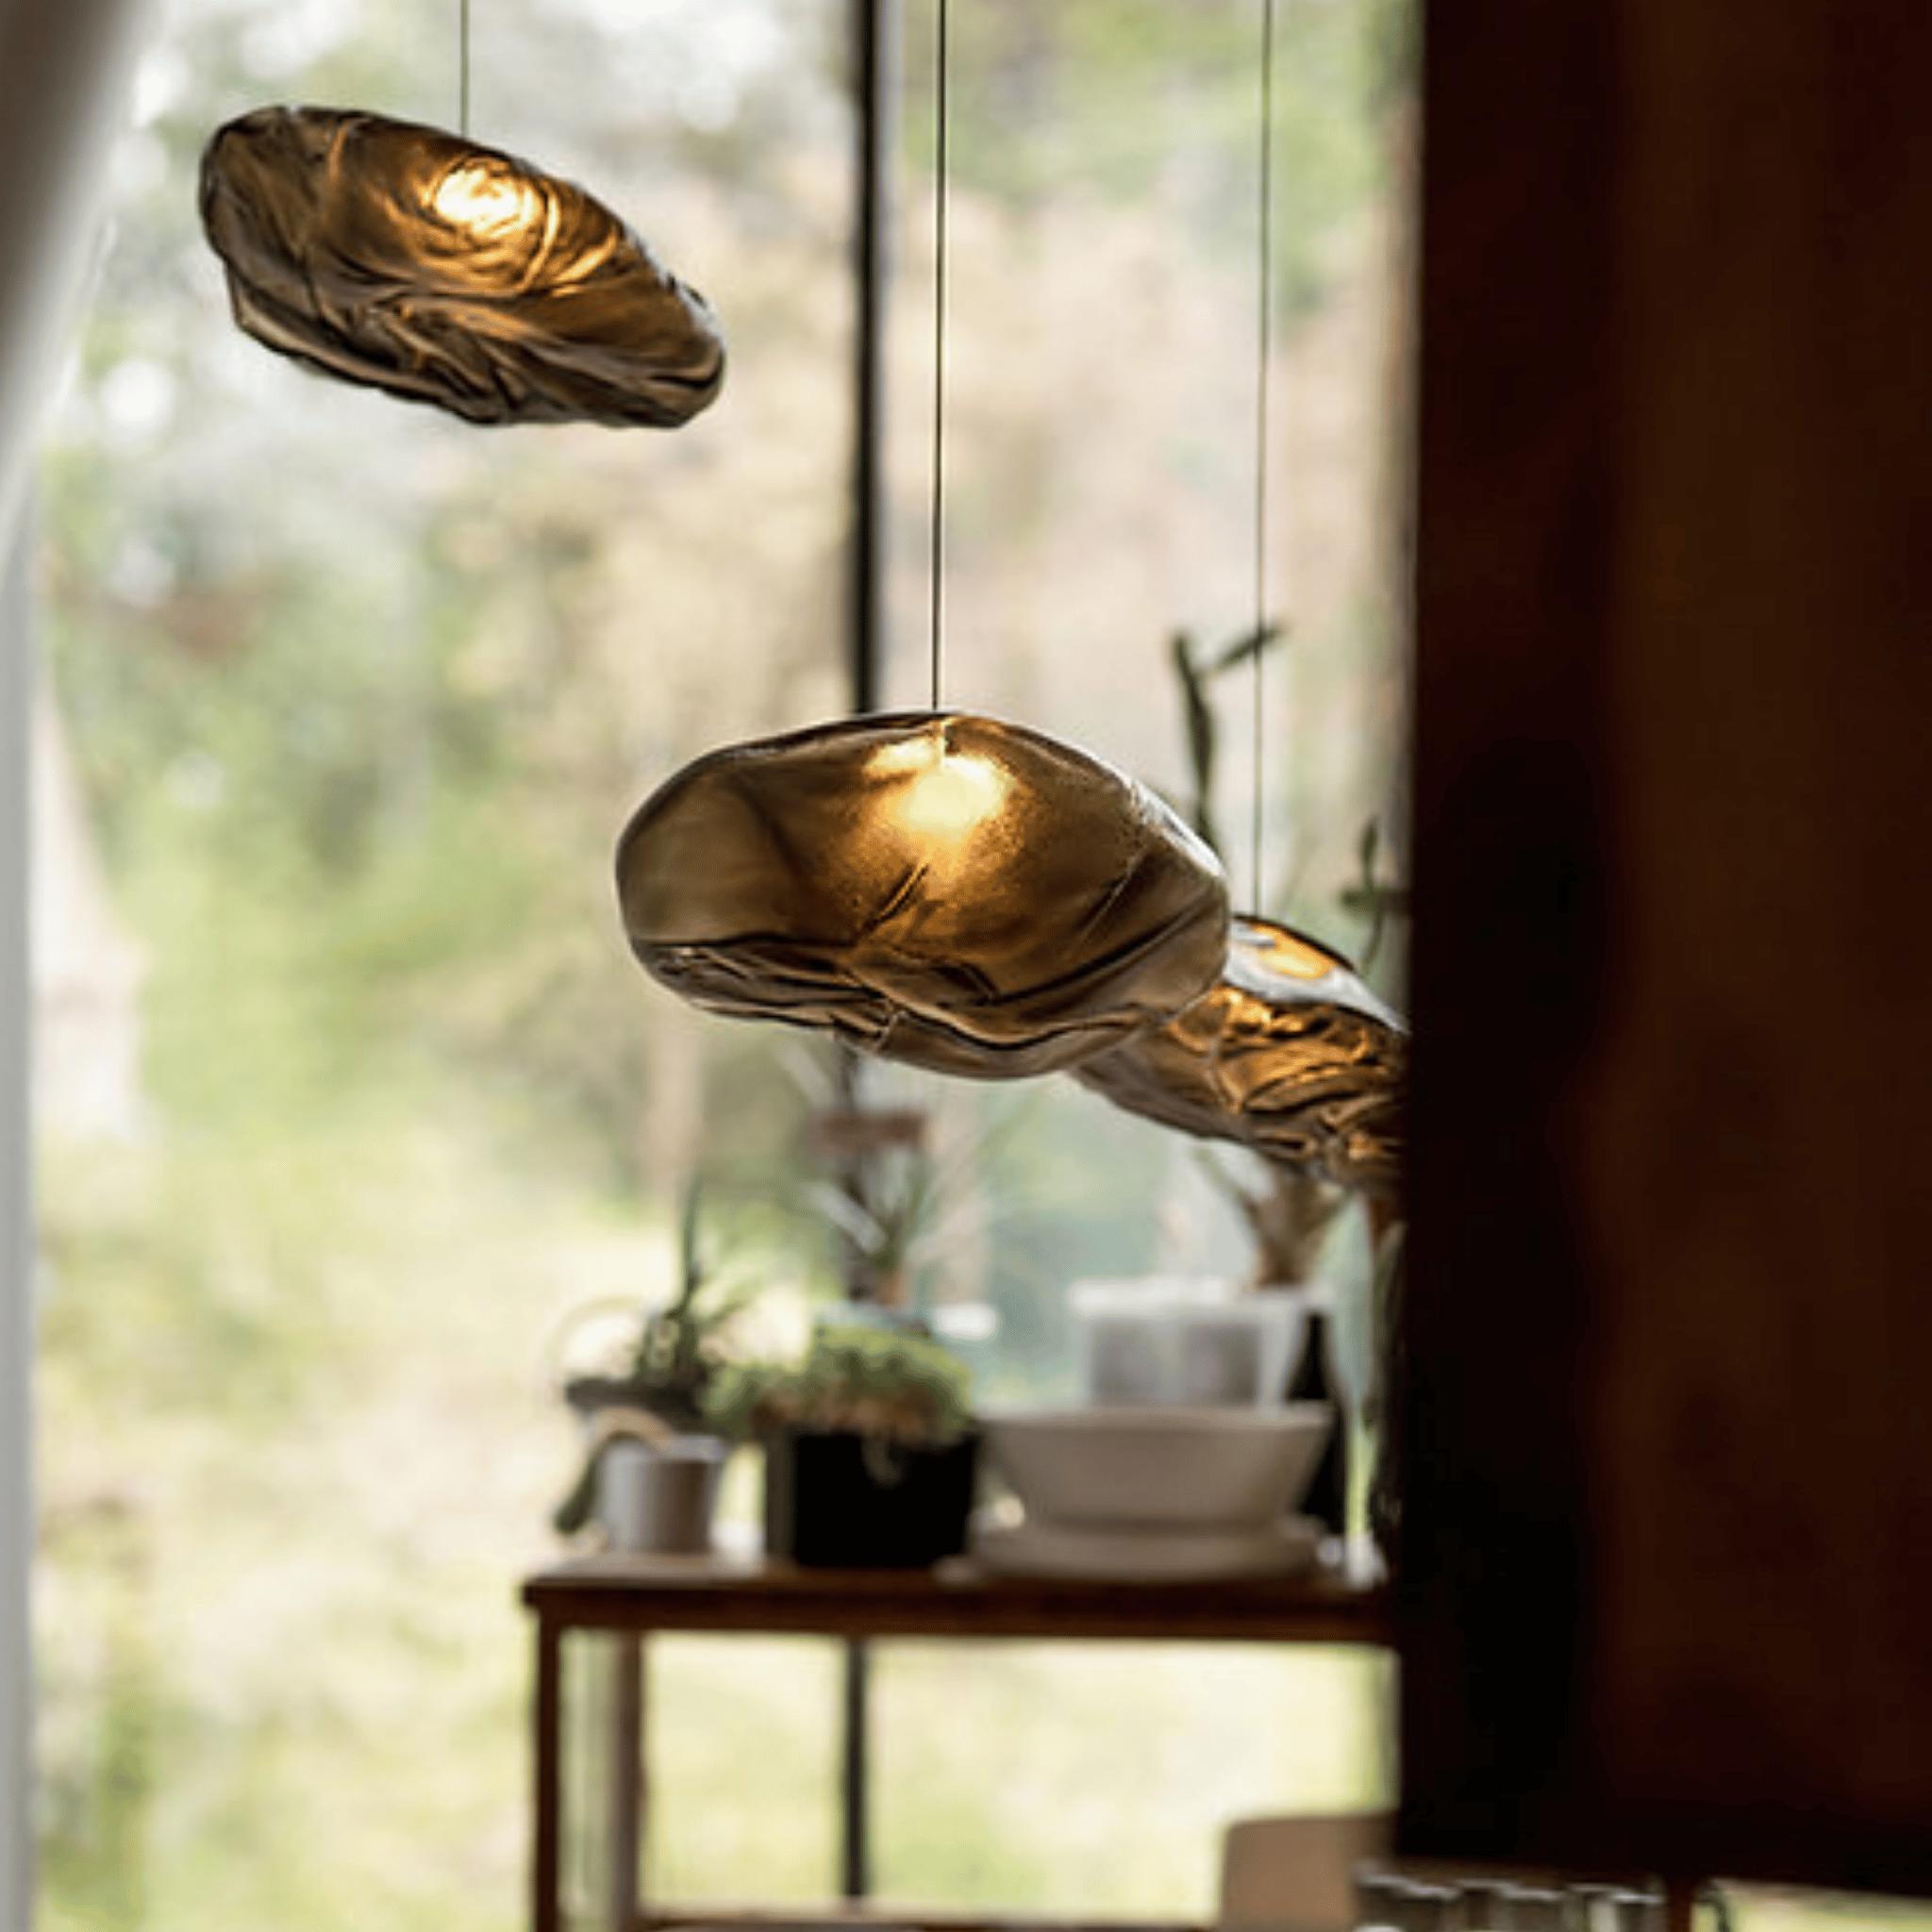
Driva Sculptural Cloud Pendant Light in Glass
$199.00
$289.00
Pair your newly hung wall clock with this hand-blown glass pendant. The adjustable cord and cloud silhouette create a harmonious wall-and-ceiling composition. Learn more ➔
Not every beautiful clock belongs on a wall. The Tilje Silent Ceramic Desk Clock for Modern Homes offers a compact alternative for those moments when mounting isn't practical. When you prefer tabletop timekeeping over wall mounting, this silent quartz clock brings Nordic calm to any surface—bedside tables, home office desks, or reading nooks all benefit from its quiet presence.
For those completing a room's design language, the Driva Sculptural Cloud Pendant Light in Glass pairs beautifully with wall-mounted timepieces. Pair your newly hung wall clock with this hand-blown glass pendant. The adjustable cord and cloud silhouette create a harmonious wall-and-ceiling composition, establishing rhythm and visual dialogue between your timepiece and lighting.
When Wall Mounting Isn't the Right Choice
Sometimes, the best clock decision is not mounting at all. Understanding when to choose alternative timekeeping methods is as valuable as knowing how to mount a wall clock itself.
Temporary Living Situations: If you're in a short-term rental or anticipate moving within a year, adhesive mounting or tabletop clocks eliminate the stress of patch-and-paint when you leave.
Heirloom Concerns: Extremely valuable or sentimental clocks sometimes fare better on protected surfaces than exposed walls, where temperature fluctuations and accidental bumps pose risks.
Severely Damaged Walls: Crumbling plaster, water damage, or compromised structural integrity in a wall means seeking professional restoration before installing any hardware—or choosing freestanding alternatives entirely.

Conclusion: Time to Create Your Wall-Mounted Statement
Mastering how to hang a wall clock transforms a practical task into a small act of curation. The crooked, timidly hung clocks of the past give way to confidently positioned timepieces that anchor your space and bring daily pleasure.
Whether you're securing a lightweight decorative piece with adhesive strips or anchoring a substantial heirloom with masonry bolts, the principles remain consistent: measure thoughtfully, choose hardware appropriate to both wall type and clock weight, and position with intention. Your walls deserve this level of care.
At Skonne, we believe the objects we live with should inspire quiet confidence. Our collection of Scandinavian-inspired wall clocks—from the luminous Glansa Chrome Ceramic Wall Clock to thoughtfully designed alternatives—awaits the perfect wall in your home. Pair them with our pendant lighting, complete your room's aesthetic with complementary decor, and discover how intentional design choices elevate everyday moments.
Your walls are ready. The only question now is: how will you tell time?
Frequently Asked Questions About Wall Clock Mounting
The best method depends on your wall type and clock weight. For most scenarios, mounting into a wall stud provides maximum security. When studs aren't available at your desired location, use appropriate drywall anchors rated for your clock's weight. Position the clock center at 57-60 inches from the floor for optimal viewing, and always use a level to ensure straight alignment.
Your hanging hardware options include picture hooks for lightweight clocks, screws into studs for medium weights, and drywall anchors or toggle bolts for heavier pieces or hollow wall mounting. For damage-free alternatives, use Command strips rated for your clock's weight, though these work best for clocks under 5 pounds. Always choose hardware rated for at least double your clock's actual weight for safety.
You need a drywall anchor if your clock will hang where studs aren't available and the clock weighs more than a few pounds. Clocks under 10 pounds can sometimes use small nails or adhesive strips, but anything heavier requires proper anchoring to prevent the clock from pulling out of the wall. Toggle bolts or heavy-duty self-drilling anchors provide the most secure hold for heavier timepieces.
Damage-free hanging strips such as Command products work for clocks under 5 pounds when the wall surface is smooth and properly prepared. Picture rail systems allow wire suspension without wall penetration. Alternatively, display your clock on a floating shelf, console table, or mantel—an increasingly popular approach in Scandinavian-inspired interiors where layered surfaces create visual interest.
Ideal living room placement positions the clock center at 57-60 inches from the floor. Above sofas, hang 8-12 inches above the furniture back. Choose a wall with clear sightlines from where you'll use the clock most—visible from seating areas but not competing with windows or major artwork. Avoid hanging directly opposite doors where frequent vibrations may affect timekeeping accuracy. Create 12-24 inches of breathing room around the clock for maximum visual impact.