
Cove Ceiling Lighting: How to Design & Install Indirect LED Cove Lights
Summary›
- What is Cove Ceiling Lighting?
- The Purpose and Benefits of Cove Ceiling Design
- Understanding Cove Ceiling Lighting Systems
- Design Principles for Stunning Cove Lighting
- How to Install LED Cove Lighting: A Step-by-Step Guide
- What Does Cove Lighting Look Like in Practice?
- Understanding the Drawbacks of Cove Ceiling Lighting
- Professional vs. DIY Cove Lighting Installation
- Creating Your Perfect Ambient Atmosphere
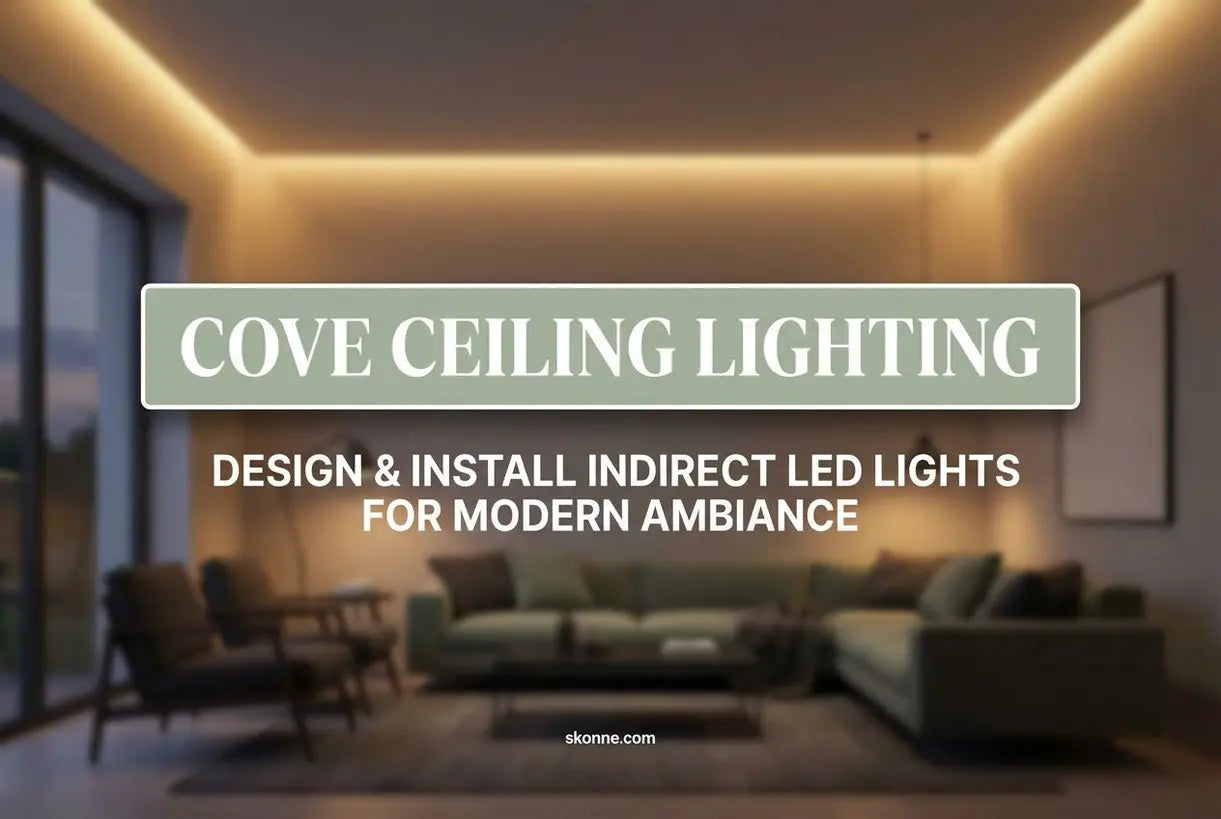
There's something almost magical about walking into a room where the light seems to float effortlessly from the ceiling itself. No harsh glare, no visible bulbs—just a gentle, ambient glow that transforms the entire atmosphere. This is the power of a well-designed light cove ceiling, a technique that has become increasingly popular among design-conscious homeowners seeking to create that coveted Scandinavian-inspired atmosphere in their own spaces.
At Skonne, we believe that lighting is more than just illumination—it's the foundation of a home's emotional landscape. Whether you're renovating your living room, updating a bedroom, or planning a complete home transformation, understanding how to design and install indirect LED cove lights opens up a world of possibilities. In this comprehensive guide, you'll discover everything from the fundamentals of cove ceiling design to practical installation advice that will help you achieve that warm, intentional glow you've been dreaming of.
What is Cove Ceiling Lighting?
A ceiling cove light is a form of architectural lighting that conceals light sources within a recessed ledge or cavity, creating a wash of indirect illumination that appears to emanate from the ceiling itself. Unlike traditional ceiling fixtures where light bulbs are visible, cove conceals LED strips or other light sources within a built-up architectural detail—typically where the wall meets the ceiling or within a recessed perimeter channel.
The concept dates back centuries, with some of the earliest examples found in classical architecture. Today, modern LED technology has made cove lighting more accessible and versatile than ever before. The light source remains hidden from direct view, bouncing off the ceiling surface to create a soft, diffused glow that eliminates harsh shadows and distributes illumination evenly throughout the space.
Cove lighting transforms the ceiling itself into a luminous surface, creating depth and visual interest while providing functional ambient illumination.
The Purpose and Benefits of Cove Ceiling Design
The primary purpose of a cove ceiling extends far beyond mere aesthetics, though its visual impact is undeniable. This lighting technique serves multiple functional roles that enhance both how a space looks and how it feels.
Layered Lighting Design: Cove lighting forms the foundation of a sophisticated layered lighting scheme. By providing soft, ambient illumination at the ceiling level, it creates a base layer that can be complemented with task lighting and accent fixtures. This approach allows you to adjust the mood throughout the day, from bright morning light to intimate evening ambiance.
Perception of Space: One of the most remarkable benefits is how cove lighting can visually expand a room. The illuminated perimeter creates the illusion of higher ceilings and greater openness. For those working with lower ceilings or smaller rooms, this technique can make spaces feel significantly larger and more airy.
Visual Comfort: By eliminating direct glare and hiding the light source from view, cove lighting reduces eye strain and creates a more comfortable environment for extended periods. This makes it particularly well-suited for living rooms, bedrooms, and dining areas where people spend significant time.
For homeowners exploring complementary lighting options, our Living Room Lighting collection offers curated pieces designed to work harmoniously with indirect cove systems.
Mounted Ceiling Lights
Shop all Ceiling Lights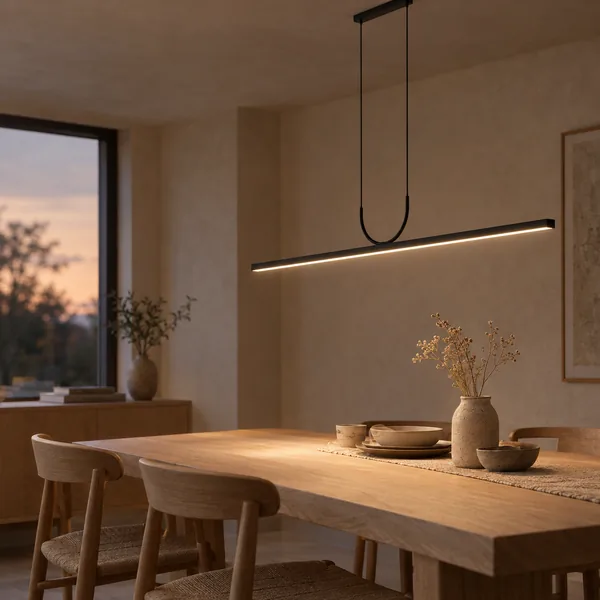

Understanding Cove Ceiling Lighting Systems
Modern cove lighting design encompasses several system types, each suited to different ceiling configurations and design goals. Understanding these options helps you choose the right approach for your specific project.
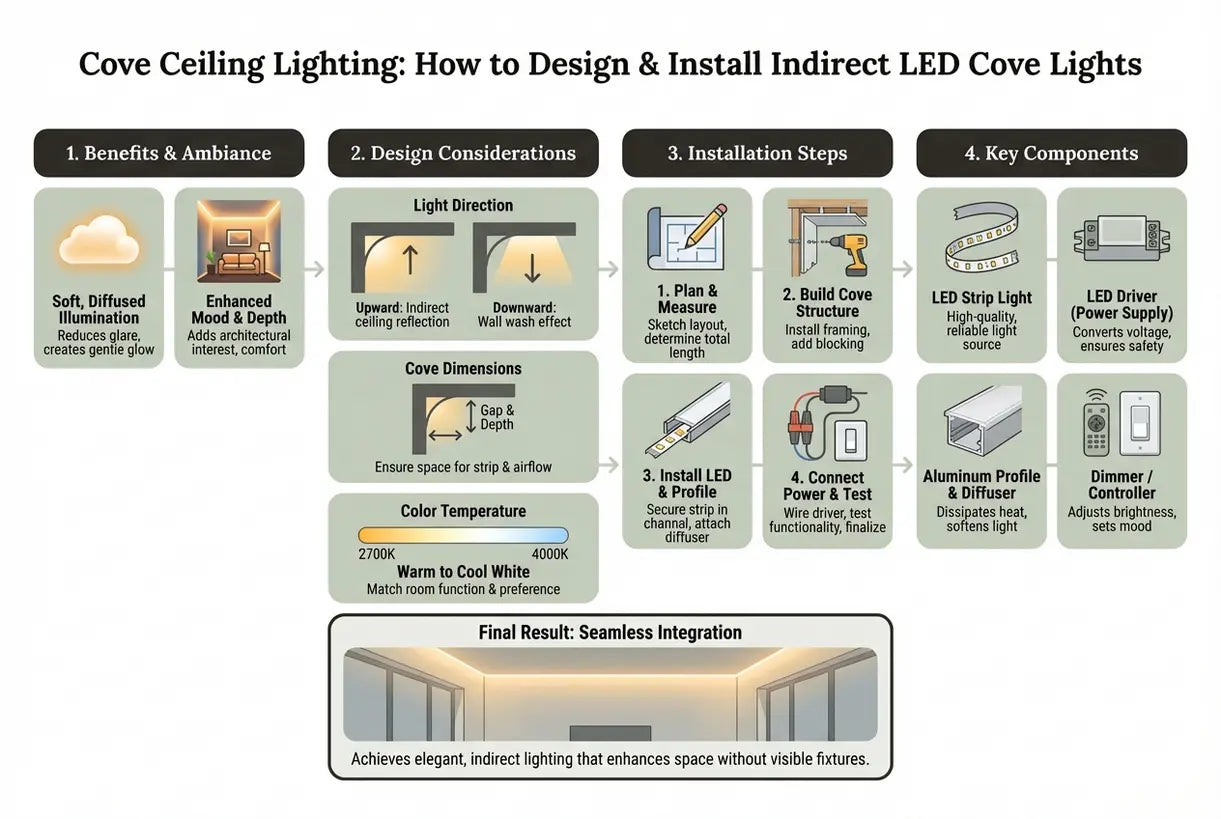
Perimeter Cove Systems: The most common configuration features LED strips installed along the perimeter of the ceiling, where it meets the walls. This creates a floating ceiling effect with light washing upward and outward. It's the classic choice for most residential applications and works beautifully in both modern and transitional spaces.
Recessed Channel Cove: For a more integrated look, aluminum cove profiles can be recessed directly into drywall or ceiling materials. These specialized channels house the LED strips while providing a clean, architectural edge. The aluminum acts as a heat sink for the LEDs while also directing light for optimal distribution.
False Ceiling Cove: In rooms with existing high ceilings, a false ceiling can be constructed specifically to incorporate cove lighting. This approach allows for more dramatic lighting effects, including tiered or stepped ceiling designs with multiple cove levels.
Wall-Mounted Cove: Similar in concept but mounted lower on the wall, these systems create a wash of light on the ceiling from below. They're often used in combination with perimeter cove for enhanced illumination and visual interest.
Design Principles for Stunning Cove Lighting
Achieving that perfect cove ceiling lighting effect requires attention to several key design principles. These guidelines help ensure your installation delivers both the aesthetic impact and functional performance you're seeking.
Color Temperature Selection: The warmth or coolness of your light dramatically affects the room's atmosphere. For that authentic Scandinavian hygge feeling, warm white LEDs (2700K-3000K) are most appropriate. They create the cozy, inviting ambiance that makes spaces feel like true sanctuaries. Cooler temperatures (4000K+) work better in kitchens and bathrooms but can feel harsh in living areas.
LED Strip Density: The spacing between individual LEDs on a strip affects how smooth and even the light appears. Higher density strips (more LEDs per meter) produce a continuous glow without visible hotspots. For cove applications, look for strips with at least 60 LEDs per meter, though 120 LEDs per meter or higher provides optimal results for shallow coves.
Distance from Ceiling Surface: The gap between the LED strip and the surface receiving light determines how bright and even the wash appears. Generally, 6-12 inches provides optimal light distribution, though this varies with ceiling height and desired intensity. Testing before final installation is always recommended.
The video above demonstrates a real-world implementation of cove lighting in an apartment setting, showing how achievable this technique is even for DIY enthusiasts with careful planning.
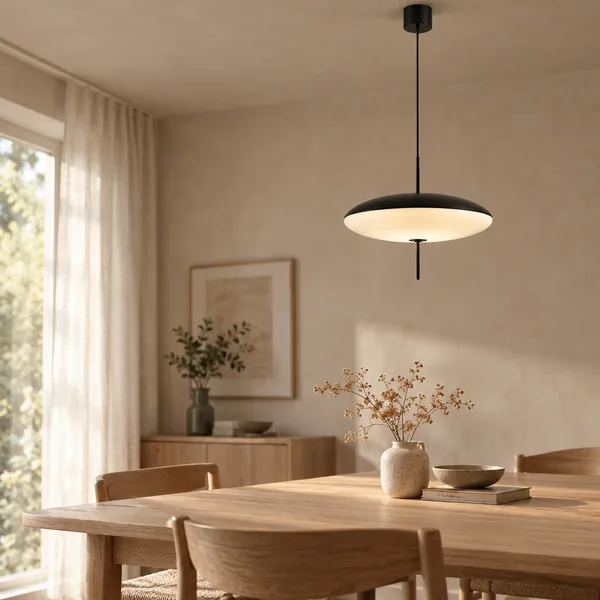 Skiva Saucer Nordic LED Pendant Ceiling Light$179.00$219.00
The Skiva Saucer Nordic LED Pendant Ceiling Light exemplifies how a sculptural pendant can complement your cove ceiling system. Its soft, diffused LED glow and minimalist floating design work beautifully alongside indirect lighting, adding architectural interest while maintaining the layered ambient lighting scheme that makes spaces feel thoughtfully designed.
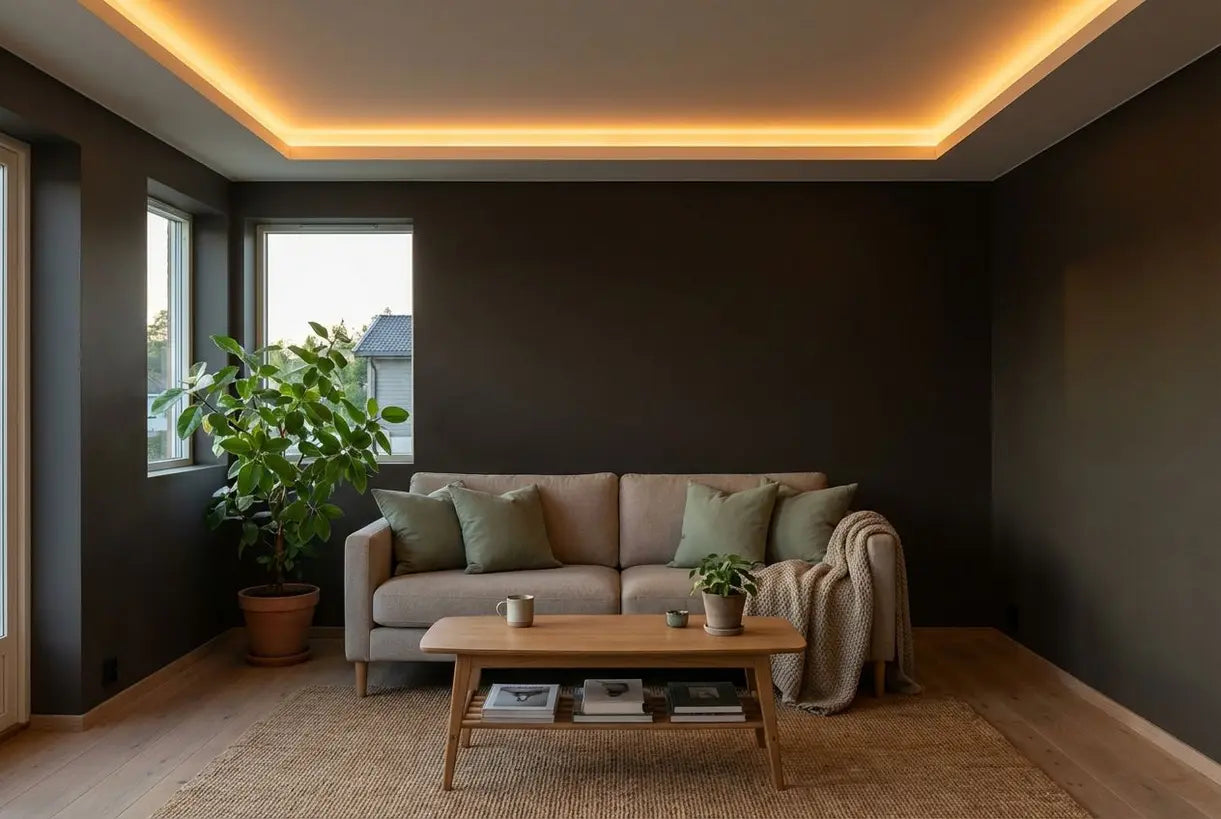
This Scandinavian-inspired living room demonstrates the transformative power of indirect cove ceiling lighting. Notice how the warm glow creates that signature hygge atmosphere—inviting, comfortable, and endlessly appealing.
How to Install LED Cove Lighting: A Step-by-Step Guide
Installing LED cove ceiling systems can be approached as either a DIY project or professional installation, depending on your comfort level with electrical work and the complexity of your ceiling configuration. Here's what you need to know to plan your project.
Planning and Measurement: Begin by carefully measuring your ceiling perimeter and determining where the cove structure will be installed. Consider existing crown molding—will you incorporate it or replace it? Draw a lighting plan showing where LED strips will run, noting any corners or transitions where connections are needed.
Preparing the Power Source: Locate a suitable power source, typically at one of the corners where the cove begins. You'll need access to a junction box or outlet that can handle the wattage of your LED strips. All electrical connections should be made before installing finishes.
Installing LED Strips: LED strips typically come with adhesive backing, but for cove applications, additional mounting clips or aluminum channels provide more secure attachment. Lay out your strips, cutting only at designated cut points. Use approved connectors at corners rather than bending strips, which can damage them.
Dimmable Controls: We strongly recommend installing dimmer switches for your cove lighting. Being able to adjust brightness allows you to create different moods throughout the day and prevents the lighting from feeling too bright during evening hours. Look for LED-compatible dimmers rated for the total wattage of your installation.
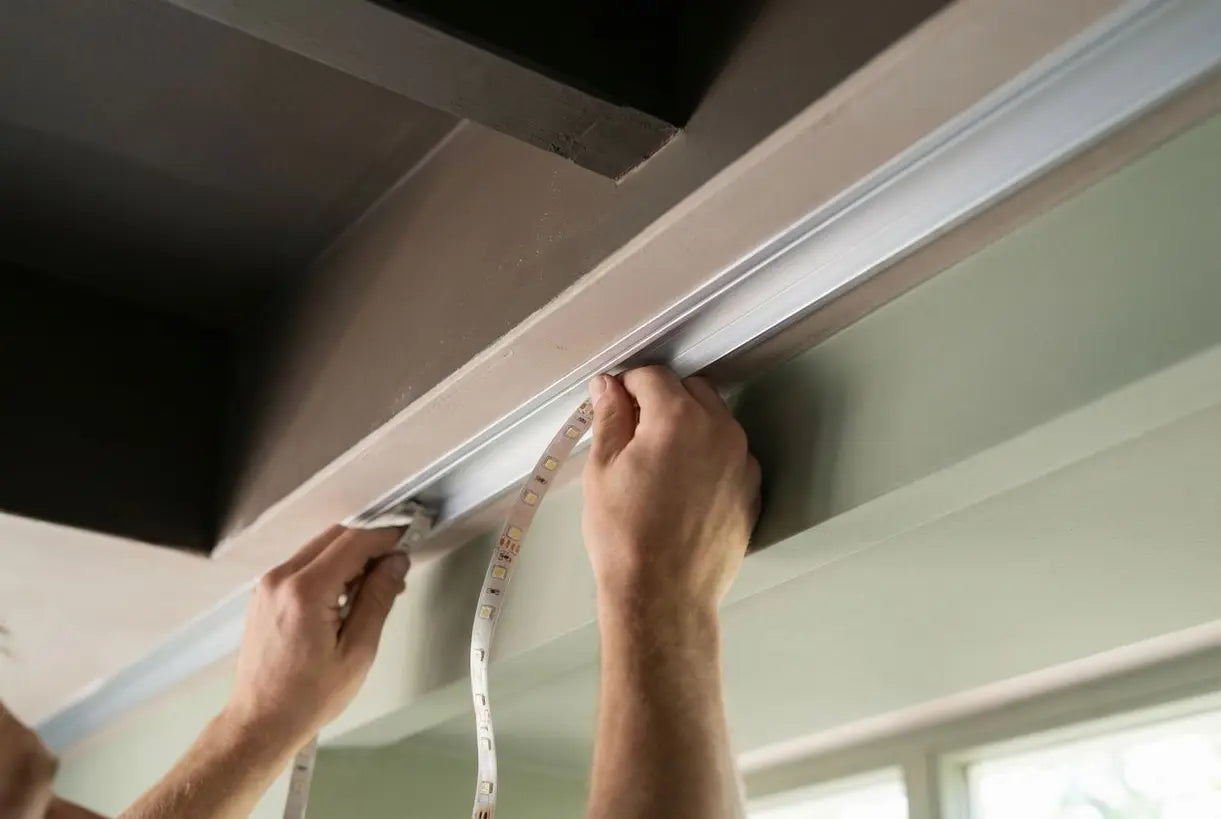
The close-up above shows the precision required for a professional-looking installation. Take time to ensure strips are straight and securely attached—the effort pays dividends in the final appearance.
Complementary Ceiling Fixtures for Layered Lighting
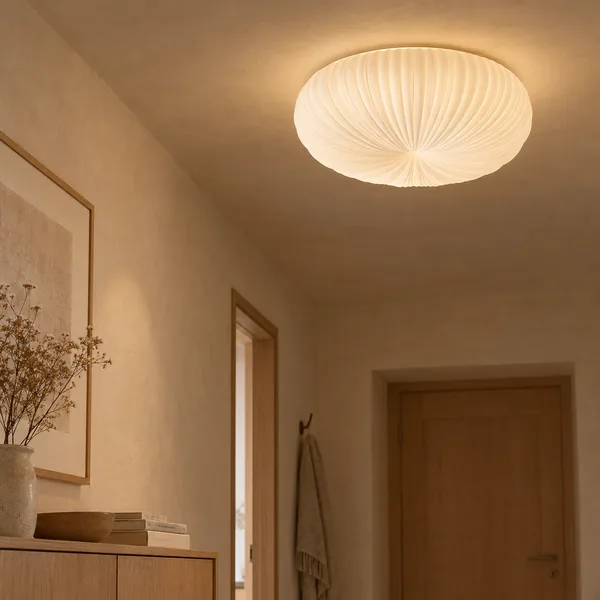 Kupa Cream Sculptural Flush Mount Ceiling Light$295.00$389.00
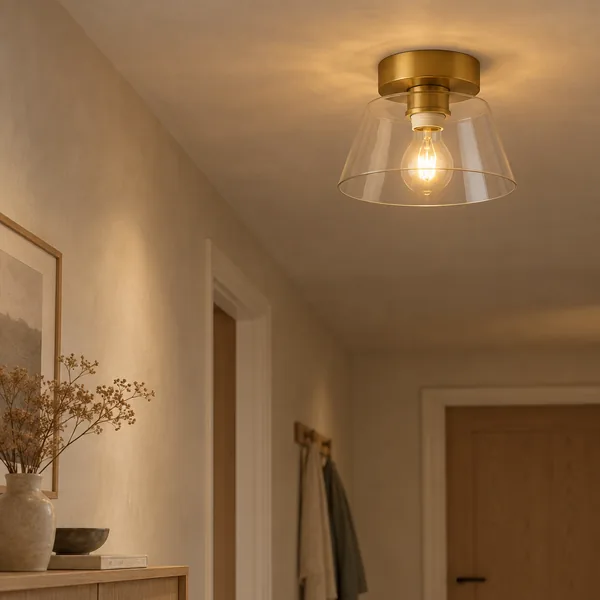 Klara Nordic Glass Ceiling Light for Interiors$109.00$169.00
For a complete layered lighting scheme, consider how your central fixtures work with your cove system. The Kupa Cream Sculptural Flush Mount Ceiling Light delivers warm, tricolor-adjustable ambient light that harmonizes beautifully with indirect cove ceiling systems. Its sculptural form provides visual interest while its adjustable light complements the soft glow of wall-wash cove lighting.
Similarly, the Klara Nordic Glass Ceiling Light casts soft, even ambient lighting through its clear glass shade, making it ideal for pairing with cove ceiling systems to create inviting, diffused illumination throughout any room.
Chandeliers
Shop all Chandeliers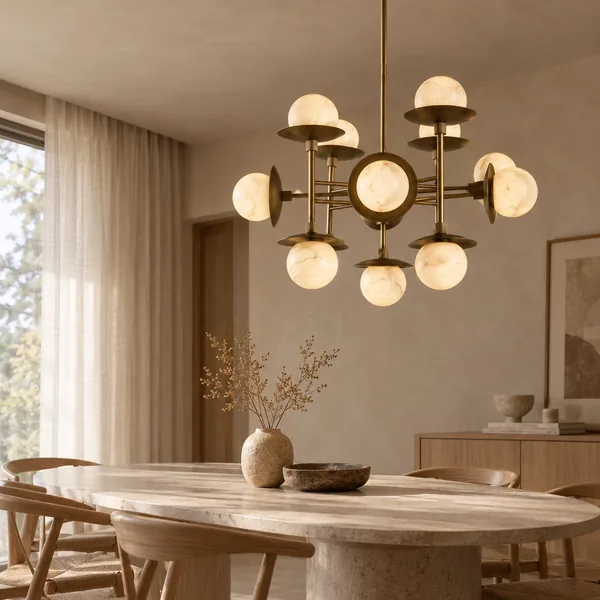
What Does Cove Lighting Look Like in Practice?
If you've never seen an actual cove ceiling installation, understanding what cove light looks like might seem abstract. In practice, the effect varies based on several factors including ceiling height, surface color, and LED specifications.
In rooms with white or light-colored ceilings, cove lighting appears as a luminous halo around the room's perimeter. The effect is subtle during daylight hours but becomes increasingly dramatic as evening approaches. The light appears to float rather than emanate from a specific point, creating that coveted architectural feel that design magazines feature.
The exact appearance also depends on the cove depth and the reflective properties of your ceiling surface. Matte finishes diffuse light more evenly, while semi-gloss or glossy ceilings create a more dramatic brightness. In spaces with colored ceilings, the cove effect takes on those hues, offering interesting design possibilities for adventurous decorators.
Professional lighting designers often describe cove lighting as "light without a source"—illumination that transforms everything it touches without revealing exactly where it's coming from.
Understanding the Drawbacks of Cove Ceiling Lighting
An honest assessment of cove lighting drawbacks helps you make an informed decision. While the benefits are significant, there are considerations to keep in mind before committing to this design approach.
Installation Complexity: Retrofitting cove lighting into existing ceilings is significantly more challenging than integrating it during new construction or major renovation. Existing crown molding, limited ceiling height, and access to electrical infrastructure can all complicate installation.
Maintenance Considerations: When LED strips eventually reach the end of their lifespan (typically 15-25 years), accessing them requires carefully removing cove trim pieces. Quality planning during installation—using accessible mounting methods and documenting layout—makes future maintenance much easier.
Upfront Investment: Professional cove lighting installation typically costs more than standard ceiling fixtures due to the labor involved in construction, electrical work, and finish carpentry. However, many homeowners find the aesthetic and functional benefits justify the additional expense.
Limited Task Lighting: Cove lighting provides beautiful ambient illumination but is insufficient for tasks requiring focused light. You'll need to supplement with additional fixtures for reading, cooking, and other detailed activities—though this is actually a feature of good layered lighting design rather than a true drawback.
Professional vs. DIY Cove Lighting Installation
Deciding whether to tackle your light cove ceiling project yourself depends on several factors. Simple surface-mounted aluminum cove profiles can be DIY-friendly for those comfortable with basic electrical work. However, integrated cove systems that require drywall modification or electrical rewiring are best left to professionals.
Hiring an electrician and carpenter experienced in cove lighting ensures code compliance, proper LED selection and installation, and clean finish work. The investment in professional service often pays off in longevity, performance, and appearance.
If you choose the DIY route, work cautiously with electrical connections and consider having your work inspected by a licensed electrician before closing up walls. Safety should always be the priority when working with electrical systems.
Creating Your Perfect Ambient Atmosphere
The journey to achieving that magazine-worthy Scandinavian ambiance through indirect LED cove lights combines technical knowledge with design sensibility. By understanding the principles outlined in this guide—from system selection to installation techniques—you're now equipped to make informed decisions about incorporating cove ceiling lighting into your home.
Remember that lighting is deeply personal. The perfect cove configuration for your space depends on your room's dimensions, your furniture layout, and most importantly, how you want your home to feel. Take time to visit showrooms, test different color temperatures, and visualize the effect in your actual space before committing.
At Skonne, we're passionate about helping you create spaces that feel intentional, elevated, and authentically yours. Whether you're starting a major renovation or simply exploring cove ceiling ideas for a future project, our curated collection of Scandinavian-inspired lighting offers the perfect companions to your cove ceiling system. From pendants that provide decorative focal points to flush mounts that complete your layered scheme, every piece is selected with the hygge philosophy in mind.
Ready to transform your ceiling into a luminous work of art? Explore our thoughtfully curated lighting collections and discover how Skonne can help you achieve that perfect balance of form and function in your home.
Related Article
Recessed Ceiling Light Fixtures: How to Choose & Use Can Lights in Your HomeLearn how to choose and install recessed ceiling light fixtures for any room. Expert tips on spacing, bulbs, and creating perfect ambient lighting.