There's something deeply satisfying about the warm glow of overhead lighting that you've installed with your own hands. A DIY ceiling lamp project isn't just about saving money on installation—it's about crafting a fixture that reflects your personal aesthetic while bringing that signature Scandinavian hygge feeling into your home. Whether you're a renter looking to upgrade a dated fixture or a homeowner ready to tackle your first electrical project, creating custom overhead lighting allows you to curate exactly the ambiance you envision.
In this guide, we'll walk through everything you need to know about installing, wiring, and customizing your own ceiling lamp. From understanding basic electrical connections to selecting the perfect height for your Scandinavian-inspired pendant, you'll discover how approachable this project can be with the right preparation and quality components.
Understanding DIY Ceiling Lamp Basics
Before diving into your ceiling pendant DIY project, it's essential to understand what makes a successful installation. Most ceiling lamps fall into two categories: those requiring hardwiring into your home's electrical system, and plug-in options that connect to existing outlets. For permanent, hardwired installations, you'll need to work with your junction box—the metal housing in your ceiling where electrical connections are made.
Safety should always be your first priority. Any DIY overhead lighting project requires that you turn off power at the circuit breaker before beginning work. Test with a voltage tester to confirm no electricity is flowing before touching any wires. If your home lacks a ground wire or you're uncomfortable with electrical work, consulting a professional is the wisest choice.
Essential tools for most ceiling lamp installations include:
- Wire strippers and wire nuts
- Voltage tester (non-contact)
- Screwdriver set (flathead and Phillips)
- Wire cutters
- Electrical tape
- Ladder or step stool
Planning Your DIY Ceiling Lamp Installation
Successful projects begin with thoughtful planning. Start by assessing your space and determining whether your existing junction box can support the weight of your chosen fixture. Standard boxes typically support up to 50 pounds, but heavier chandeliers or custom installations may require a fan-rated box.
Choosing the right size ceiling lamp for your room involves more than personal preference. As a general guideline, add your room's length and width in feet—this sum, in inches, suggests an appropriate fixture diameter. For example, a 12-by-14-foot room would accommodate a 26-inch diameter fixture. For pendant lights over dining tables or kitchen islands, position the light 28-34 inches above the surface for optimal illumination and visual balance.
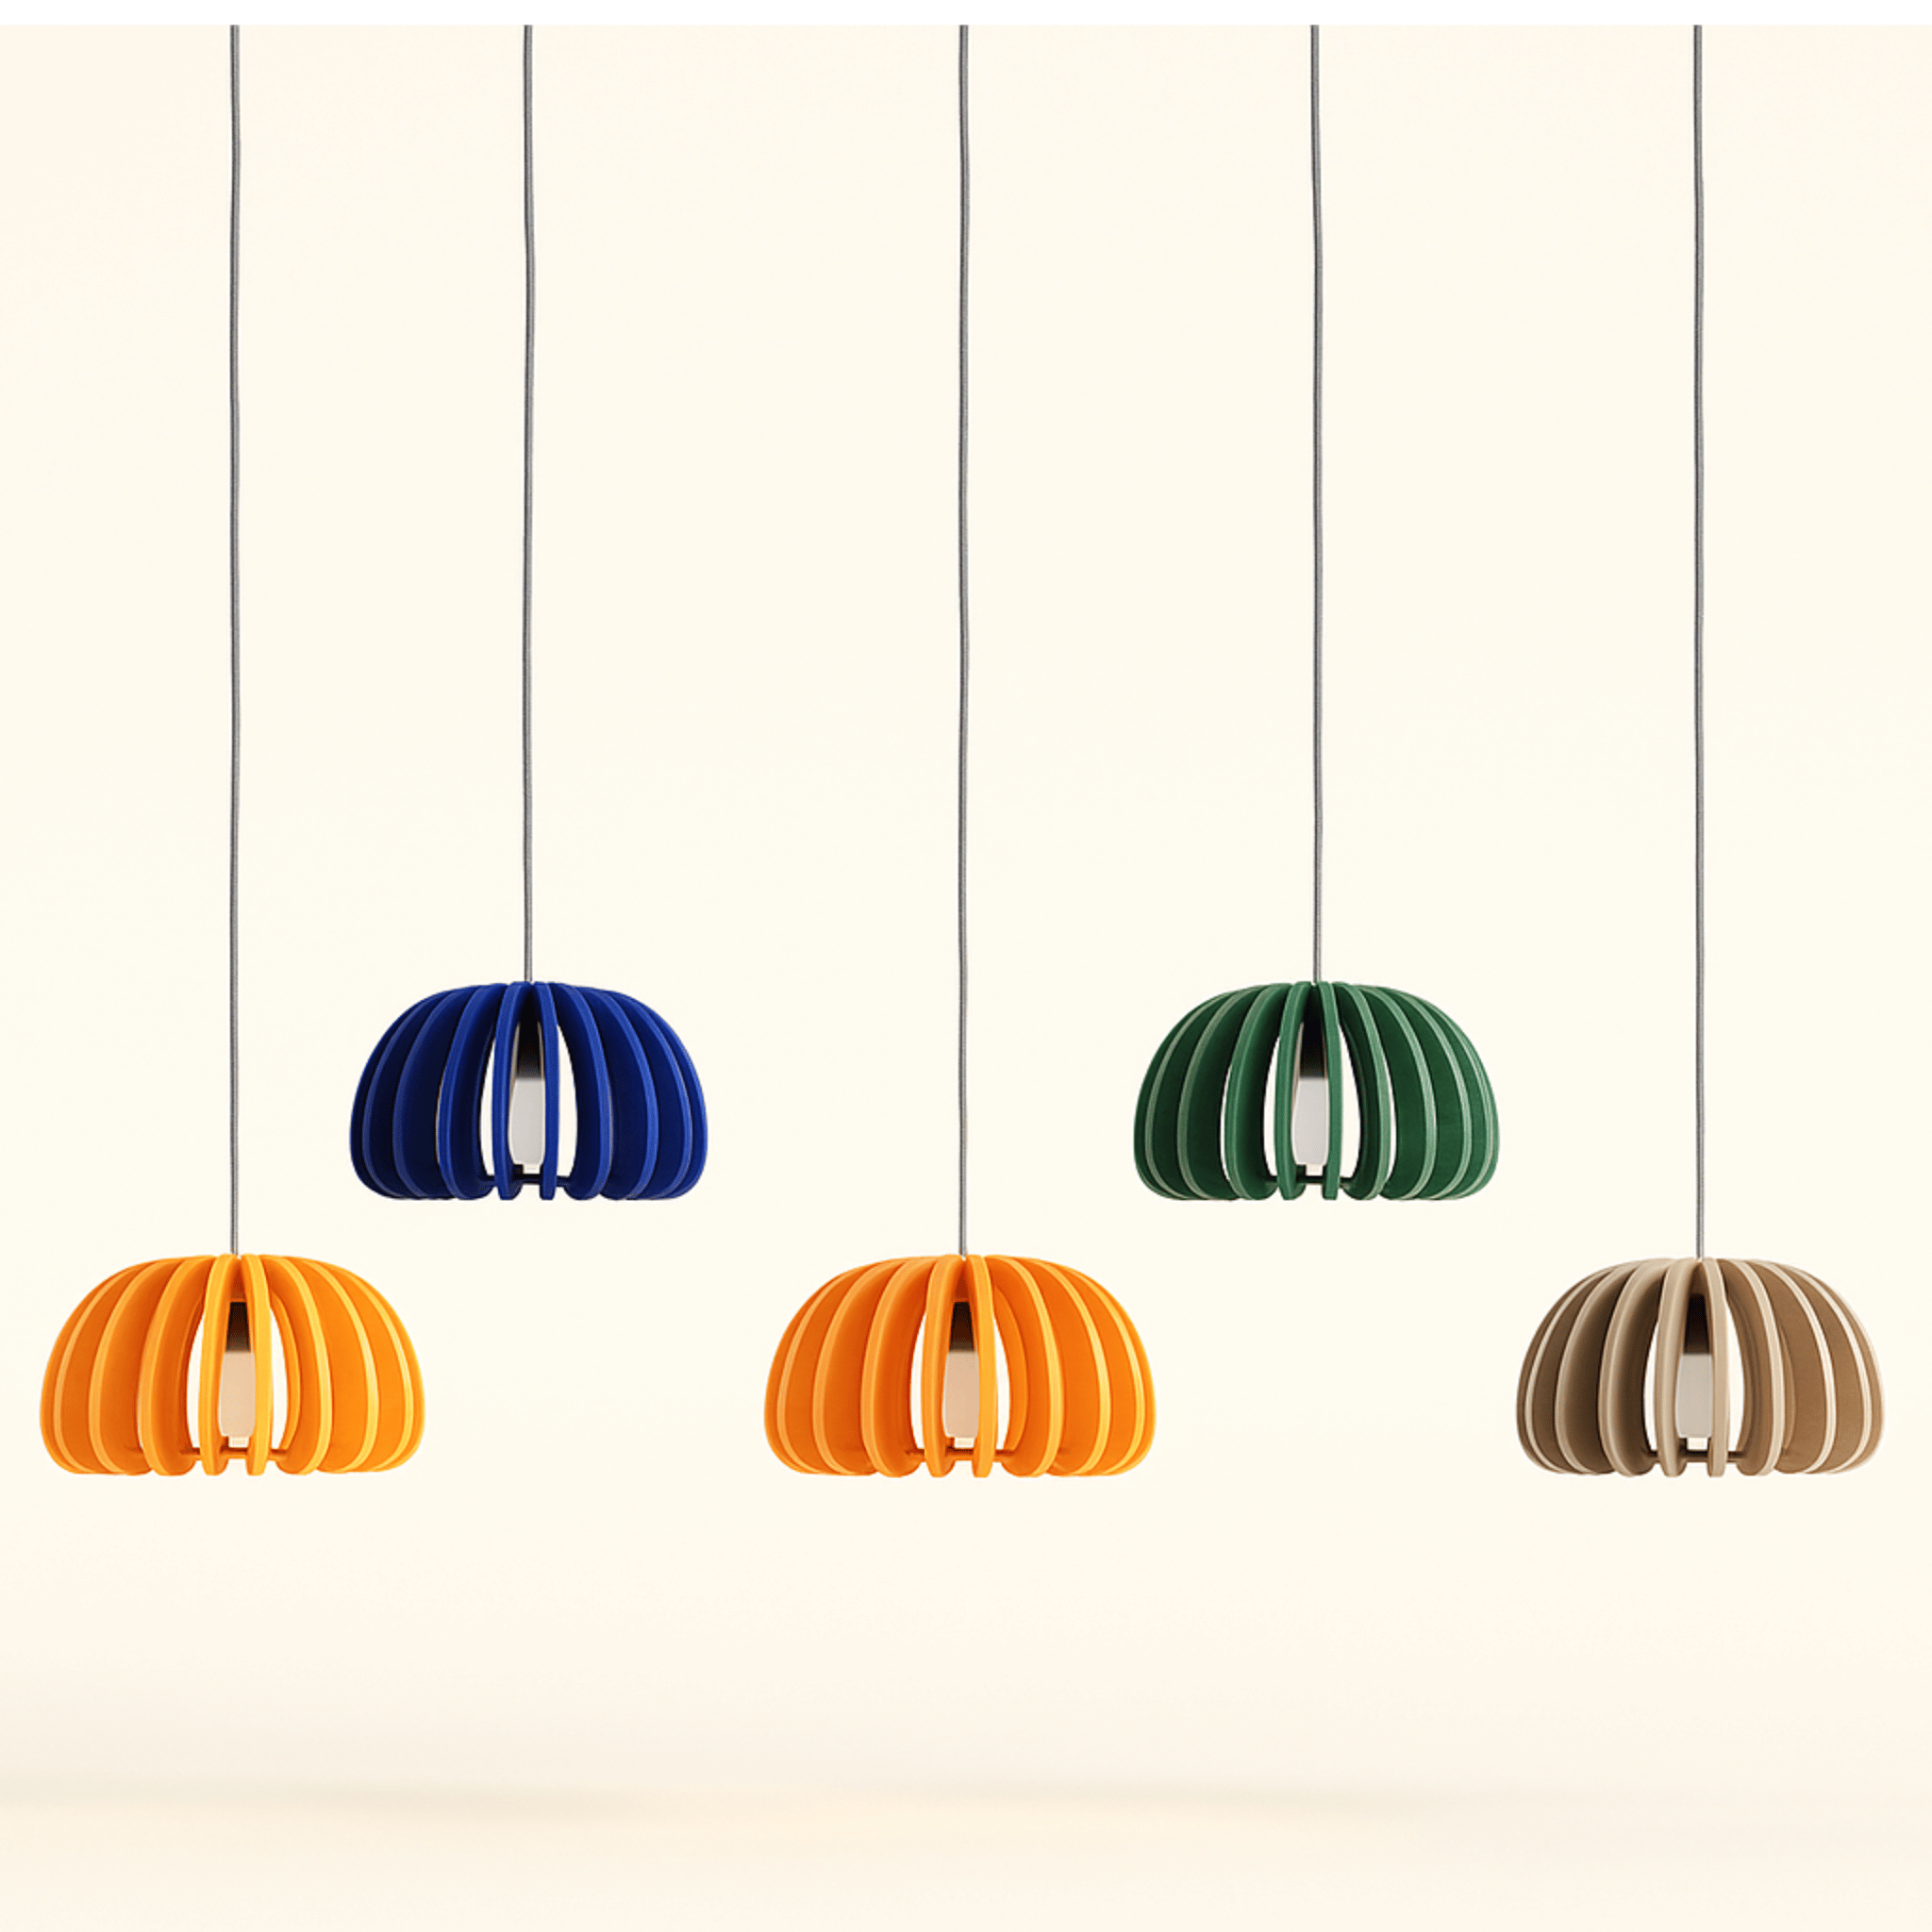
Scandinavian design emphasizes clean lines and natural materials. When planning your custom ceiling lamp, consider how materials like wool felt, natural wood, or matte metal finishes will complement your existing decor. The Dampa Modern Acoustic Felt Ceiling Pendant Light exemplifies this aesthetic with its soft, textural presence that adds warmth while reducing ambient noise—perfect for open-concept living spaces.


Essential Wiring Knowledge for Ceiling Lamps
Understanding DIY light wiring fundamentals removes much of the intimidation factor from ceiling installations. Standard residential electrical systems in the United States use either 14 AWG (15-amp circuits) or 12 AWG (20-amp circuits) wire. Your ceiling fixture will typically connect to a junction box containing three types of wires: black (hot/live), white (neutral), and either bare copper or green (ground).
Wire nuts—the small, cone-shaped plastic connectors—are essential for safely joining wires together. These twist-on connectors create secure electrical connections while insulating the exposed metal. For most ceiling fixtures, you'll match wire colors: black to black, white to white, and ground to ground (or to the junction box itself if it has a grounding screw).
When working on wire ceiling lamp DIY projects, here are the key connection principles:
- Strip only 3/4 inch of insulation from wire ends to expose the copper
- Align same-color wire ends and twist them together clockwise
- Screw on the wire nut firmly until wires begin twisting together
- Wrap electrical tape around the wire nut and exposed wire for extra security
- Gently tug on each wire to confirm the connection is secure
The Dampa Modern Acoustic Felt Ceiling Pendant Light features E26/E27 base compatibility, making it straightforward to wire for standard residential voltage. Its direct wiring installation design means you can connect it directly to your junction box without additional converters or adapters.

Dampa Modern Acoustic Felt Ceiling Pendant Light
$269.00 $369.00
Transform your overhead lighting with this acoustic felt pendant featuring direct wiring installation and E26/E27 base compatibility.
Explore ProductStep-by-Step Ceiling Fixture Installation Guide
With your planning complete and safety measures in place, it's time to install your fixture. Watch this detailed video tutorial for a visual walkthrough of the entire process:
This video demonstrates how to install ceiling light fixture components correctly, from securing the mounting bracket to making final wire connections. Having this visual reference alongside written instructions helps ensure nothing gets overlooked during your installation.

Installing Your Ceiling Lamp
Begin by assembling any lamp components that need preparation before mounting—attach the canopy, thread any pendant cords through mounting hardware, or prepare the bulb socket. Leave the power off at the breaker throughout the entire installation.
Mount the fixture bracket to the junction box using the provided screws, ensuring it's level and secure. If your junction box doesn't align with your fixture's mounting holes, an inexpensive universal crossbar can adapt between different hole patterns.
Next, connect the wires as outlined in the previous section. Match black to black, white to white, and ground to ground. The ground connection might attach to a green screw on the mounting bracket or connect directly to the ground wire from your junction box. For those looking to explore more fixture options, our Bedroom Lighting & Decor collection offers a curated selection of pendants and sconces perfect for DIY installation projects.

Carefully tuck the connected wires into the junction box, being careful not to dislodge any wire nut connections. Secure the canopy or fixture body to the mounting bracket according to the manufacturer's instructions. Install your light bulb—LED bulbs are ideal for energy efficiency and longevity—then restore power at the breaker to test your new ceiling lamp.
Customizing Your Ceiling Lamp for Scandinavian Style
The beauty of a DIY ceiling lamp project extends beyond installation—you can customize every aspect to achieve your desired aesthetic. Scandinavian design principles emphasize clean lines, natural materials, and functional beauty. Consider these customization approaches:
Height Adjustment: Pendant cords can often be shortened or lengthened to achieve the perfect drop length for your space. For dining rooms, this typically means positioning the fixture 30-36 inches above the table surface. In living rooms, 7 feet from the floor provides clearance while maintaining intimacy.
Shade Selection: Swapping factory shades for alternatives changes the entire character of your fixture. Felt, linen, glass, and wood veneer all diffuse light differently and contribute unique textures to your space. The ceiling lights collection at Skonne draws inspiration from these materials.
Multiple Pendants: Creating a cluster of three smaller pendants instead of one large fixture can dramatically transform a kitchen island or hallway. This approach requires connecting multiple fixtures to a single junction box using a multi-port canopy or creating additional junction boxes for a linear arrangement.
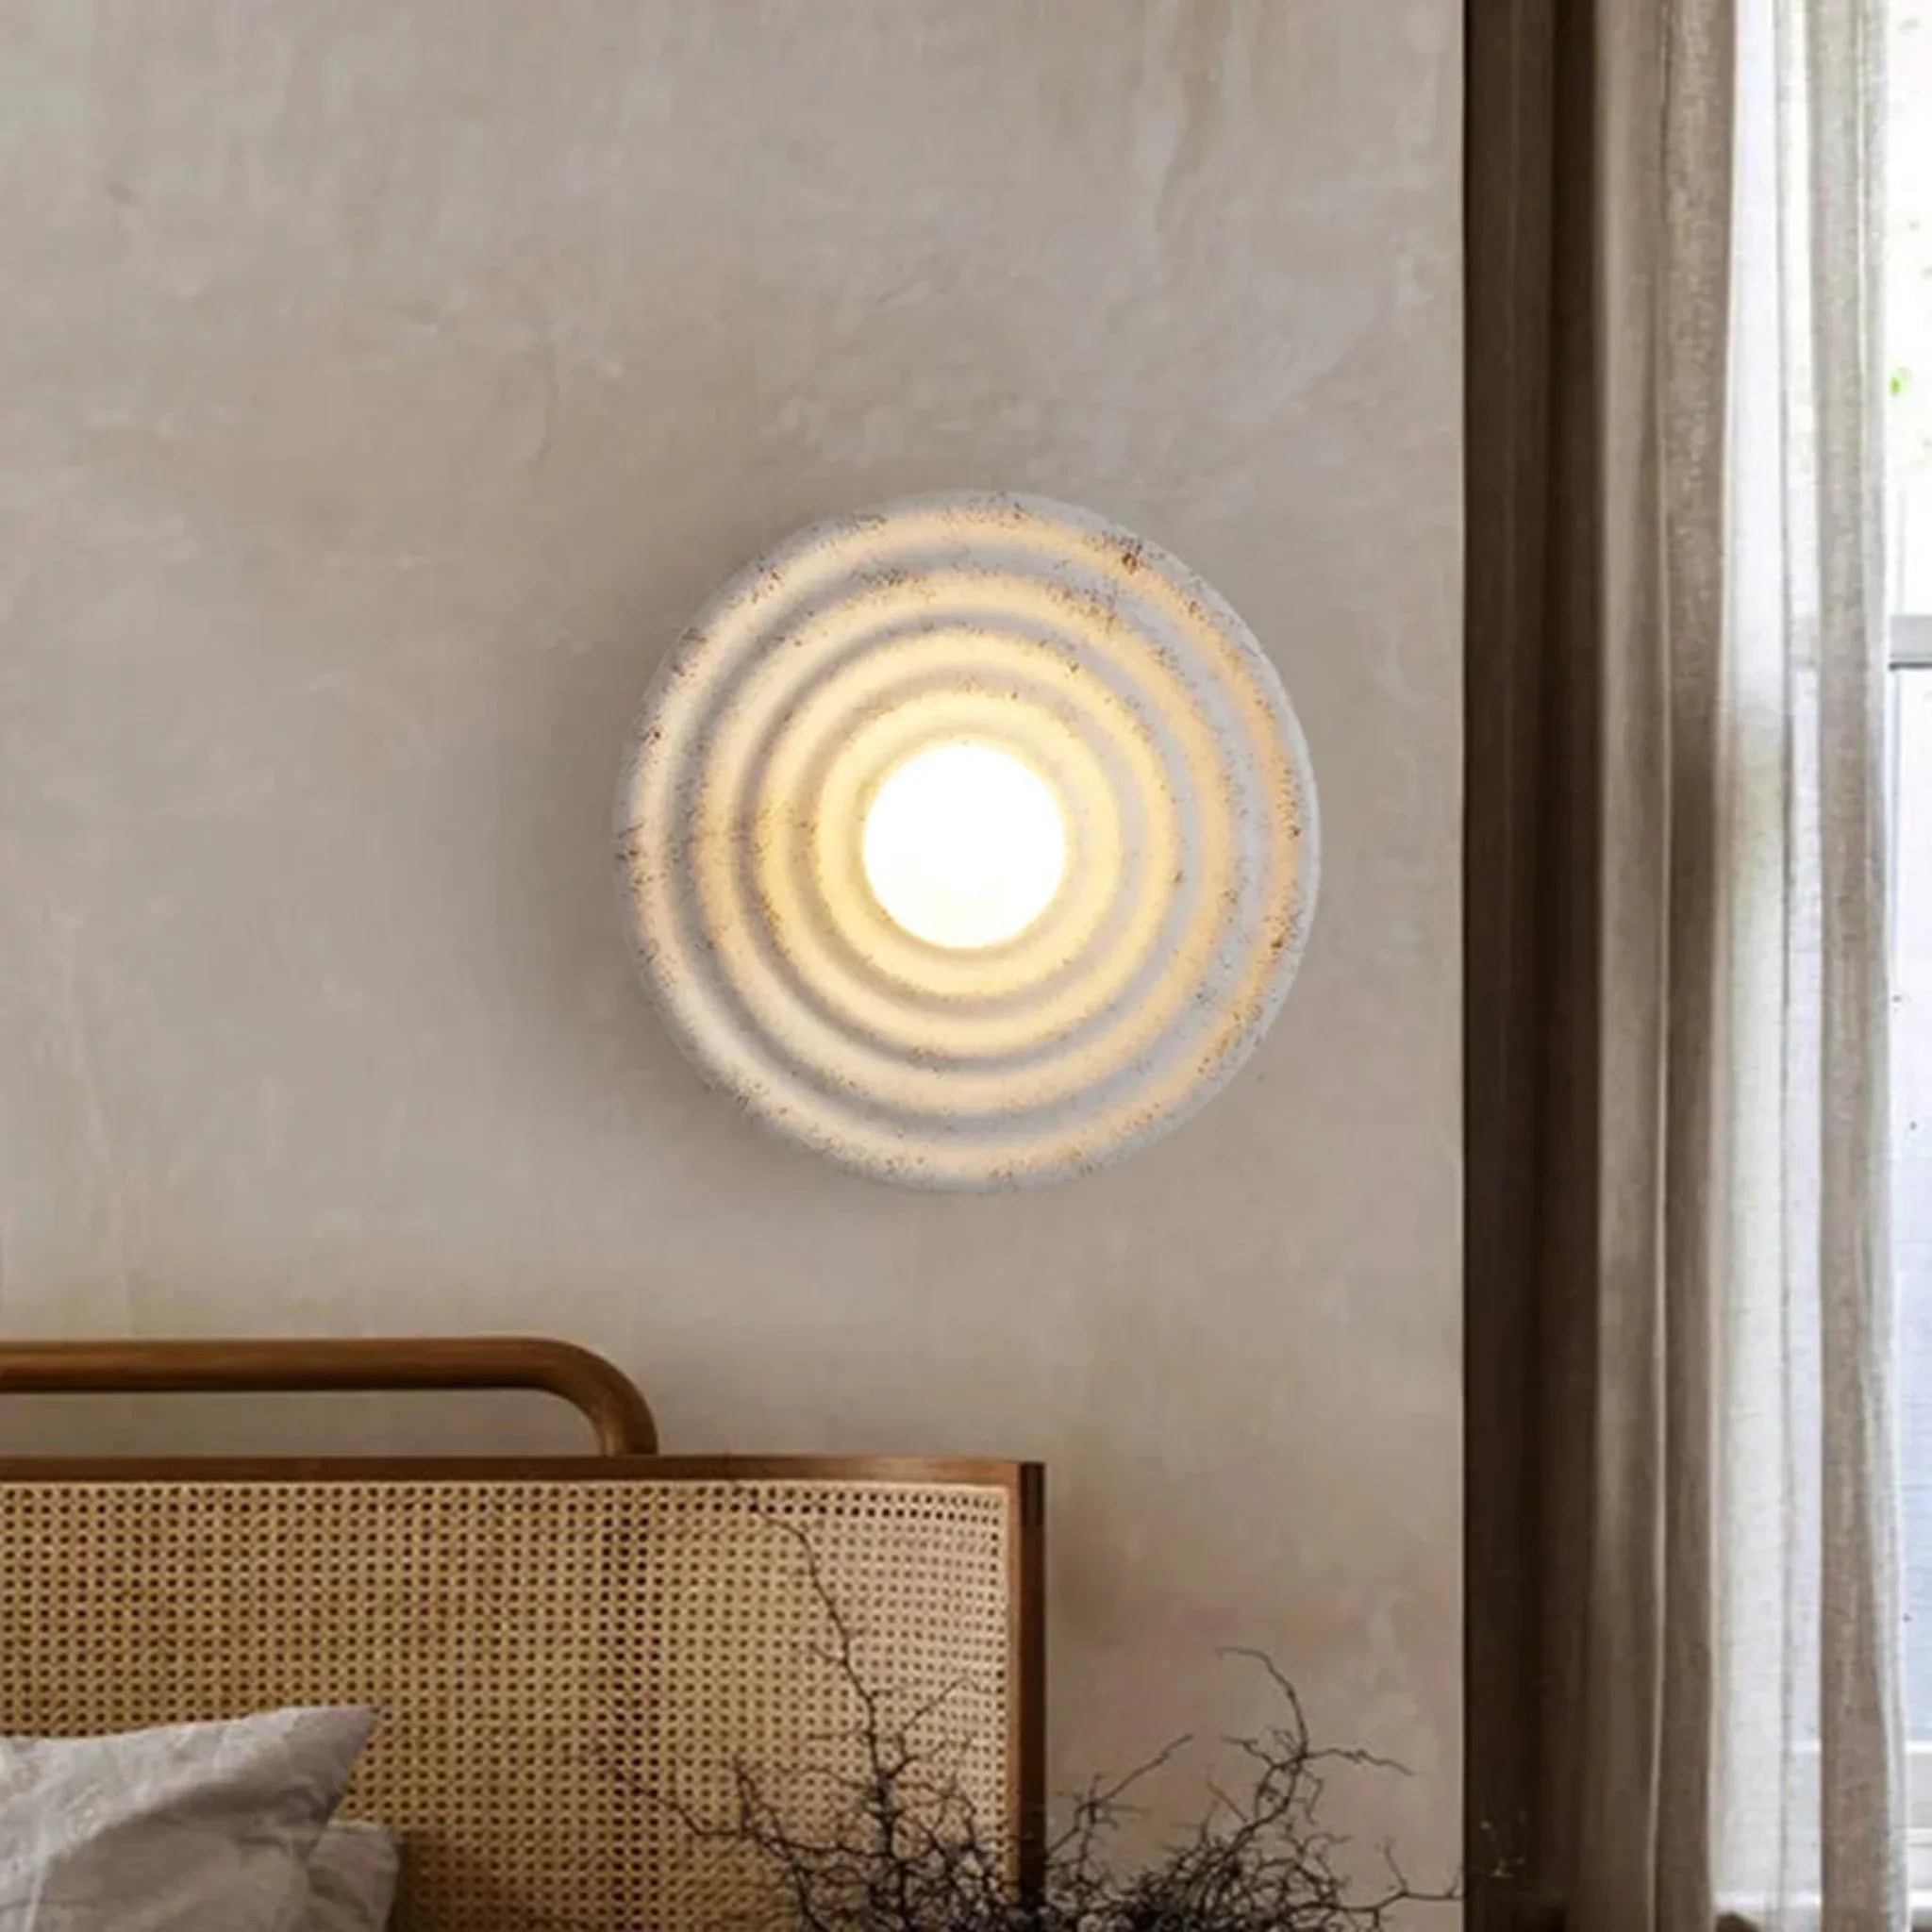
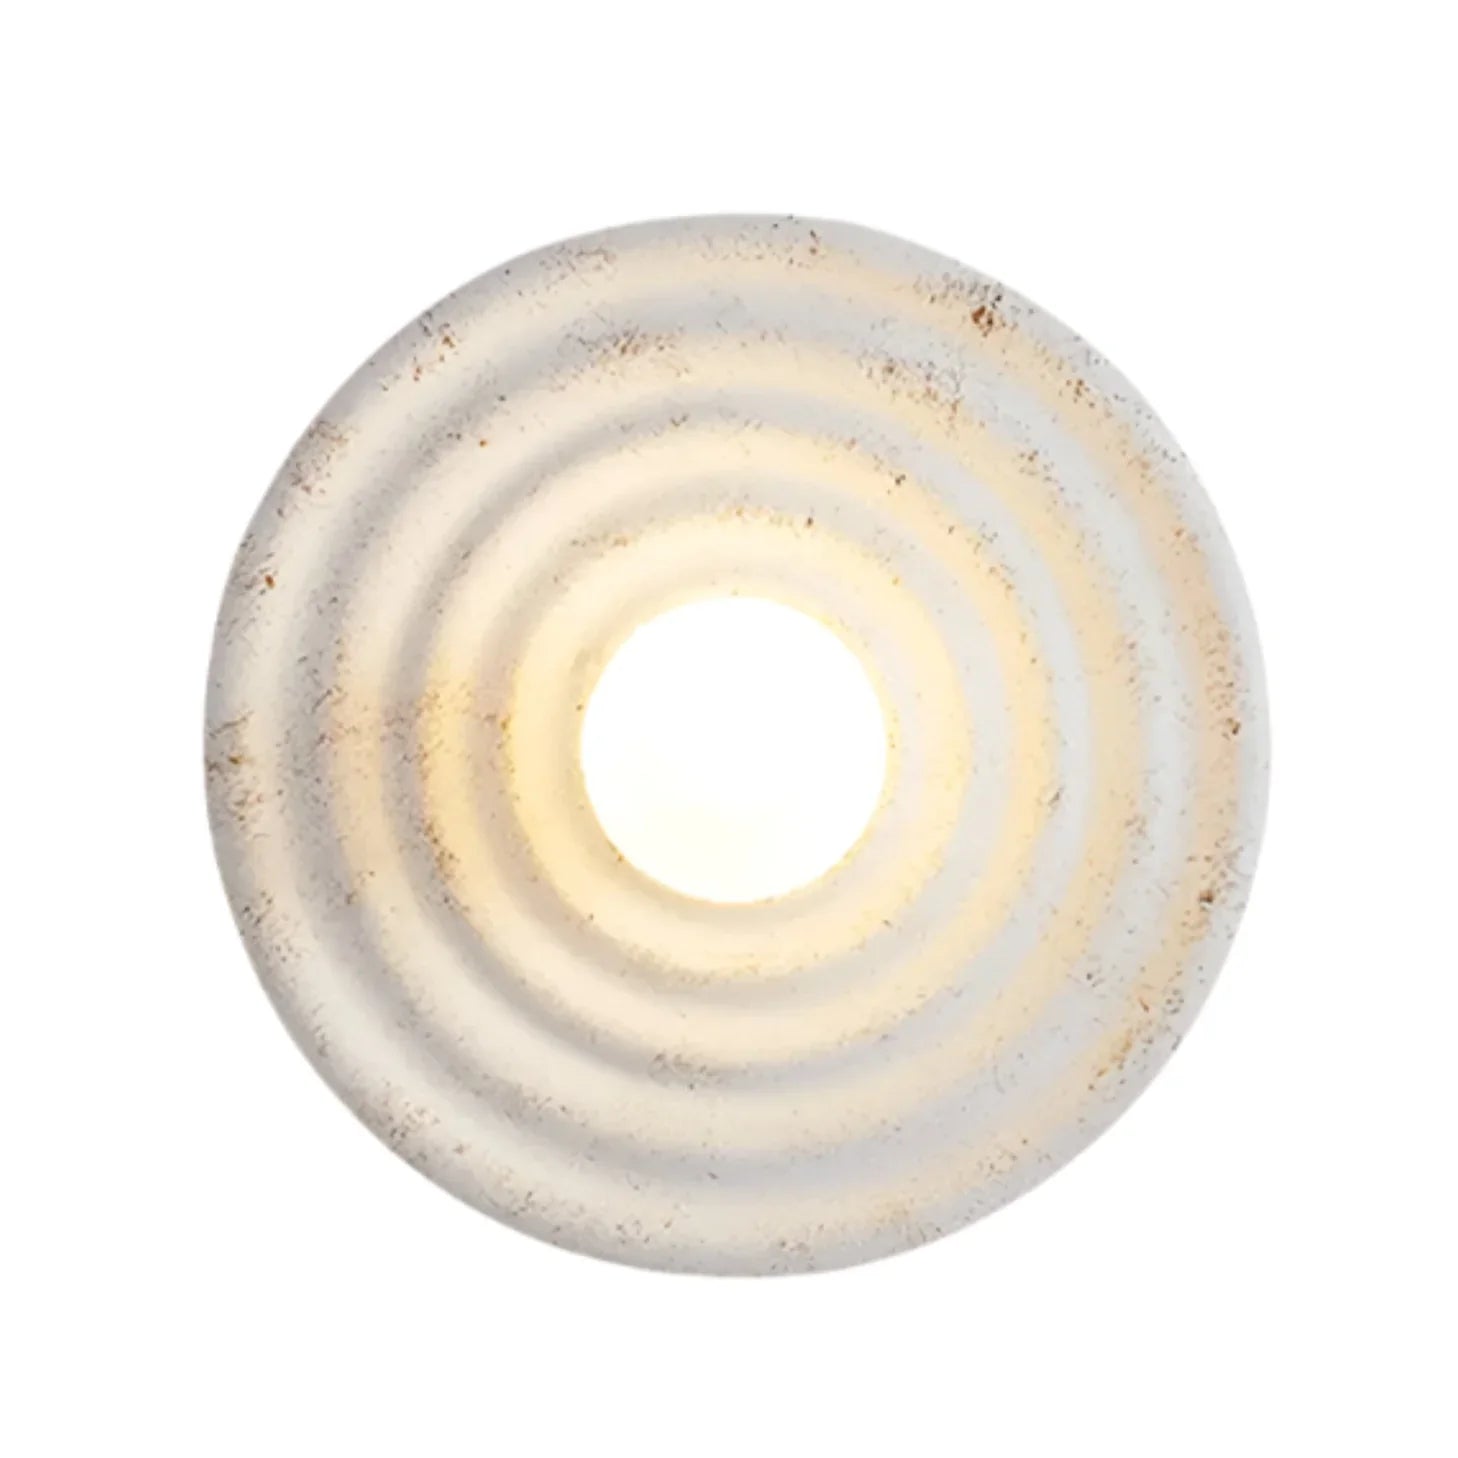
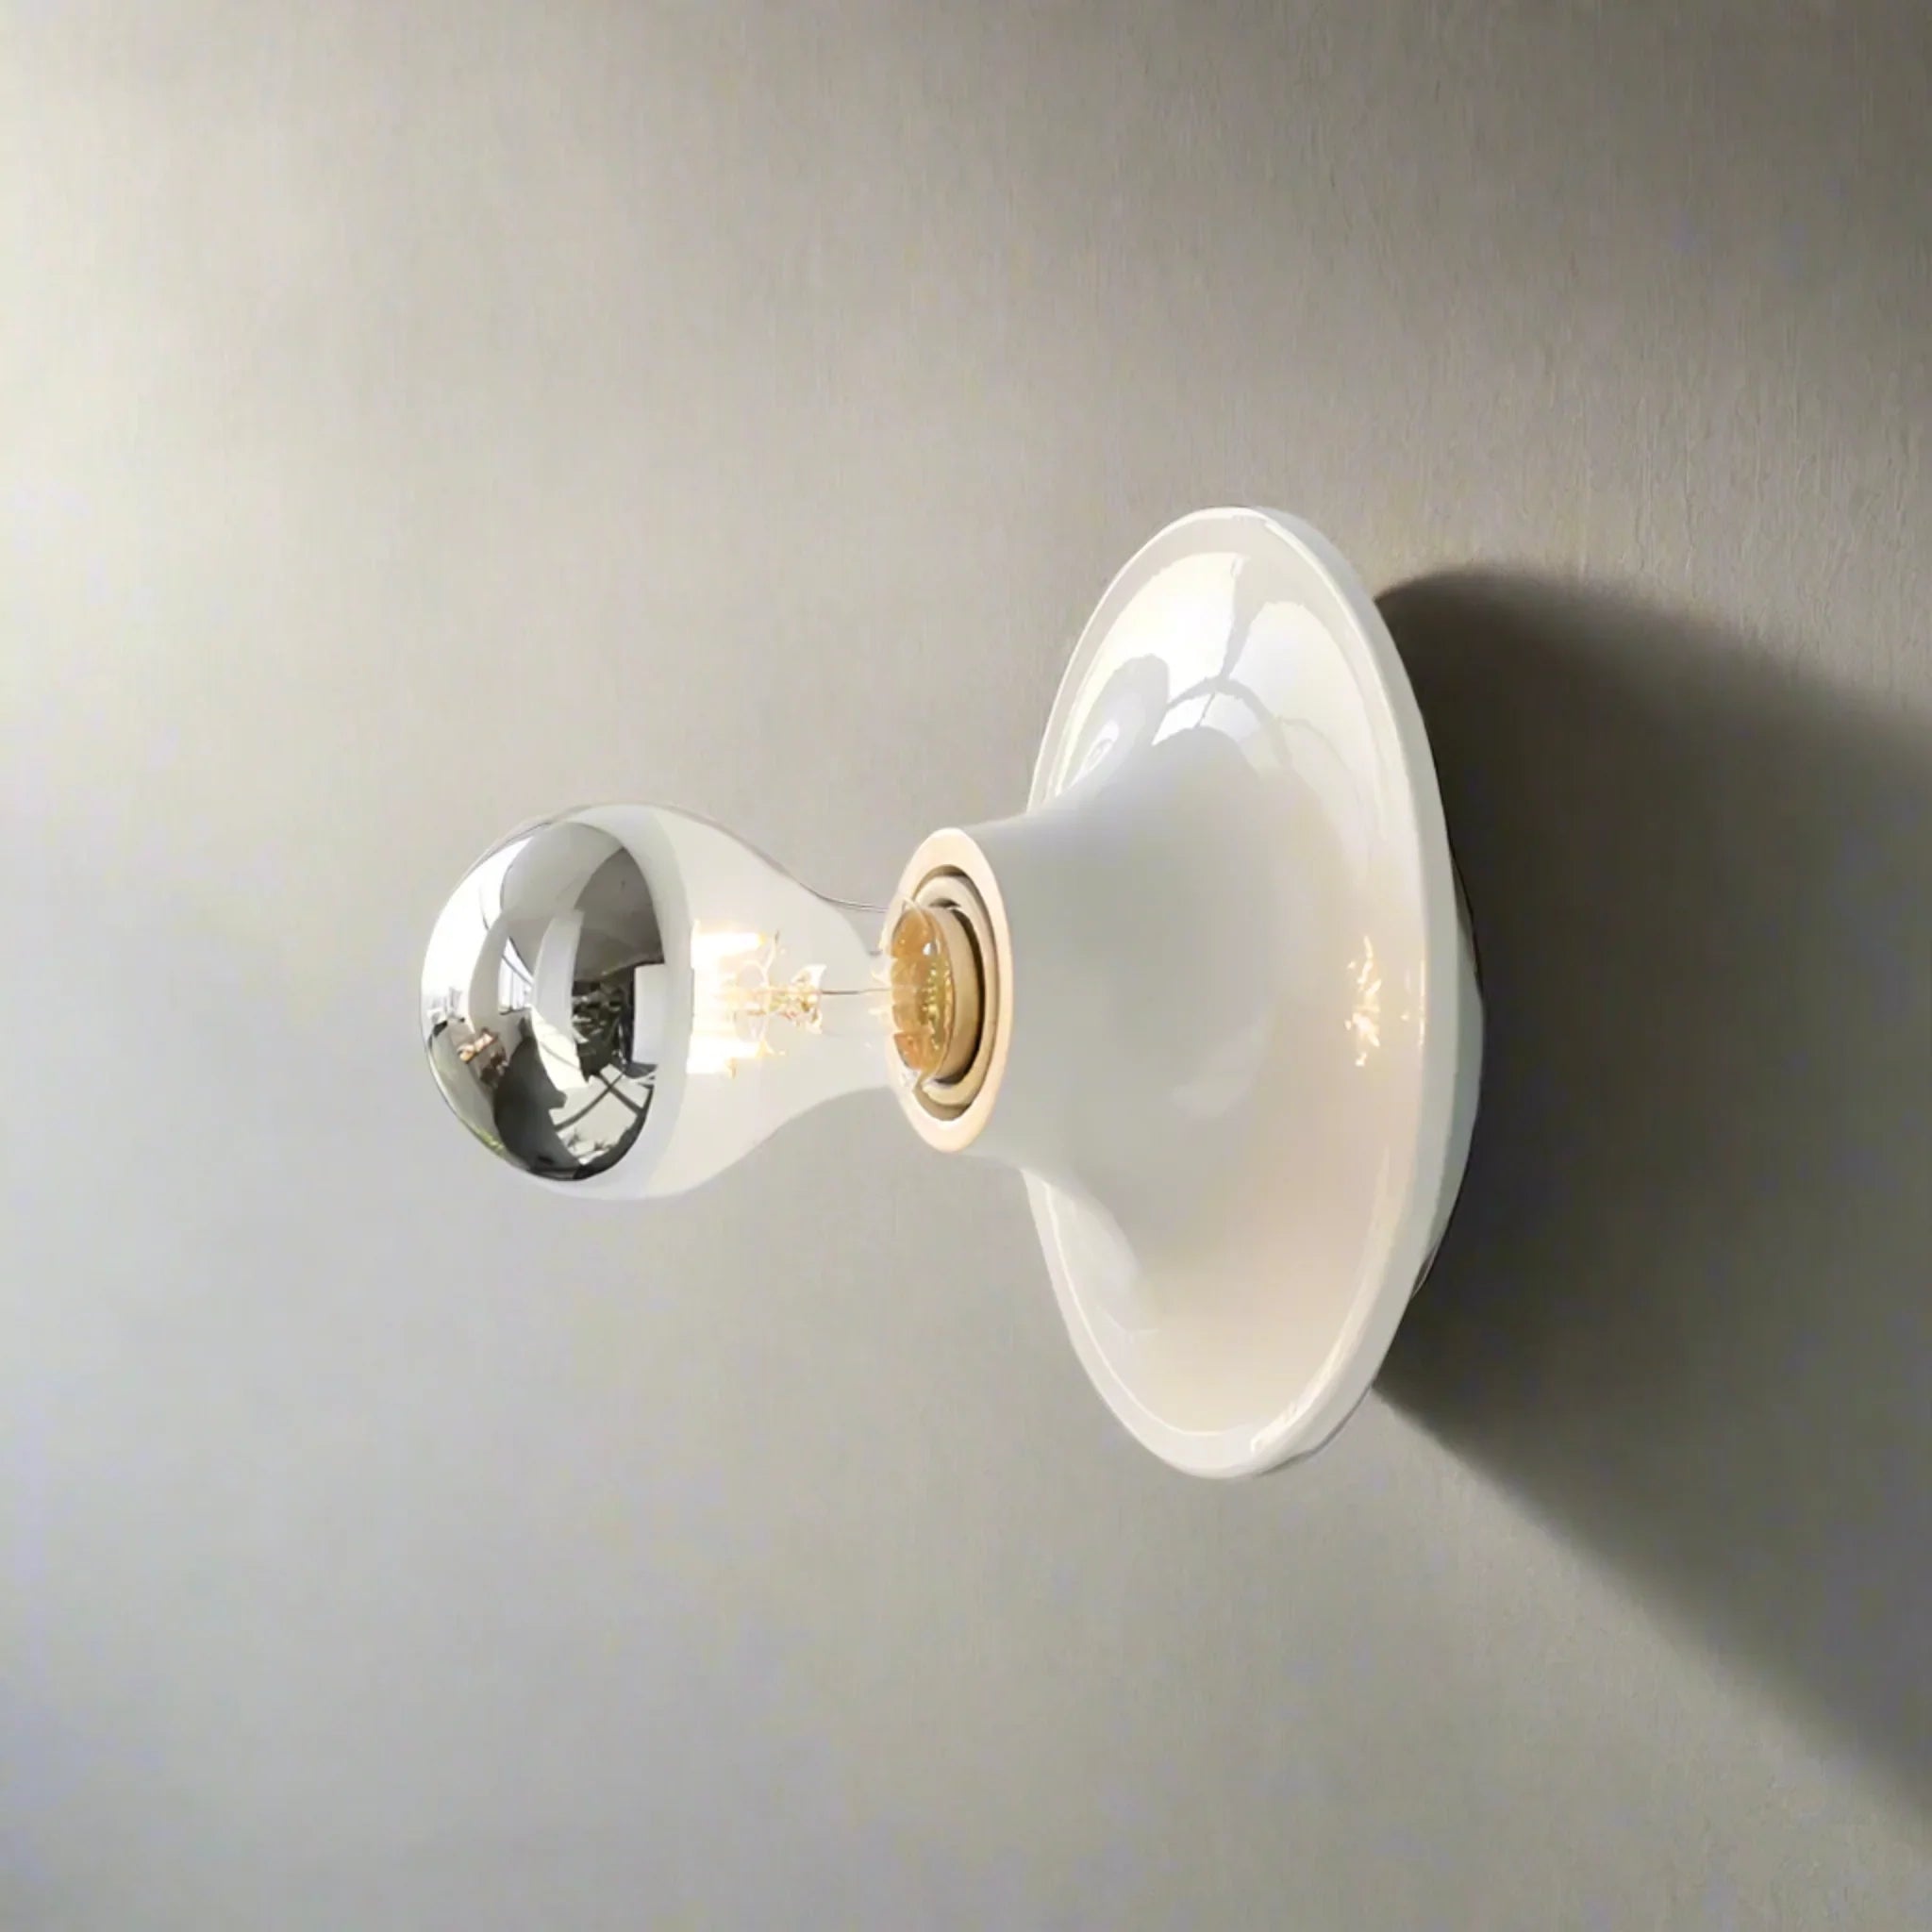
Before tackling a full ceiling installation, many DIY enthusiasts practice their wiring ceiling fixture skills on wall-mounted sconces. The Lysring Circular LED Wall Light offers an excellent introduction to hardwiring with its sculptural Wabi-Sabi style and integrated LED technology. For an even simpler starting point, the Glødvar Retro Iron Wall Sconce features standard E27 base compatibility and comes in six elegant color options to match your existing palette.
Perfect Practice Fixtures for Your DIY Journey

Lysring Circular LED Wall Light Wabi-Sabi Style
$169.00
$229.00
Practice your wiring skills with this sculptural wall sconce featuring wall-mounted installation and integrated LED technology. Learn more ➔

Glødvar Retro Iron Wall Sconce Nordic Design
$89.00
$129.00
Start your DIY lighting journey with this affordable vintage wall sconce featuring E27 base and six elegant color options. Learn more ➔
Advanced DIY Ceiling Lamp Projects
Once you've mastered basic installations, consider expanding your homemade ceiling light skills with more ambitious projects. Creating a linear suspension with multiple pendants requires planning electrical supply and spacing, but delivers stunning results over long dining tables or kitchen islands.
Custom canopies allow you to mount multiple fixtures from a single junction box while concealing wiring for a clean, professional appearance. These metal or wooden plates can be drilled to accommodate your specific configuration of pendant drop points.
For the truly adventurous, building your own lamp shade from natural materials—woven rattan, ceramic, or hand-blown glass—creates a one-of-a-kind statement piece. Research your local maker communities or ceramic studios to find artisans who can collaborate on custom components that reflect the Scandinavian reverence for handcrafted objects.


The satisfaction of completing a custom ceiling installation is difficult to match. Whether you've installed a single pendant over your reading nook or created an elaborate cluster of fixtures for your kitchen renovation, you've brought something uniquely yours into your home.

When to Call a Professional Electrician
While many ceiling fixture installation projects are perfectly suited to confident DIYers, certain situations warrant professional expertise. Call a licensed electrician if any of the following apply to your situation:
- Your home lacks a ground wire in the junction box
- You're installing heavy fixtures (over 50 pounds) that require ceiling joist support
- You need to create new junction boxes where none currently exist
- You discover aluminum wiring instead of copper
- Local electrical codes require permits for the work you're performing
- You feel uncertain about any aspect of the installation process
Remember that safety always takes precedence over cost savings. A professional electrician can complete installations quickly and correctly, providing peace of mind that your home's electrical system remains safe and code-compliant.
Conclusion
Creating a DIY ceiling lamp is one of the most rewarding home improvement projects you can undertake. By understanding the fundamentals of ceiling fixture installation, mastering basic wiring techniques, and applying customization ideas that reflect your personal style, you transform ordinary spaces into curated environments filled with warm, intentional light.
At Skonne, we believe that the best lighting solutions combine Scandinavian design principles with the natural confidence that comes from creating something with your own hands. Whether you're installing your first pendant or planning an elaborate multi-fixture arrangement over your dining table, our curated collection of Northern European-inspired lighting provides the foundation for projects that feel both personal and professionally designed.
Your journey into custom overhead lighting begins with a single fixture—and ends with a home that feels unmistakably yours. Explore our pendant and ceiling light collections to find the perfect starting point for your next DIY overhead lighting project.
Frequently Asked Questions About DIY Ceiling Lamp Installation
Yes, most homeowners can install a ceiling light themselves if they feel confident working with basic electrical connections. You'll need to turn off the power at the circuit breaker, connect matching wire colors (black to black, white to white, ground to ground) using wire nuts, and secure the fixture to the junction box. However, if your home lacks ground wires, you're working with aluminum wiring, or you feel uncertain about any step, hiring a professional electrician is the safer choice.
Safe DIY installation requires three critical steps: First, always turn off power at the circuit breaker and verify with a voltage tester that no electricity is flowing to the fixture location. Second, ensure your junction box is properly rated for the weight of your fixture—standard boxes hold up to 50 pounds. Third, connect wires correctly using proper wire nuts and electrical tape, then double-check all connections before restoring power. Never work on live circuits, and stop immediately if you encounter unexpected wiring configurations.
Standard ceiling light installations work with the wiring already present in your junction box. This typically includes three wire types: black (hot/live wire carrying electricity), white (neutral wire completing the circuit), and bare copper or green (ground wire for safety). You'll need wire nuts to join these matching colors together and electrical tape for additional insulation. Most residential homes use either 14 AWG wire for 15-amp circuits or 12 AWG for 20-amp circuits.
Connecting ceiling light fixture wires follows a simple color-matching system. Strip approximately 3/4 inch of insulation from wire ends. Hold the matching wire ends together—black from the fixture to black from the junction box, white to white, and ground to ground. Twist a wire nut firmly over each pair, turning clockwise until the wires begin twisting together beneath the nut. Add electrical tape around the connection as extra security. Gently tug each wire to confirm the connection is solid before tucking wires into the junction box.
The right size ceiling lamp balances the room's proportions while providing adequate illumination. For room width plus length in feet, the sum equals the ideal fixture diameter in inches—a 12-by-14-foot room suits a 26-inch fixture. For pendant lights, position them 28-34 inches above surfaces like dining tables or kitchen islands. In general living spaces, maintain 7 feet clearance from the floor. When in doubt, slightly undersizing tends to look more refined than choosing a fixture that overwhelms the space.